Data Sources
Introduction
Consumers engage with your brand across many channels, resulting in vast amounts of rich behavioral data siloed away across various channel tools. Lytics connects to these channels via our Source integrations to aggregate and unify that data into a comprehensive view of the customer. This enables you to gain deeper insights, create personalized experiences, and drive revenue.
The landscape in which your consumers interact is broad. To ensure Lytics makes it easy to both collect and deliver essential data, insights, and audiences, we have a variety of integration options.
The Basics
Data Source integrations are managed by Conductor and are responsible for automating, where applicable, the process of:
- Authenticating and managing a connection to an external system.
- Gathering data from an external system and ingesting it in Lytics on sensible data streams.
- Handling errors and "retry" logic.
- Determining the cadence at which the job should run again.
Adding a Source
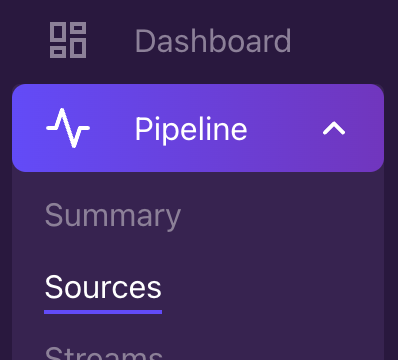
New Source integrations are added from the Conductor interface by first navigating to the Sources section under the Pipeline section in the main navigation.
From there, you'll click "+ Create New" at the top of the list and enter the wizard to guide you through the creation process.

Configuring a Source
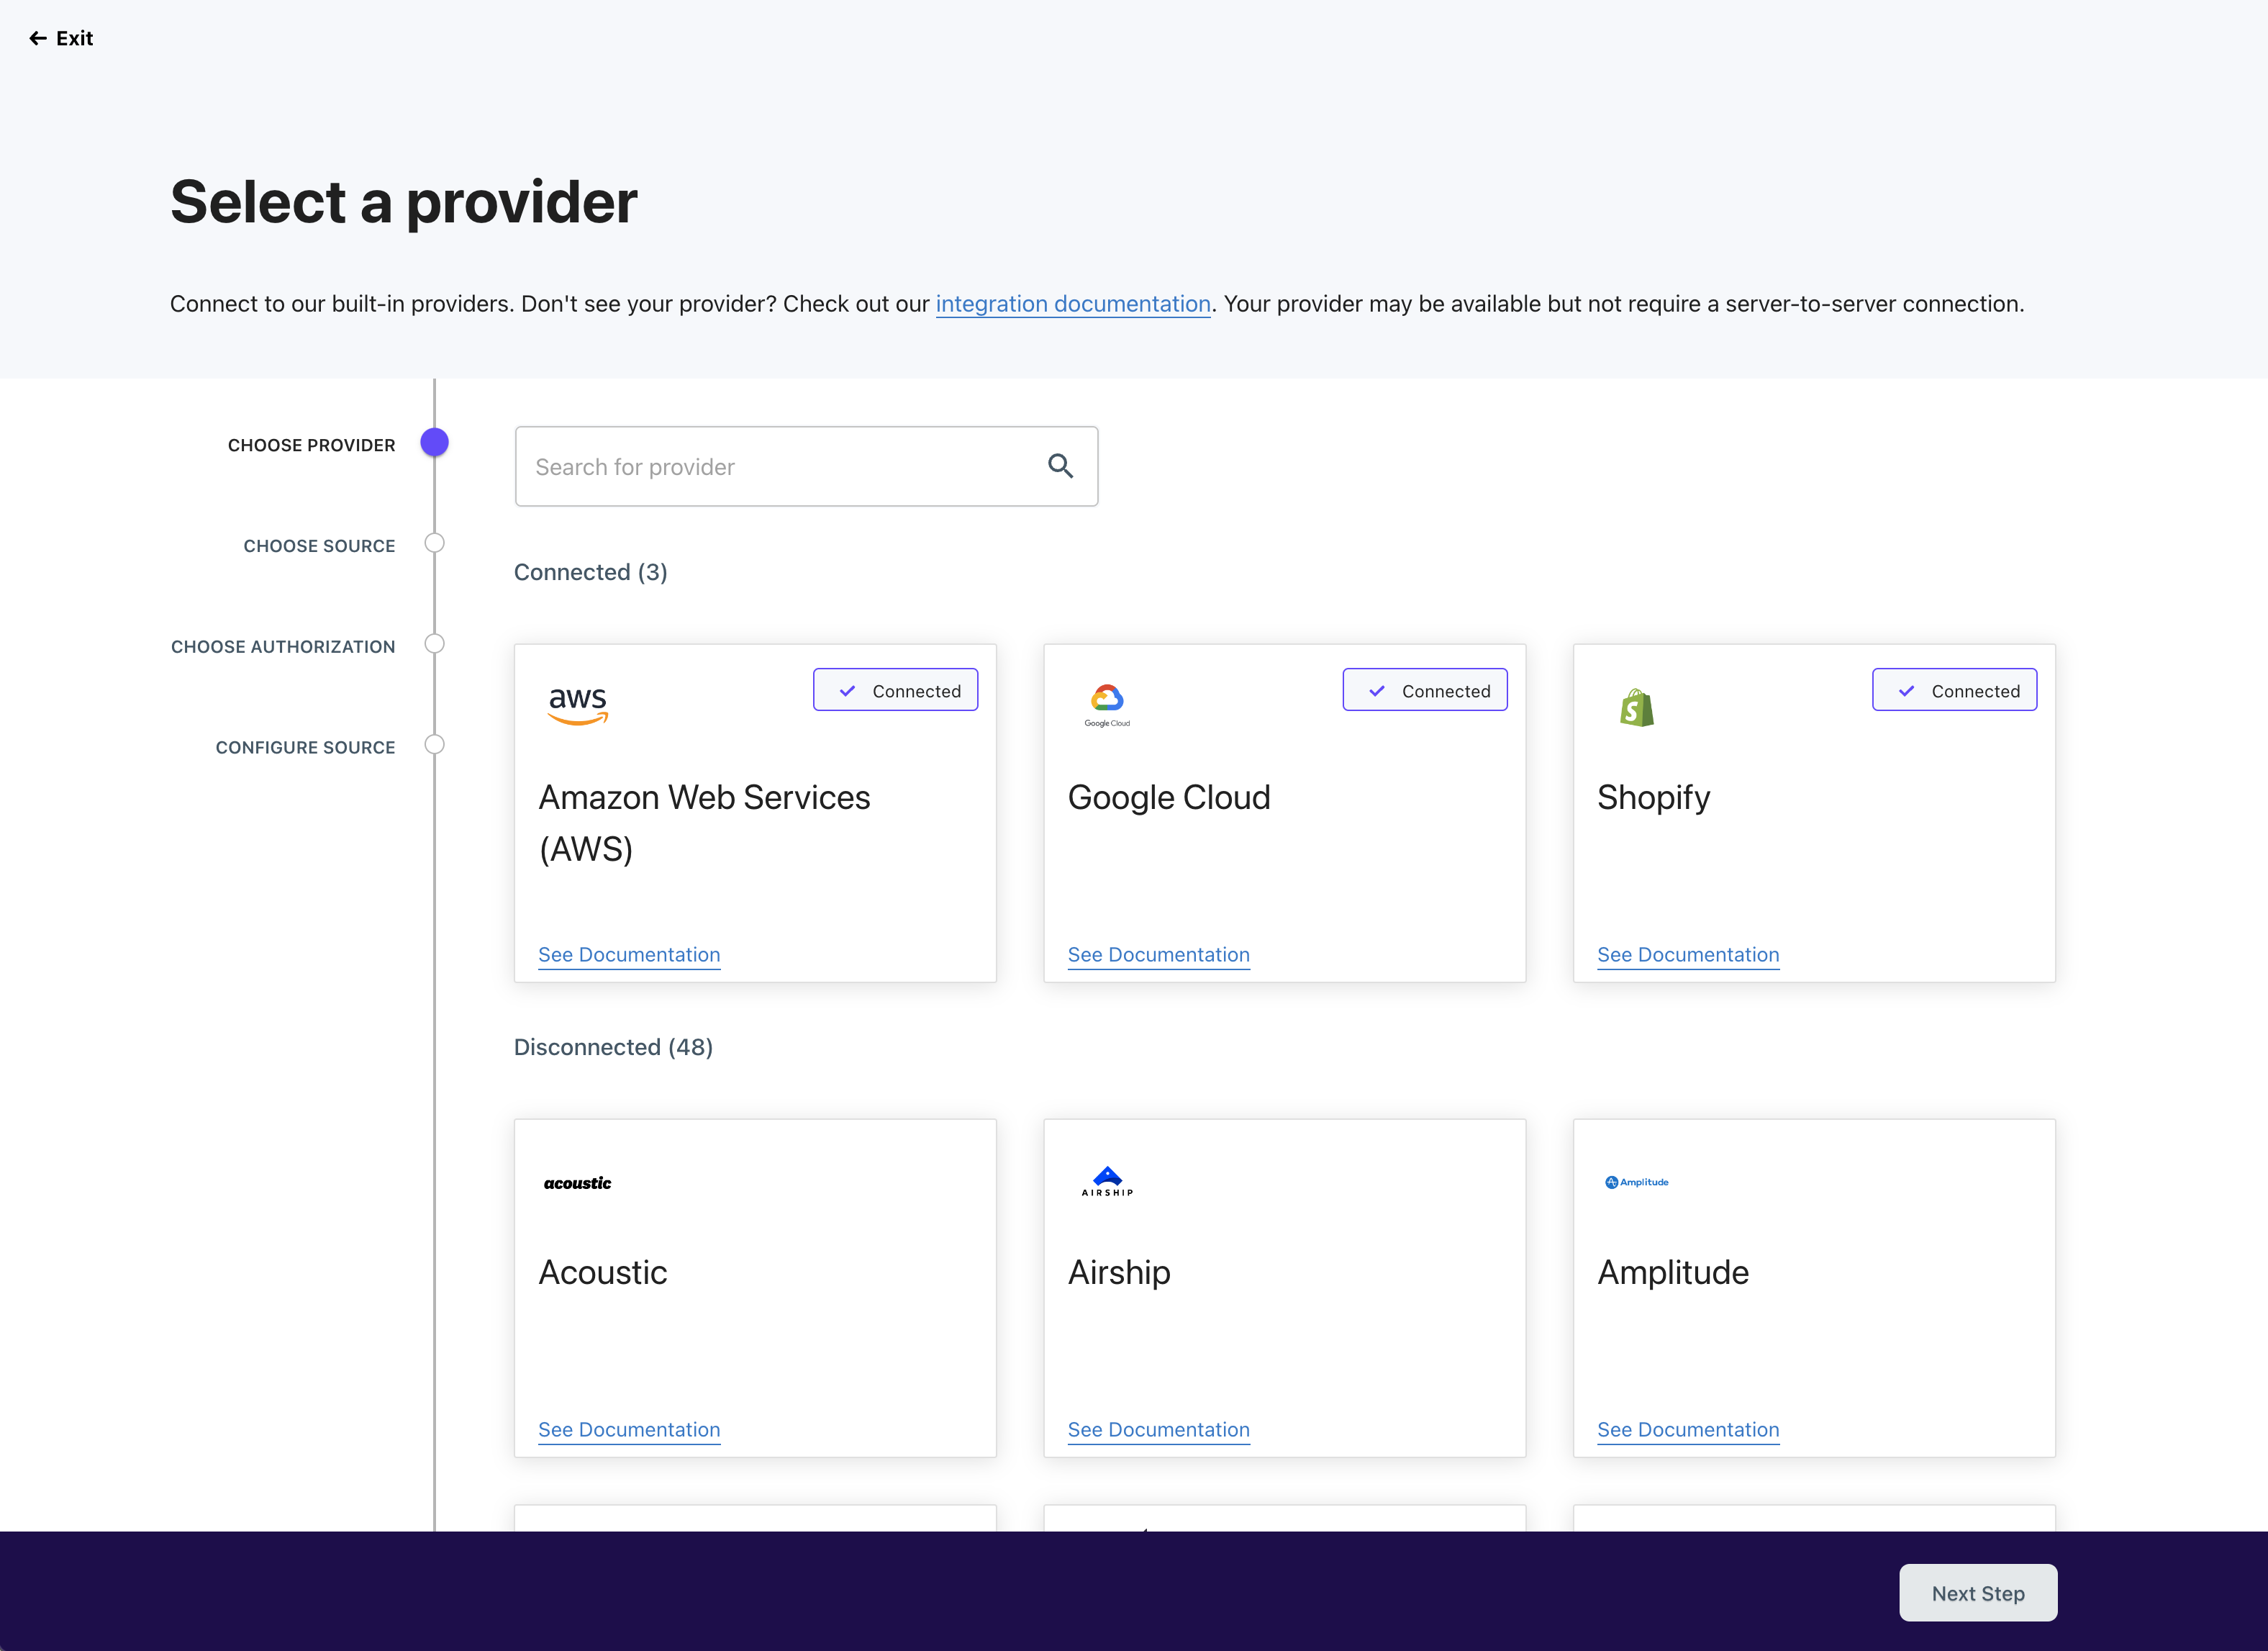
Select a Provider
Each Source is first categorized by the provider, making it easy to narrow down the channel you'd like to integrate with. To select a provider, click the tile representing your desired provider, such as "Google."
Select Job Type
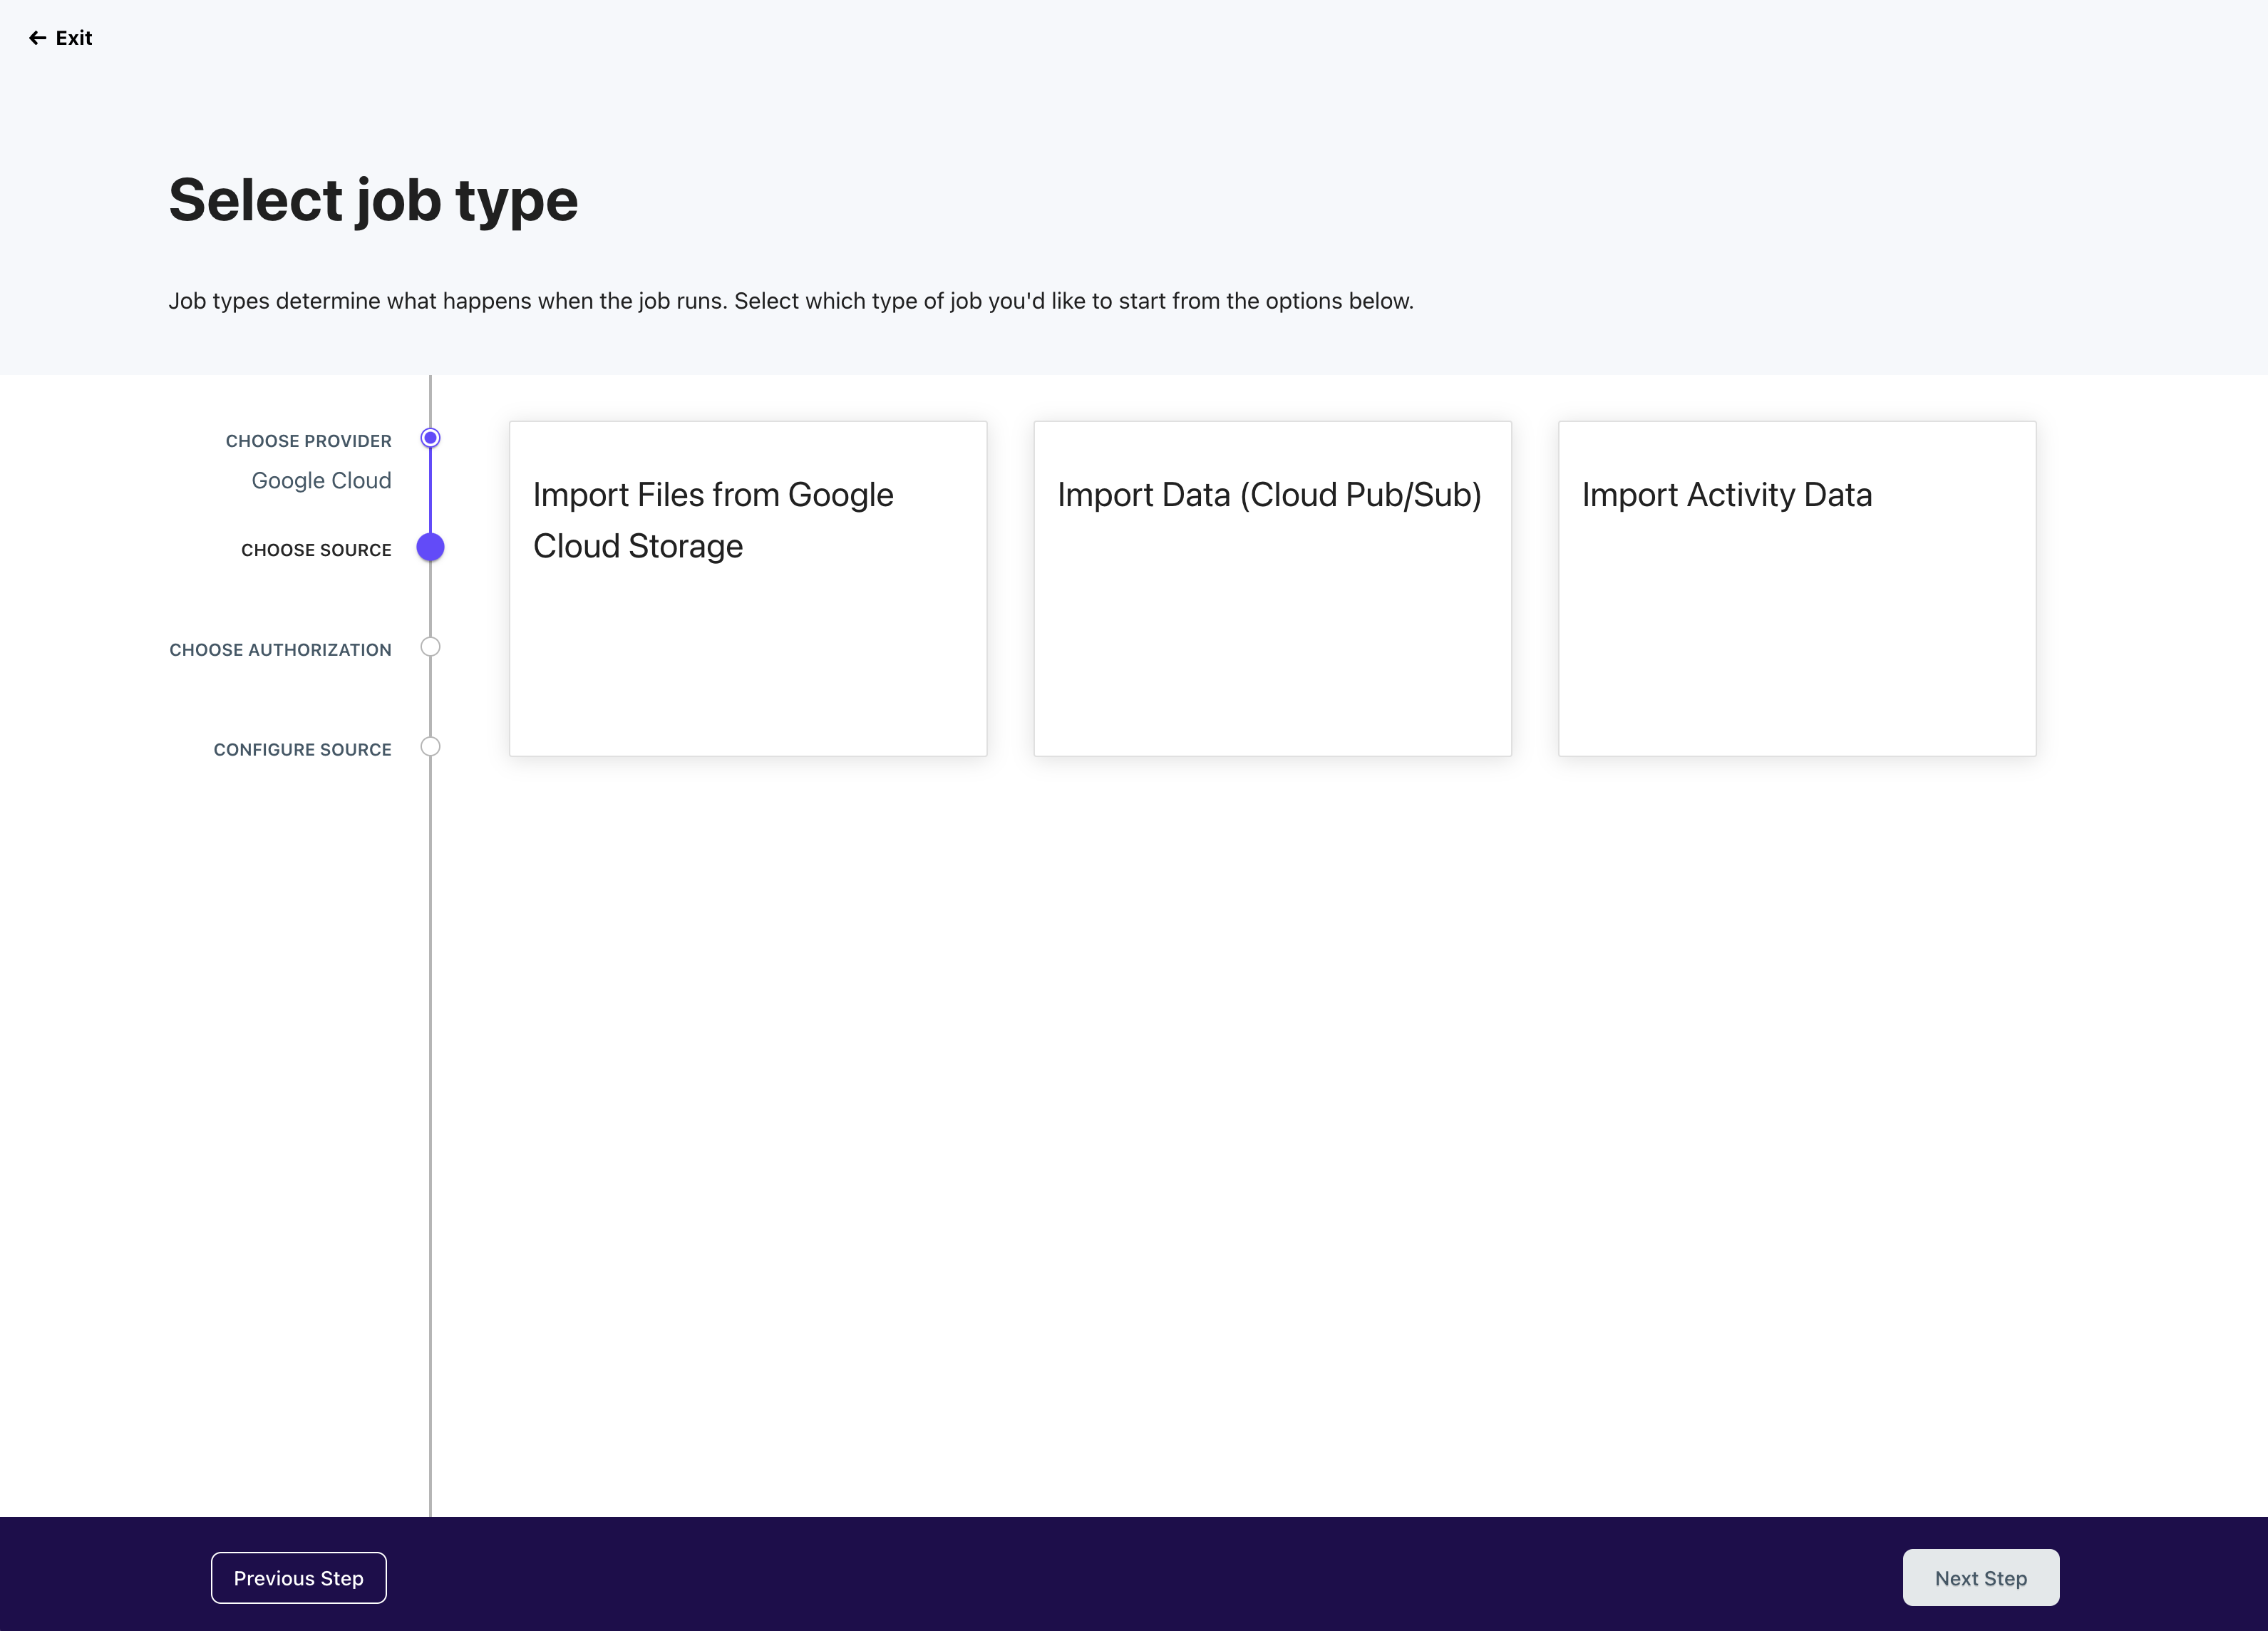
With the provider selected, we'll surface the various ways you can integrate with that particular provider. This will vary significantly by the provider.
Select Authorization Method
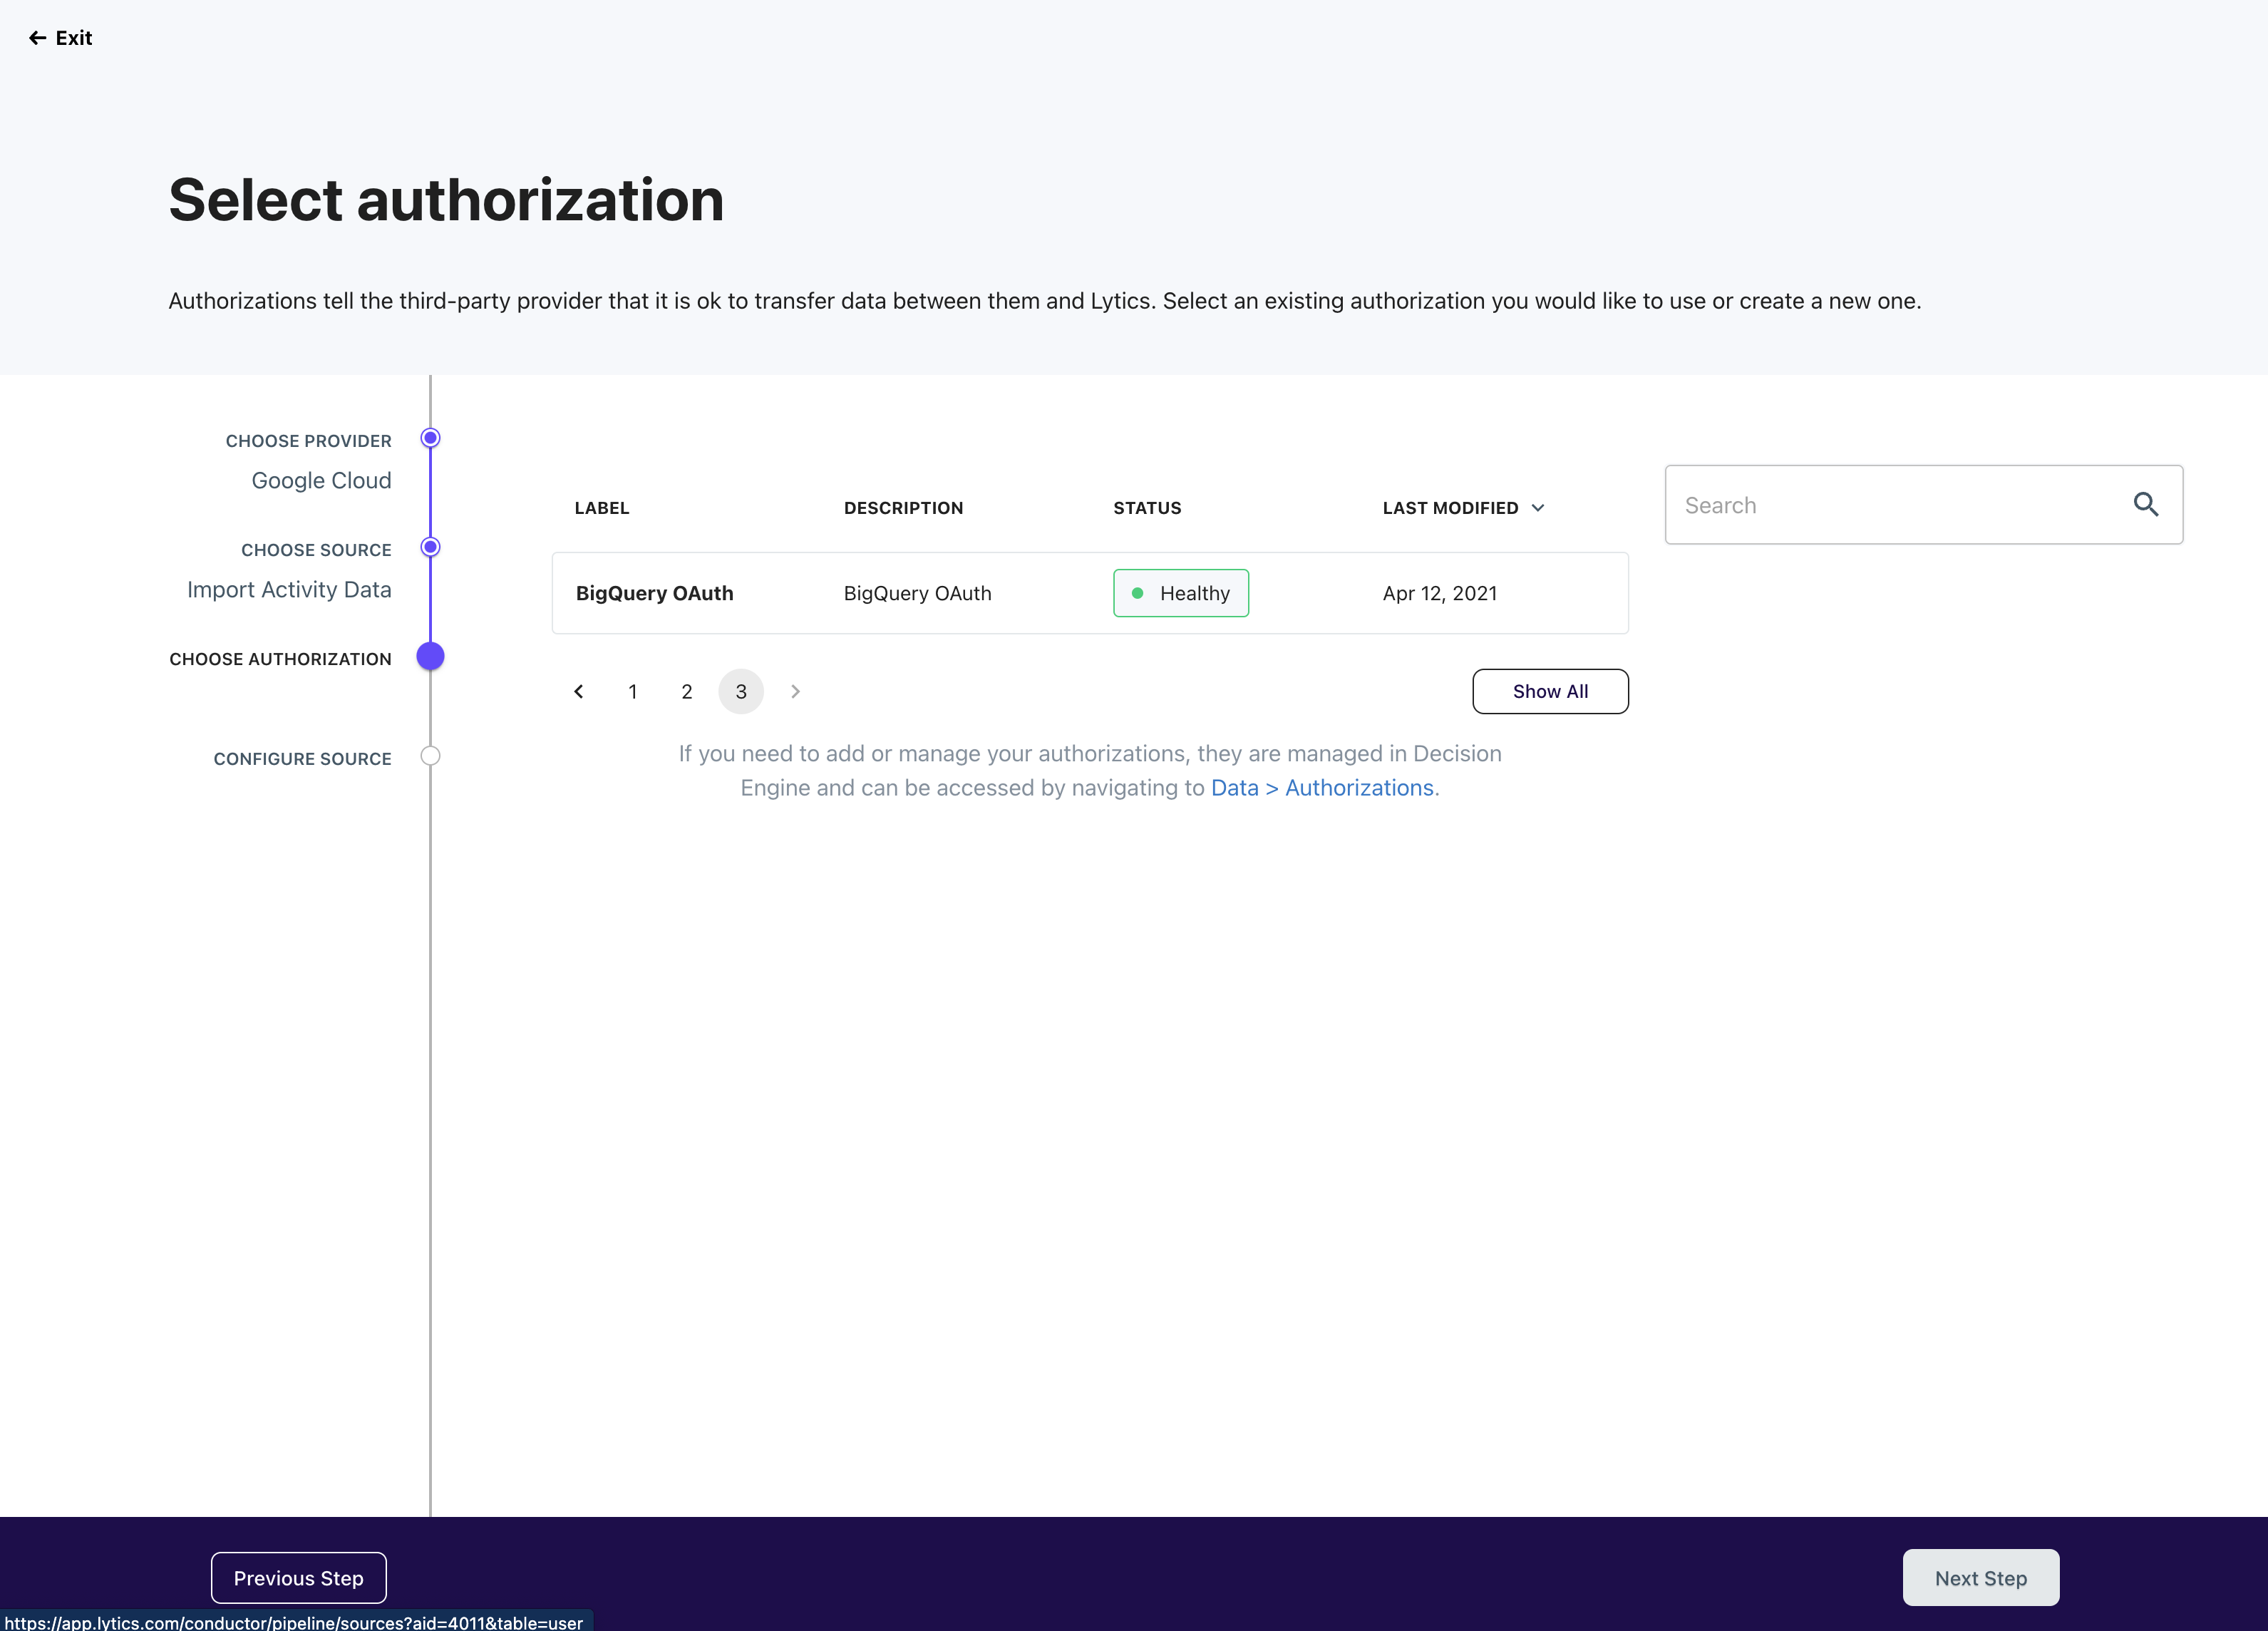
Each provider and job type may require additional authorization to finalize the connection. On the "select authorization" step, you can either select an existing authorization or create a new one. When creating a new authorization, you will be asked to provide the required credentials, such as key and secret, to proceed.
Create New Authorization
You can create it during source configuration if you lack valid authorization for your desired provider/source combination. Click "Create new Authorization" above the list, follow the wizard in Vault, and return to where you left off.
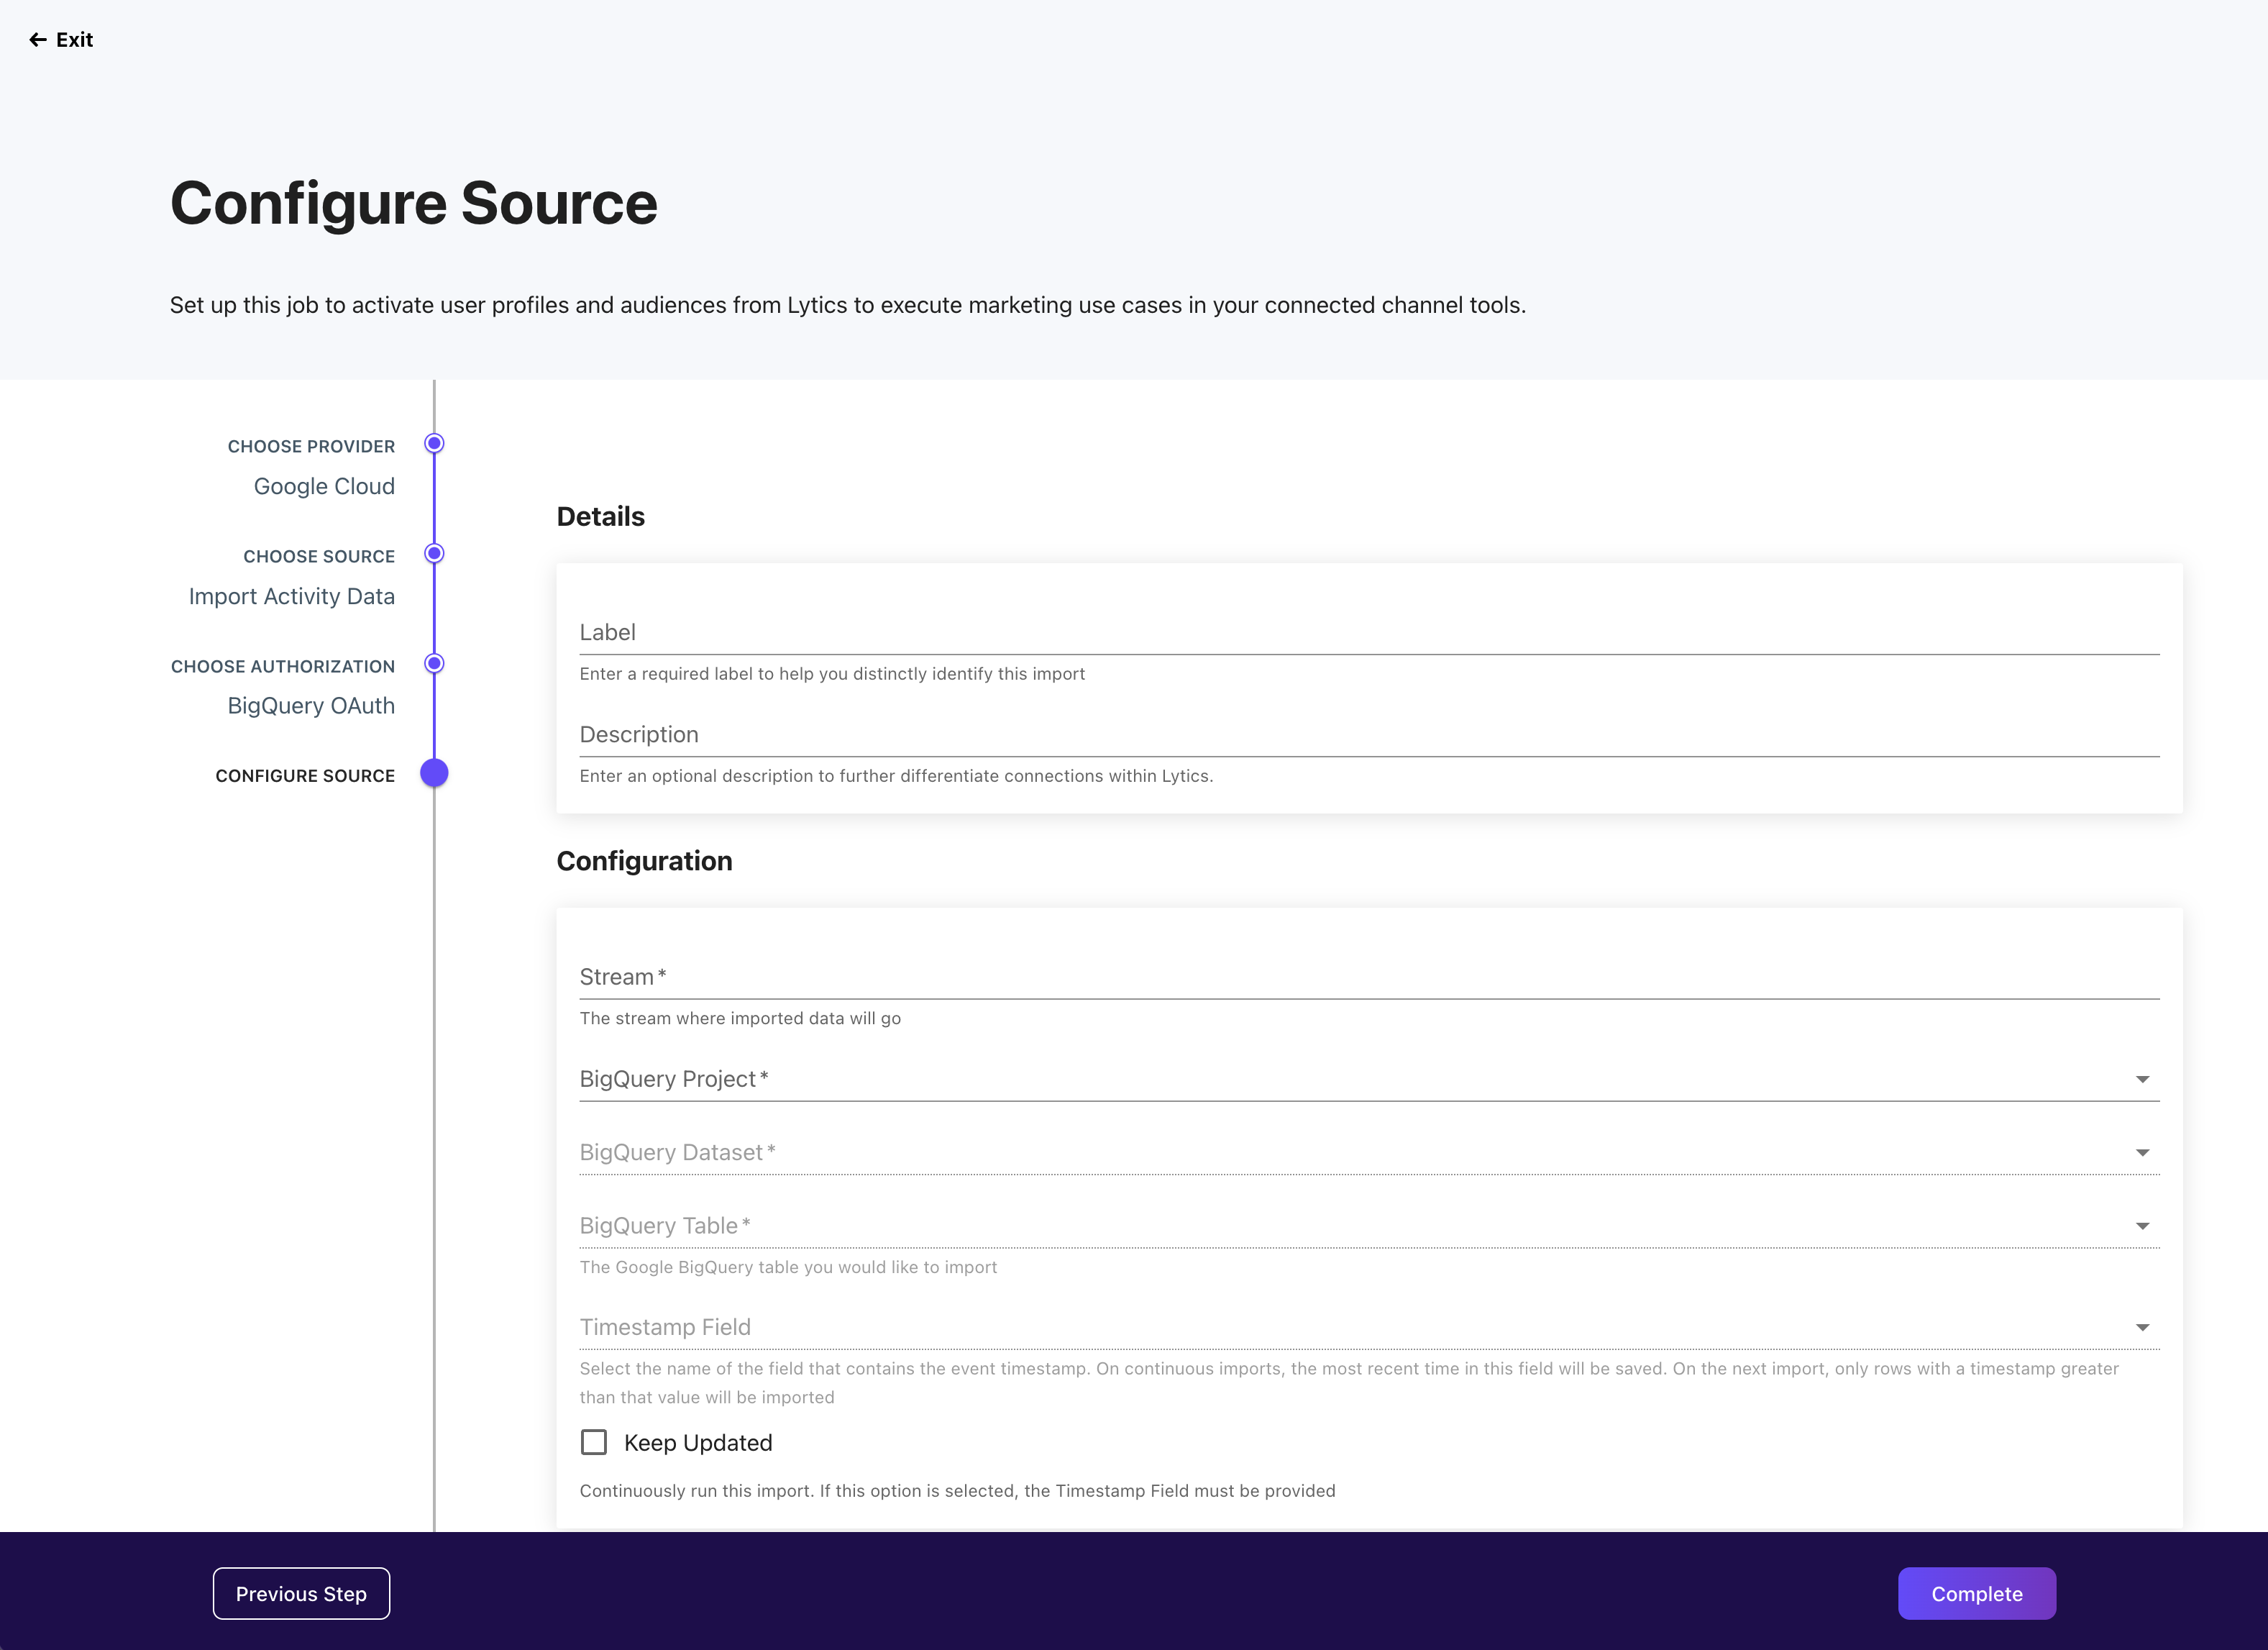
Configure Source
The final step lets you provide the specific configuration details for your chosen provider and job type. Again, the options supported by each provider will vary greatly, and provider-specific integration details should be leveraged to determine the optimal approach.
Monitoring a Source
Once you have one or more Source jobs running, they will be accessible from the Source list view, as pictured below. This view provides quick access to essential details:
- Name: Name of job, such as "Export of High-Value Users to Facebook."
- Authorization: Name of the associated authorization.
- Provider: Third-party tool that you are connecting with Lytics.
- Type: Indicates whether the job is an import, export, or enrichment.
- Status: Current state of a job such as running, paused, completed, etc.
- Created: Date the job was initially created.

Job Status
Detailed states are provided to understand better what is happening in the background during a job's lifecycle. These states will vary by job but include:
| Job Status | Description |
|---|---|
| Running | The job is actively running. |
| Sleeping | The job is not actively running but is scheduled to run again after a given period. A job is sleeping either because the job runs on a periodic cadence with scheduled sleep in between job runs or the job has encountered an error and is sleeping before retrying the request. |
| Failed | The job has encountered consecutive errors over 10 hours and is removed from running again. Check the logs to see if there are any fixable issues. Failed works can be resumed, which will schedule it to run again. Failed jobs will be automatically purged after 90 days. |
| Paused | A user has paused the job. The work can be scheduled to run again by resuming the job. Paused works will be automatically purged after 90 days. |
| Completed | The job has completed all its scheduled tasks and will not be rerun. These will be purged from the job history after 90 days. |
For more information on job states or troubleshooting failed jobs, see job processing.
Job Summary
Clicking on any of the items in the Source list will navigate to its dedicated summary view for greater detail. This summary provides all the relevant information about each job you've created in Lytics and an entry point to alter the configuration or status.
At the top of the Job Summary page, you’ll find the following quick-access information:
- Status: Indicates the current state of a job. See the table below for descriptions of each status.
- Provider: Third-party tool that you are connecting with Lytics, such as Facebook, Google, Mailchimp, etc.
- Type: Indicates whether the job is an import, export, or enrichment.
- Job Name: Name of the job, such as “Import Users & Activity” or “Export Audiences.”
- Authorization: Name of the authorization, such as “Main Salesforce auth.”
- Created By: Lytics user who created the authorization.
- Last Updated: Date the job was most recently edited.

You can edit the name and description of an existing job from its summary page to improve the organization and clarity of your account's list of jobs.
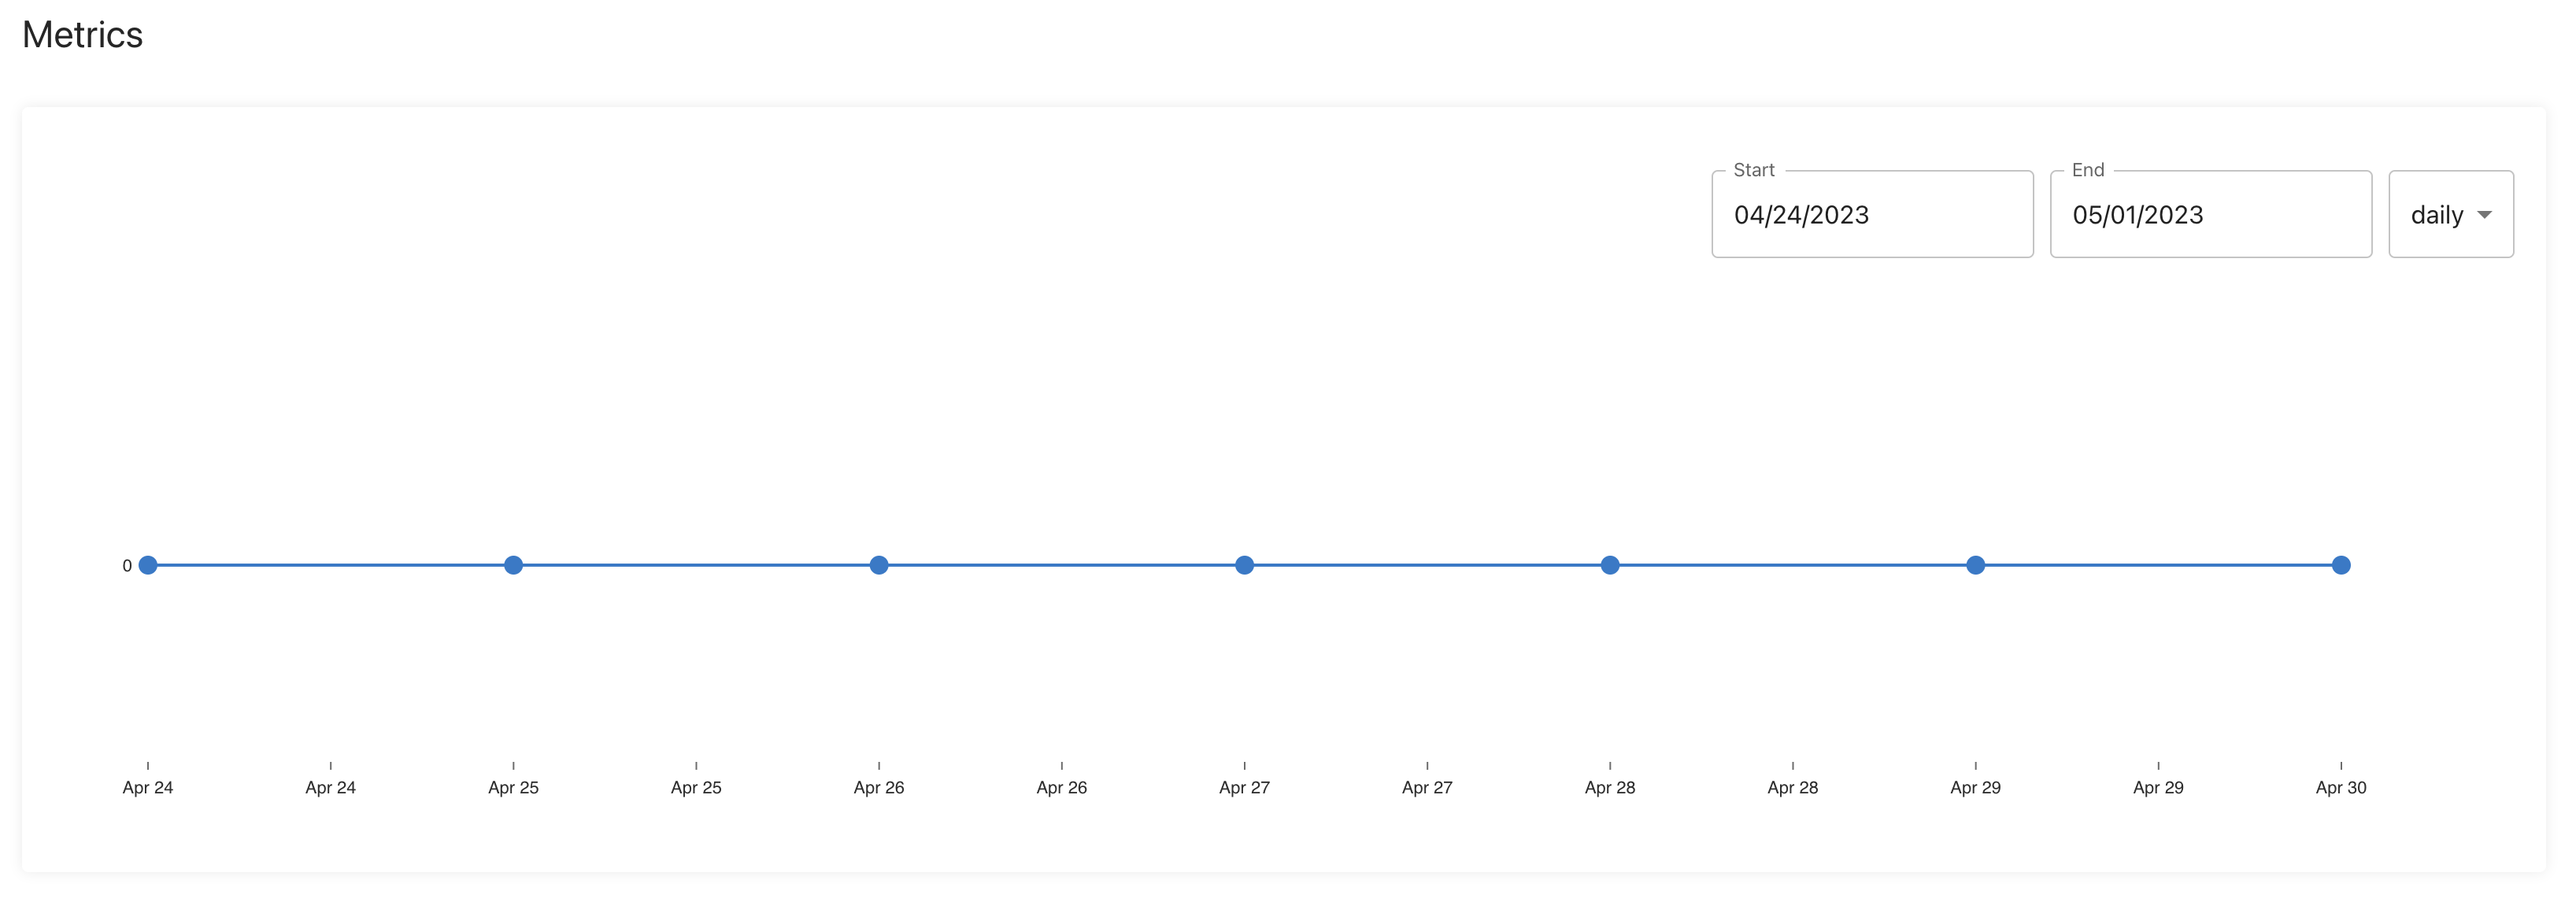
Metrics
The activity chart will provide metrics (if available) on a job's performance to give a better understanding of how your data is flowing in and out of Lytics. You can see the number of profiles the job added, removed, or omitted during the selected time frame. Note this feature is currently in development. Once metrics are available for each job, this chart will become populated.
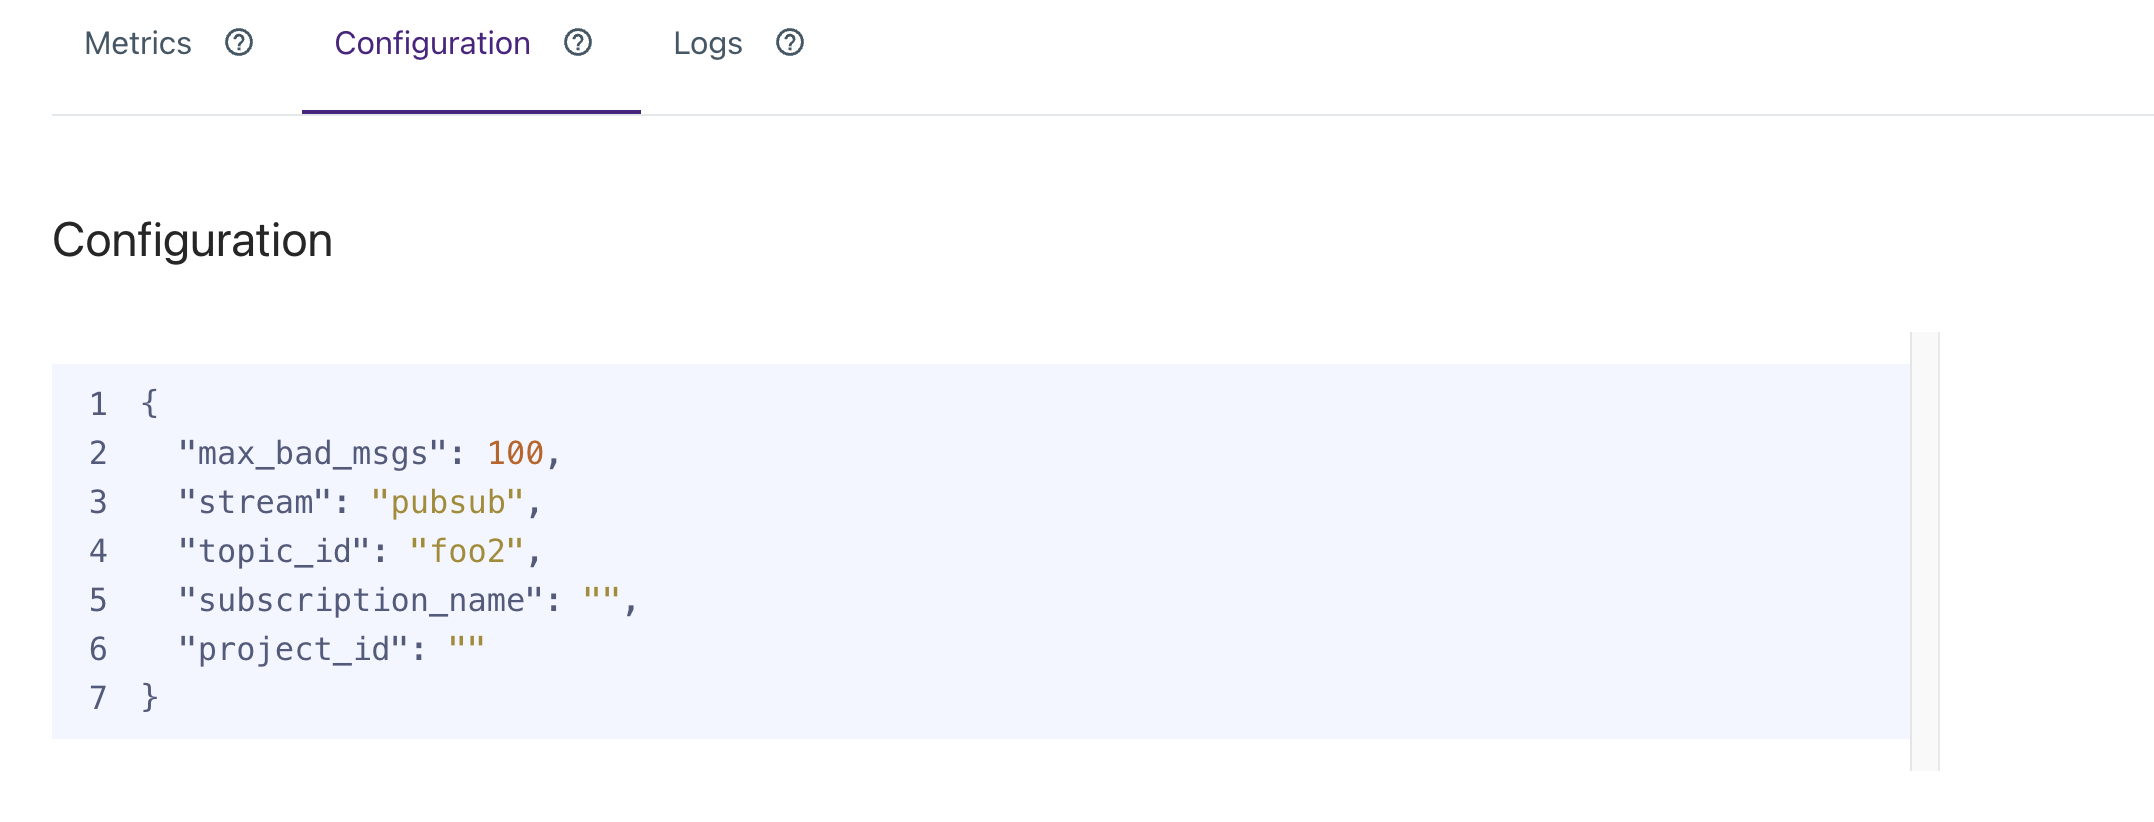
Configuration
The configuration section displays a JSON view of your job's current configuration. This includes details such as the authorization used, where data is coming from, which data is being pulled in, etc.
Logs
The Logs section records the history of events for this job, details about the work completed, and the time each job was run. The logs are helpful to ensure your work is running as expected and for troubleshooting if any issues arise. Below are descriptions of the job events you may see in the logs.
| Job Events | Description |
|---|---|
| Started | The job has started running for the first time. |
| Synced | The job has completed a unit of work successfully and will continue to run. |
| Error | The job has encountered an error and will retry automatically. |
| Sleeping | The job is currently sleeping due to external restrictions, such as hitting a provider's API limits. |
| Failed | The job has encountered consecutive errors over 10 hours and is removed from running again. |
| Completed | The job has completed all its scheduled tasks and will not be rerun. |
Backfilling Data
Some use cases involve having historical data available for segmentation. This data might be demographic in nature, or describe how customers prefer to be contacted. This document offers guidelines for cases where large amounts of this data must be available in your Lytics account.
Best Practices
Separate Backfill from Real-time Streams
A real-time data stream contains messages sent in response to the activity they describe. This is distinguished from batched data streams, where messages are sent in groups on a given schedule or according to another trigger.
For attributes that will be kept updated by a real-time stream, there is the additional requirement to populate that attribute with a substantial amount of pre-existing information, separating that backfilling from now-forward messages.
Backfill messages can be sent using multiple means. API loads should be sent via the bulk CSV or bulk JSON endpoints. It is also possible to use integration workflows to import this data, such as Amazon Web Services (AWS) S3.
The benefit of separating this data from real-time message streams is that the processing of backfill messages does not impact the processing time of messages received from real-time streams. The bulk imports are processed in parallel to real-time messages. This means that marketing activations reliant on real-time updates are not affected.
Utilize Timestamps
Whenever possible, all messages should have an explicit timestamp. While all messages are additionally time stamped by Lytics at the time of ingestion, specifying a message timestamp is helpful in all circumstances, particularly in cases when messages are received out of order so that Lytics knows which one is the most up-to-date. It is essential when a backfill occurs concurrently with a real-time stream of the same attribute.
All means of loading data permit specifying timestamps. Via API, this is via a timestamp_field URL parameter. In the Admin UI, data import configuration options feature a menu to pick among the file schema for a timestamp field.
Evaluate Necessity
All messages imported into your Lytics account are stored in their raw form and represented as profile attributes in the graph. The purpose of storing all messages is to enable the reprocessing of those messages, a process called rebuilding. Rebuilding enables all received messages to be represented differently with different attributes, identity resolution rules, etc.
All data ingested into Lytics incrementally increase the overhead of rebuilding, making it a longer and more processing-intensive operation. Therefore, before importing large amounts of data, consider the value/benefit of that data. If there is no clear use case for backfilling, consider skipping it.
Updated 5 months ago
