

BlueKai
Overview
BlueKai is a data management platform owned by Oracle that enables marketing personalization through audience targeting, optimizing media buys, and improving campaign performance.
Integrating Lytics with BlueKai enables better ad targeting by exporting Lytics audiences enriched with behavioral scores, content affinities, and data-driven insights.
Authorization
If you haven't already done so, you will need to setup a BlueKai account before you begin this authorization process. Following are the two ways that allows you to export your file on an SFTP server before importing into BlueKai.
If you are new to creating authorizations in Lytics, see the Authorizations documentation for more information.
- Select BlueKai from the list of providers.
- Select the method for authorization. Note that different methods may support different job types. BlueKai supports the following authorization methods:
- Enter a Label to identify your authorization.
- (Optional) Enter a Description for further context on your authorization.
- Complete the configuration steps needed for your authorization. These steps will vary by method.
- Click Save Authorization.
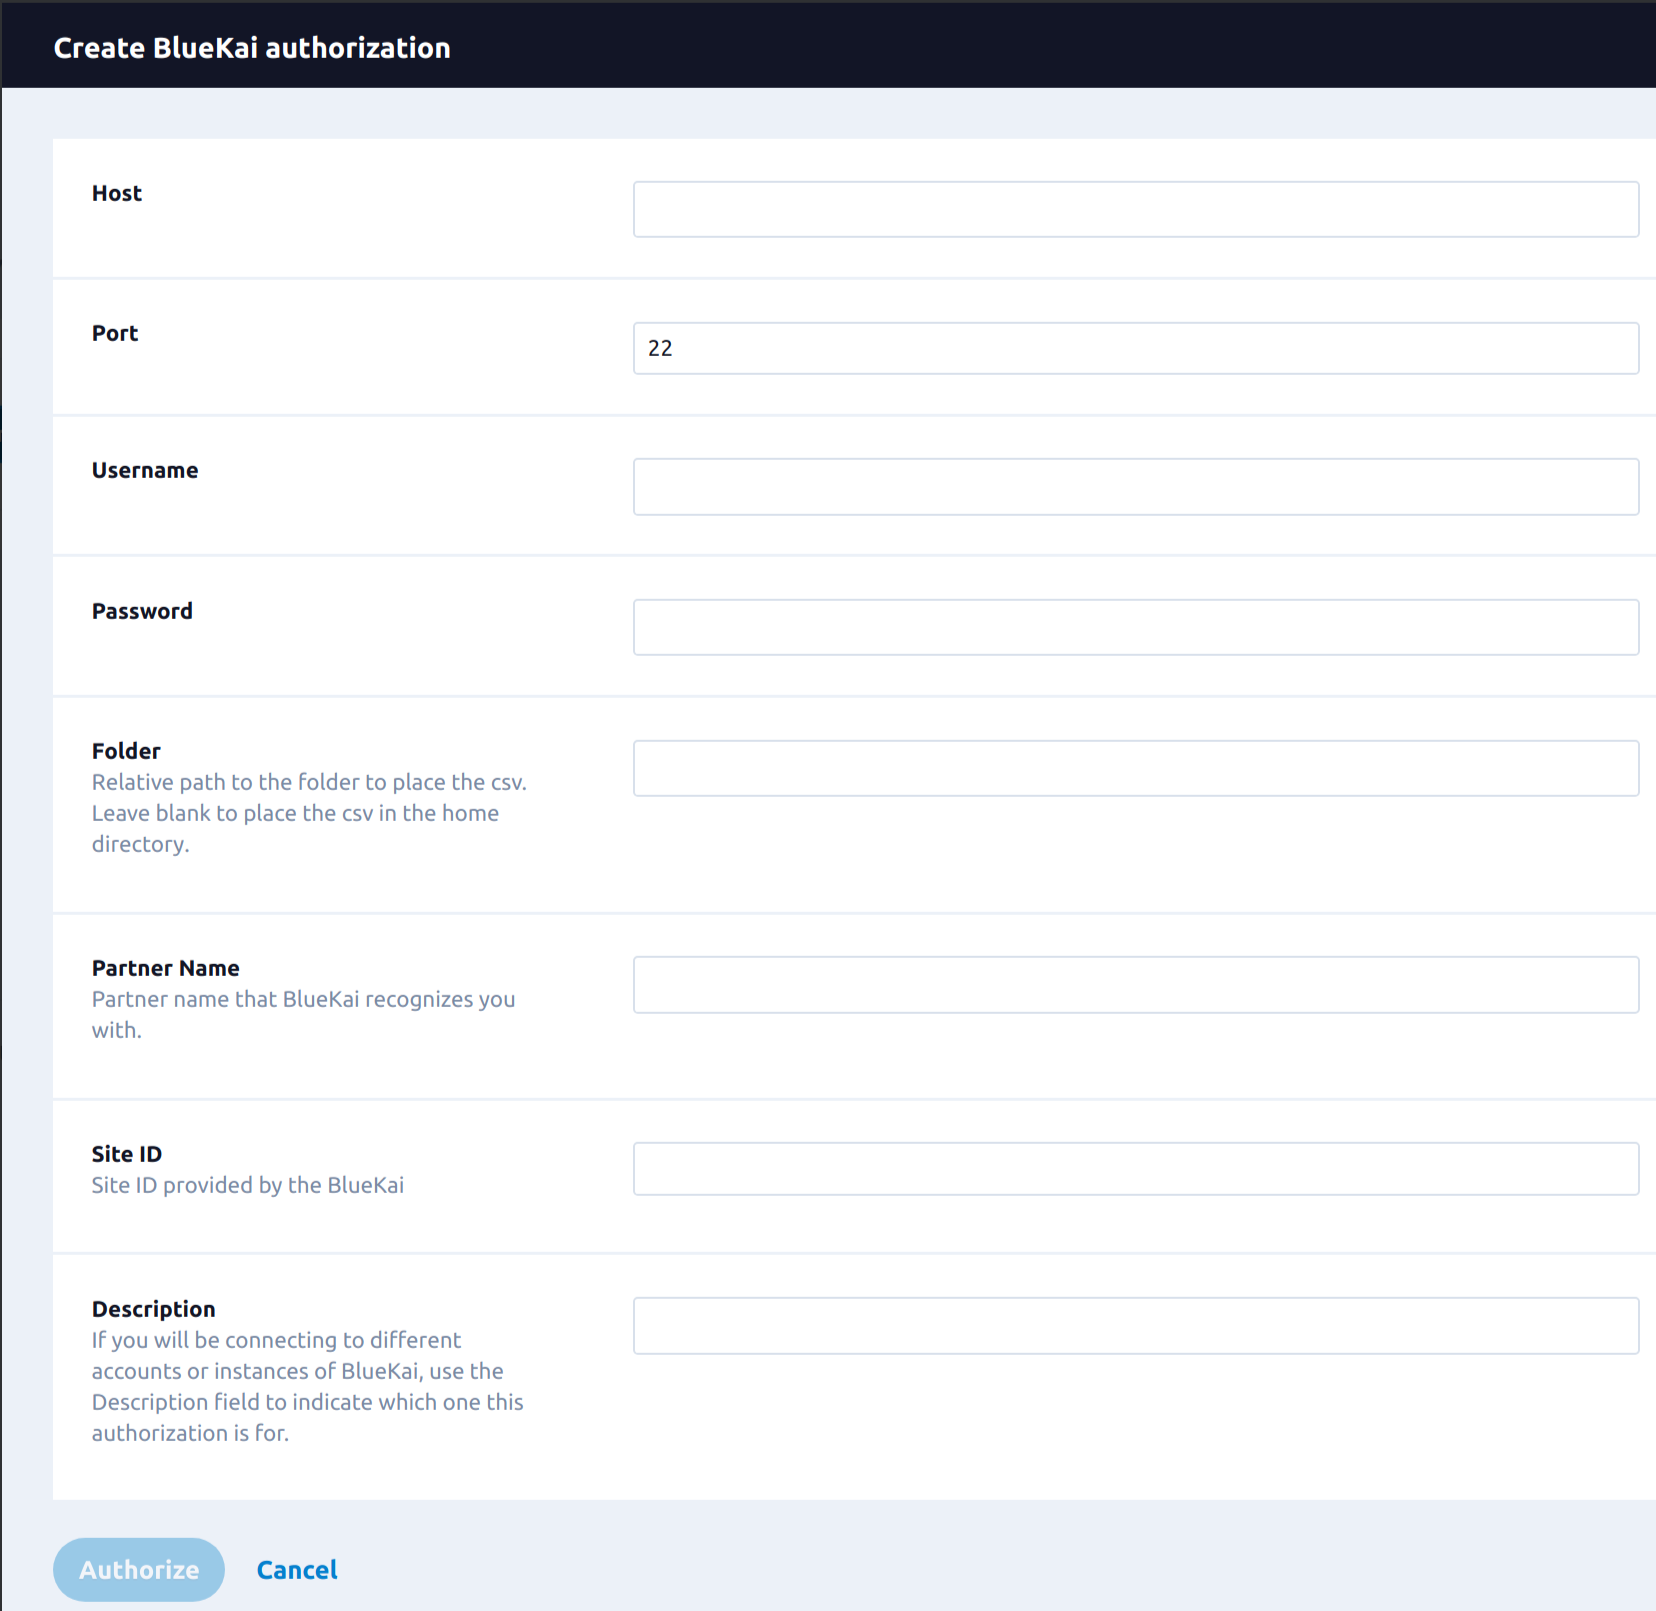
BlueKai SFTP Server with Username and Password
For this authorization method, you will need the following credentials: SFTP host name or IP address, port number, username and password for the SFTP server. You may also want to have your partner name (the name that Bluekai recognizes your account with), and the site ID of your Bluekai container. If you have a specific folder you want data loaded into in BlueKai, you should have the full path to it from the root of your SFTP login.
- In the Label text box, enter a name for the authorization
- (optional) In the Description text box, enter a description for this authorization
- In the Host box, enter the host name or IP address of the SFTP server you want to upload to.
- In the Port box, enter the port number for the SFTP server.
- In the Username box, enter the username for the SFTP server.
- In the Password box, enter the password for the SFTP server.
- (optional) In the Folder box, enter the relative path to the folder to place the file.
- (optional) In the Partner Name box, enter the name that BlueKai recognizes you with.
- (optional) In the Site ID box, enter the Site ID of the container of BlueKai
- Click Save Authorization.

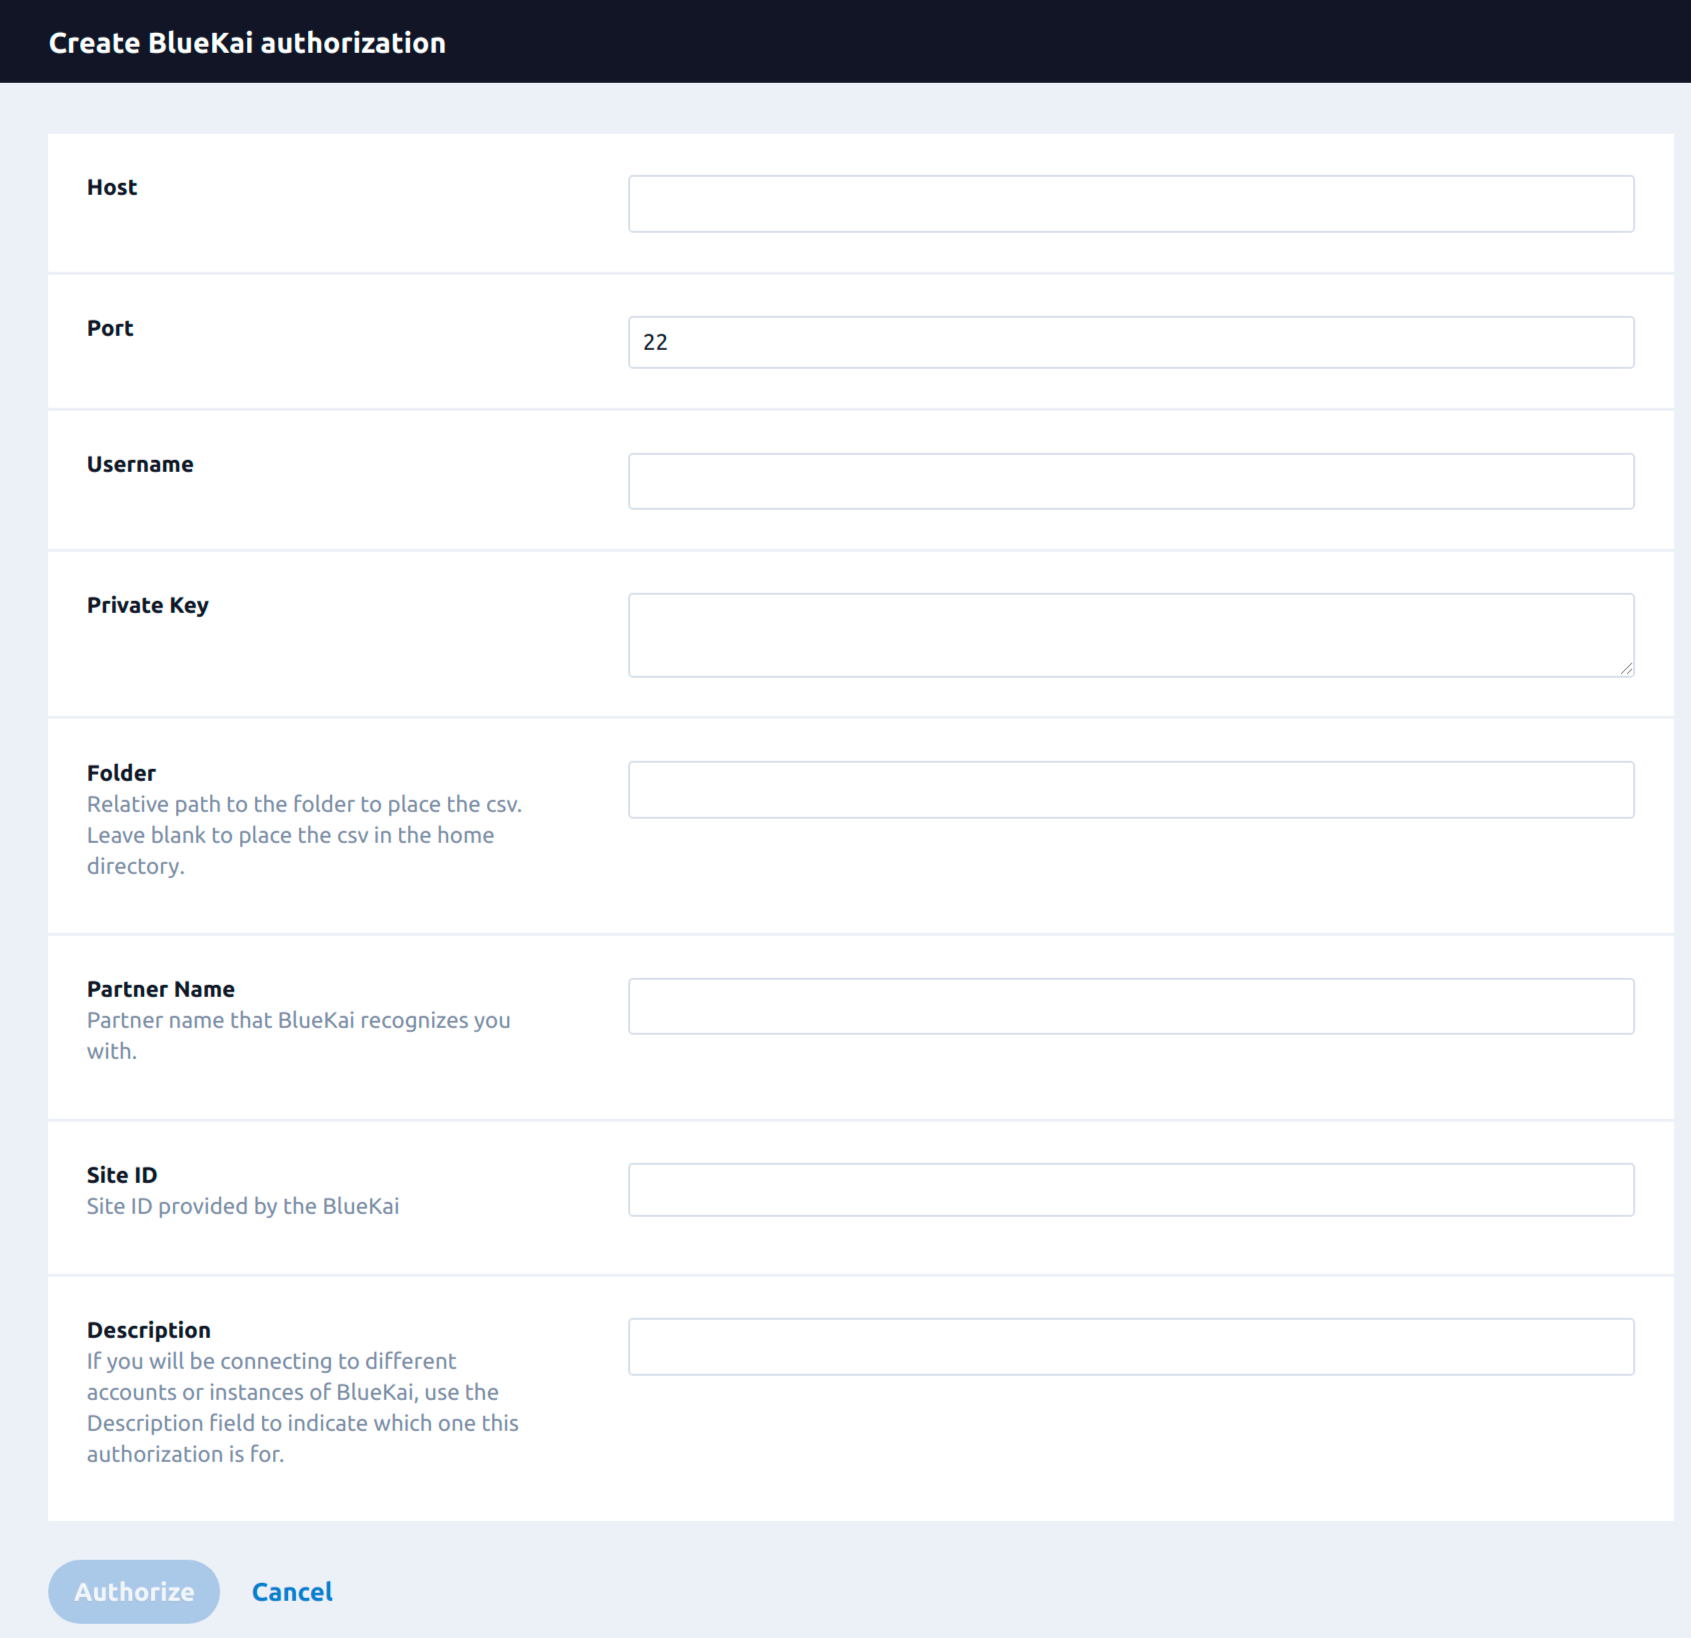
BlueKai SFTP Server with Username and Private Key
For this authorization method, you will need the following credentials: SFTP host name or IP address, port number, username and private key for the SFTP server. You may also want to have your partner name (the name that Bluekai recognizes your account with), and the site ID of your Bluekai container. If you have a specific folder you want data loaded into in BlueKai, you should have the full path to it from the root of your SFTP login.
- In the Label text box, enter a name for the authorization
- (optional) In the Description text box, enter a description for this authorization
- In the Host box, enter the host name or IP address of the SFTP server you want to upload to.
- In the Port box, enter the port number for the SFTP server.
- In the Username box, enter the username for the SFTP server.
- In the Private Key box, enter the ssh private key of your account for the SFTP server. This key is usually generated by you. Important to mention that Lytics is compatible with keys in the OpenSSH format. If you used a tool like PuTTY to generate your key make sure you export it to the OpenSSH format.
- In the Folder box, enter the relative path to the folder to place the file.
- In the Partner Name box, enter the name that BlueKai recognizes you with.
- In the Site ID box, enter the Site ID of the container of BlueKai.
- Click Save Authorization.

SFTP Export
Exporting user profiles and audience membership to BlueKai allows you to use behavioral data, content affinities, and insights from Lytics for better ad targeting. Export your audiences to SFTP to stage your files in a compressed, tab-separated value (TSV) format before importing into BlueKai.
Integration Details
- Implementation Type: Server-side Integration.
- Implementation Technique: File Based Transfer Integration.
- Frequency: Batch Integration with Backfill, frequency can be configured.
- Resulting data: User profiles and audience membership.
This workflow uploads two files in the selected SFTP server: Offline file and Trigger file. In short, the Offline file contains all the exported data about the user, and the Trigger file contains meta information about the Offline file.
We follow BlueKai's documentation in creating the Offline file. Data is exported in TSV format with two columns and no header row. Each line in the Offline file represents a unique user. The first column contains the identifier for the user whereas the second column contains the user profile fields that are separated by a pipe "|". An example of an entry in exported file is given below:
some_unique_idfield1=value|field2=value|field3=value*
The Offline file follows the Partner_SiteID_YYYY-MM-DD.gz naming conventions. Lytics collects Partner name and Site ID during the authorization step.
The Trigger file contains the information about the exported Offline file such as file name, size in bytes and MD5 checksum. This file is used for verification purposes so that all the user data is transferred without any corruption. The Trigger file is created and uploaded only after the Offline file is uploaded. The Trigger file follows the Partner_SiteID_YYYY-MM-DD.gz.trigger naming convention.
Once the job is started, it will:
- Connect to the SFTP server.
- Navigate to the configured folder in the SFTP server.
- Create a compressed TSV file in the SFTP server.
- Scan the audience and process users into TSV lines with two columns.
- Write TSV lines to the file.
- Close the completed file.
- Create the Trigger file and disconnect from the SFTP server.
- Schedule the next run.
- BlueKai imports the file for processing. See BlueKai's documentation for more details on setting up BlueKai to import the file.
Fields
Fields that are exported for this integration are entirely defined by the Fields to Export step in the configuration.
Configuration
Follow these steps to set up and configure an export job for BlueKai in the Lytics platform.
-
Select BlueKai from the list of providers.
-
Select the Export Audiences job type from the list.
-
Select the Authorization you would like to use or create a new one.
-
Enter a Label to identify this job you are creating in Lytics.
-
(Optional) Enter a Description for further context on your job.
-
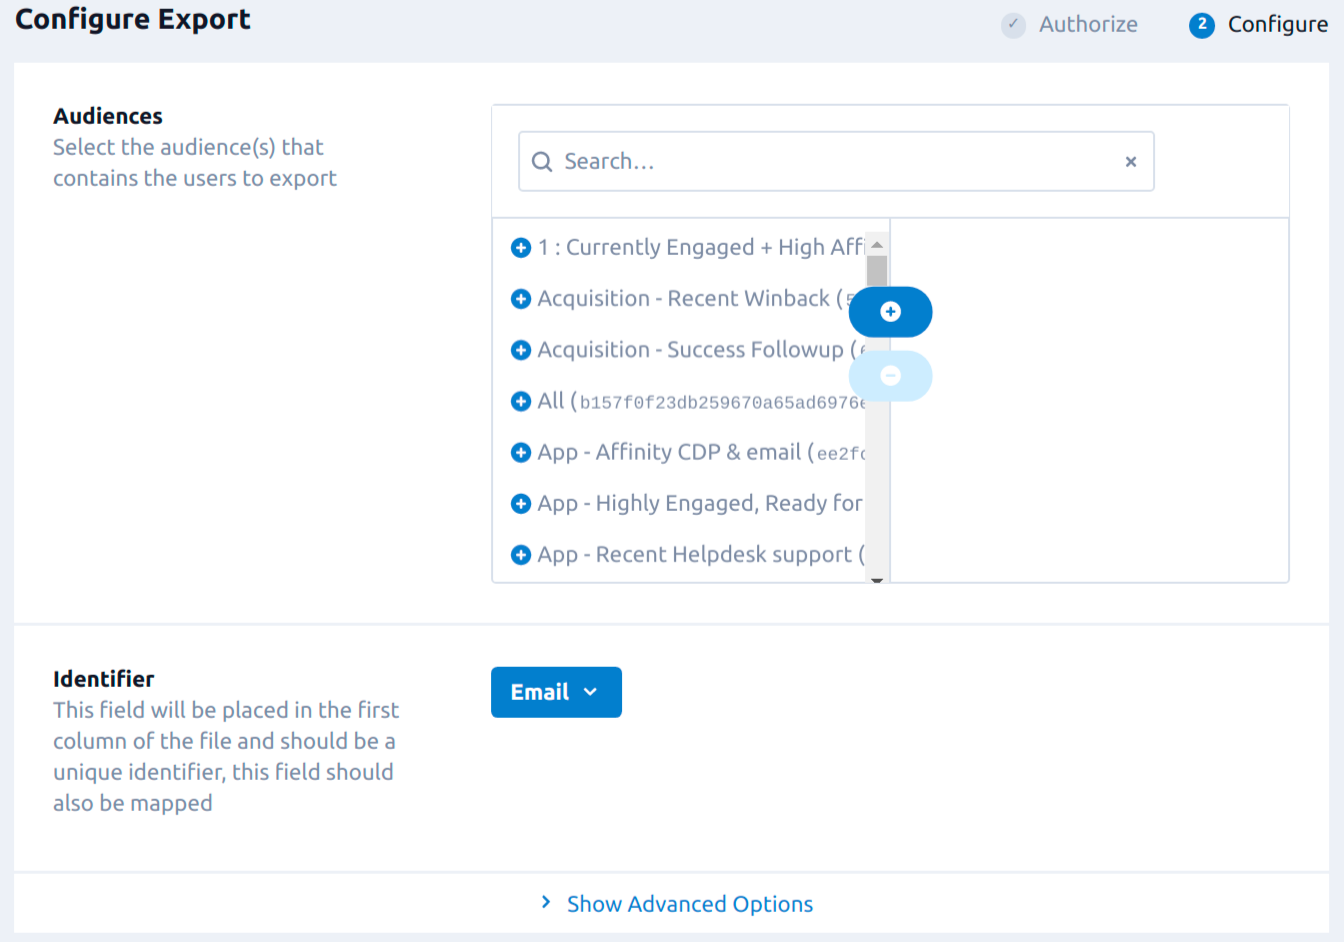
From the Audiences input, select the audience(s) that contains the users to export.
-
(optional) From the Identifier input, select the field that will be placed in the first column of the file. This field should be a unique identifier and be selected in the Fields to export.
-
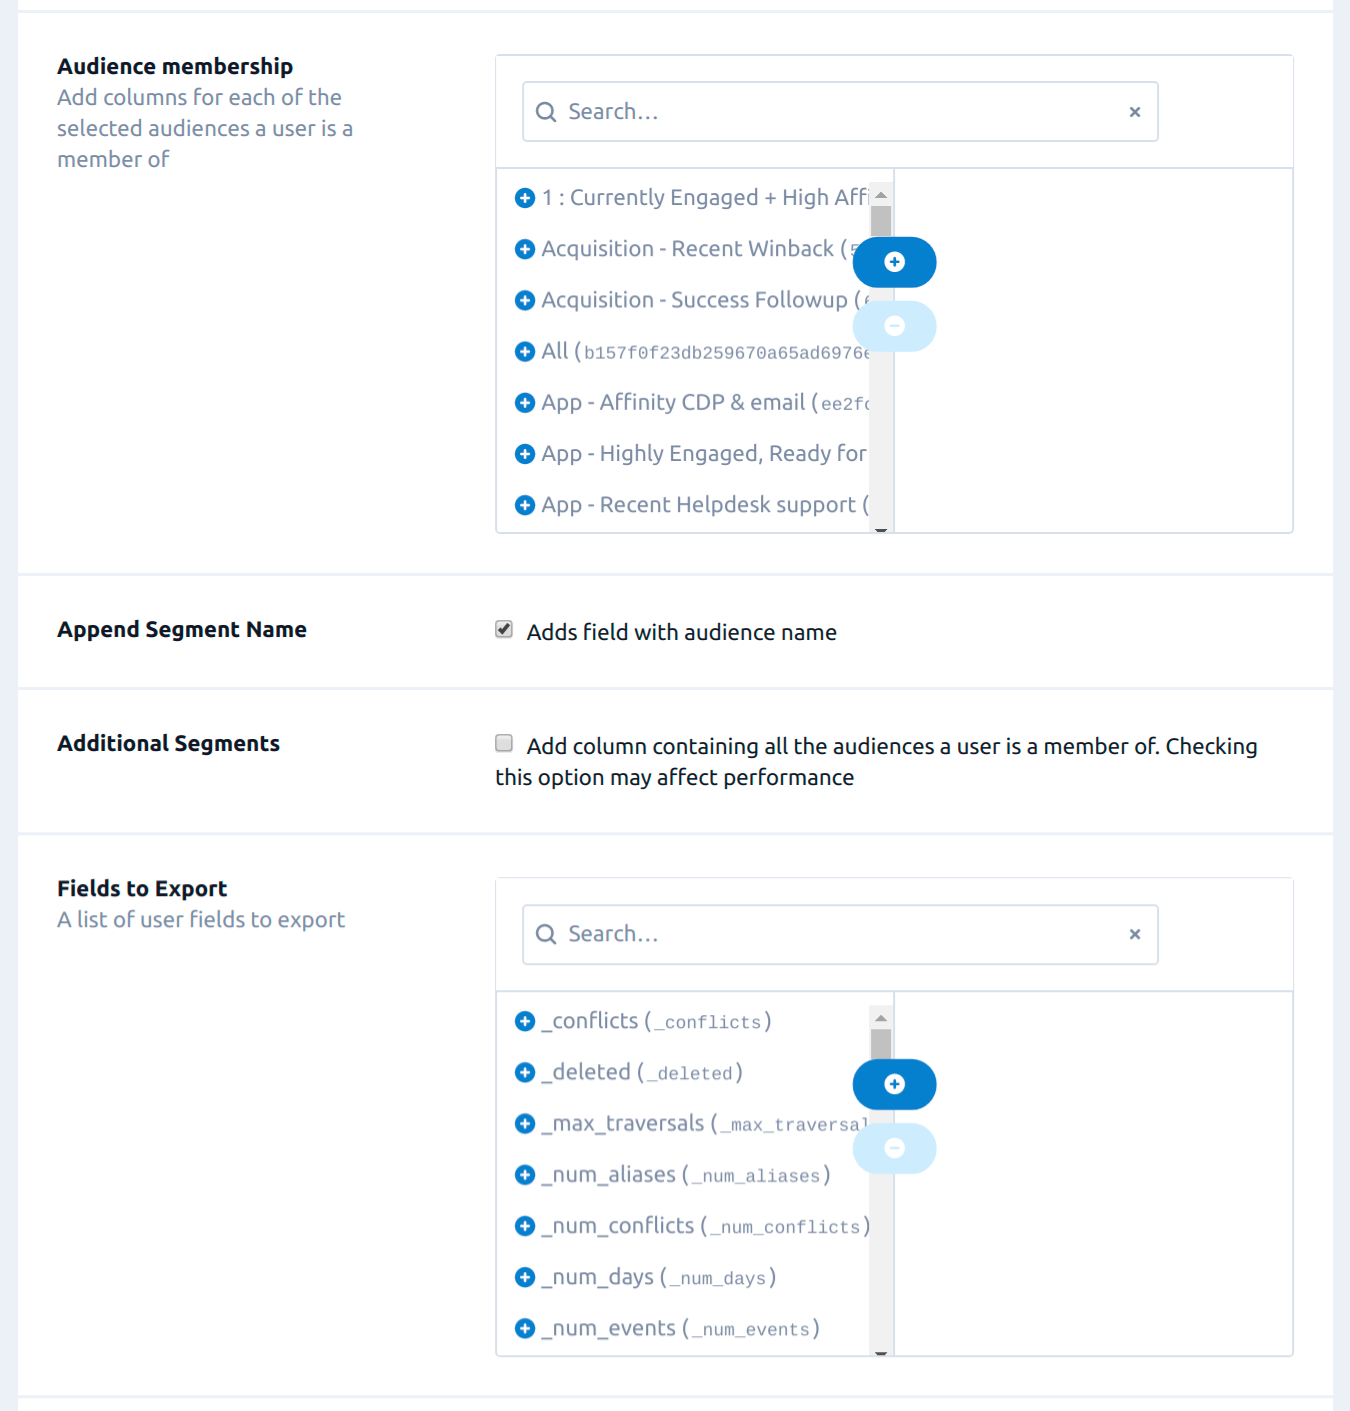
(optional) From the Audience membership input, select the audiences to include in the audience membership. If left blank, all audiences will be included.
-
(optional) Select the Append Segment Name checkbox to add a field with the audience name.
-
(optional) Select the Additional Segments checkbox to add a column containing all the audiences a user is a member of.
-
(optional) From the Fields to Export input, select the user fields to export.
-
(optional) From the Custom Join input, enter a custom join character for fields that have multiple values. The default is "&". E.g.
[email protected]&[email protected]. -
(optional) Select the Continuous Export checkbox to export the audience repeatedly.
-
(optional) From the File Export Frequency input, select how often a continuous export should create a new file.
-
(optional) From the Time of Day input, select the time of day to start the export each day. This applies to daily, weekly, and monthly frequencies only.
-
(optional) From the Timezone input, select the timezone for the time of day.
-
Click Start Export.


Updated 5 months ago