

Creating Templates Using the UI
Creating Templates
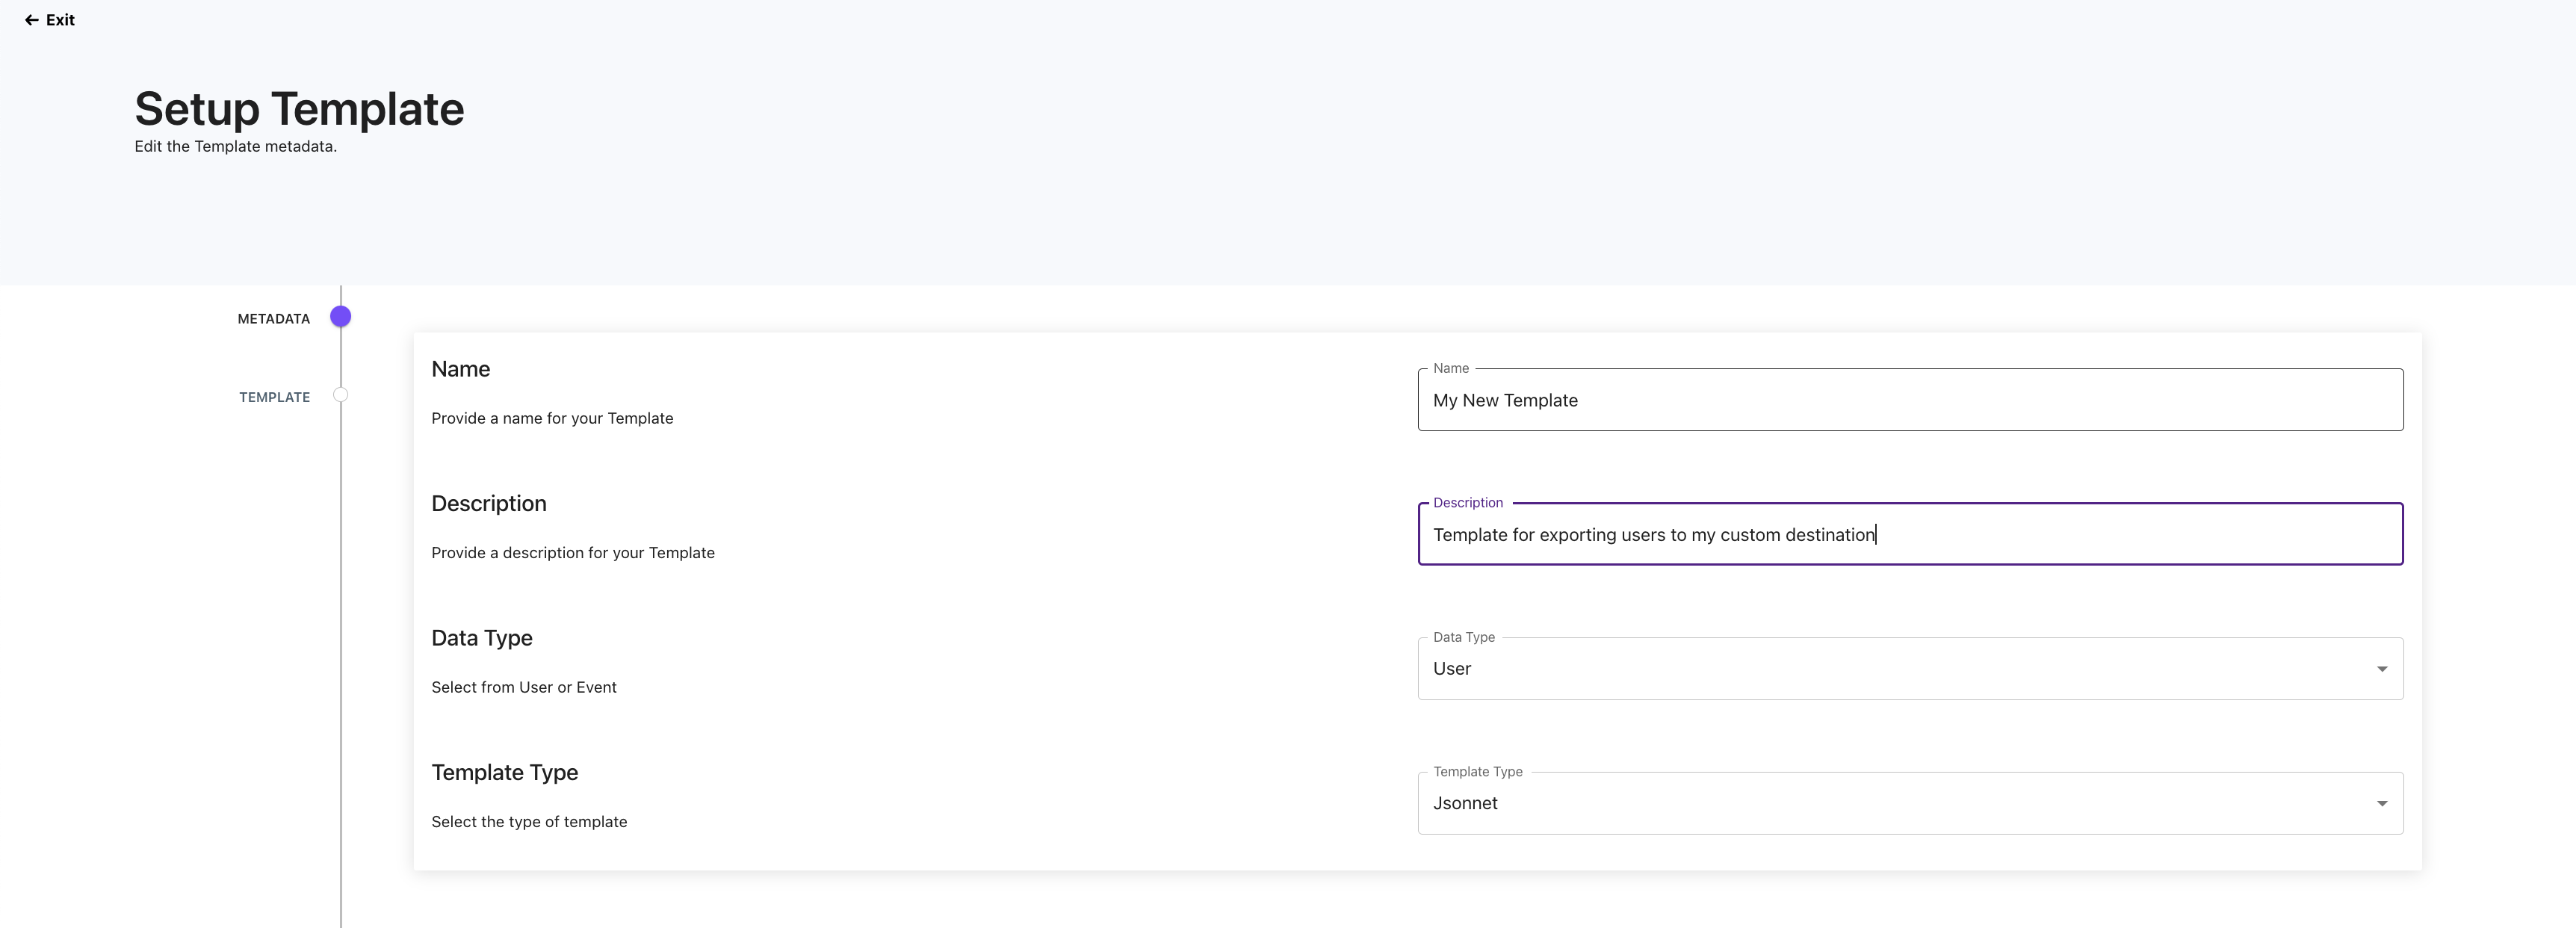
Clicking the + Create New button will open a wizard that will guide you through creating a new Template. The first step involves selecting a Name, Description, Data-Type, and Template-Type. The Data-Type allows you to select the type of data used by the Template, either User or Event (the default option is User ). The Template-Type configures the type of templating language used by the Template, either JavaScript , Jsonnet, or Handlebars.js.
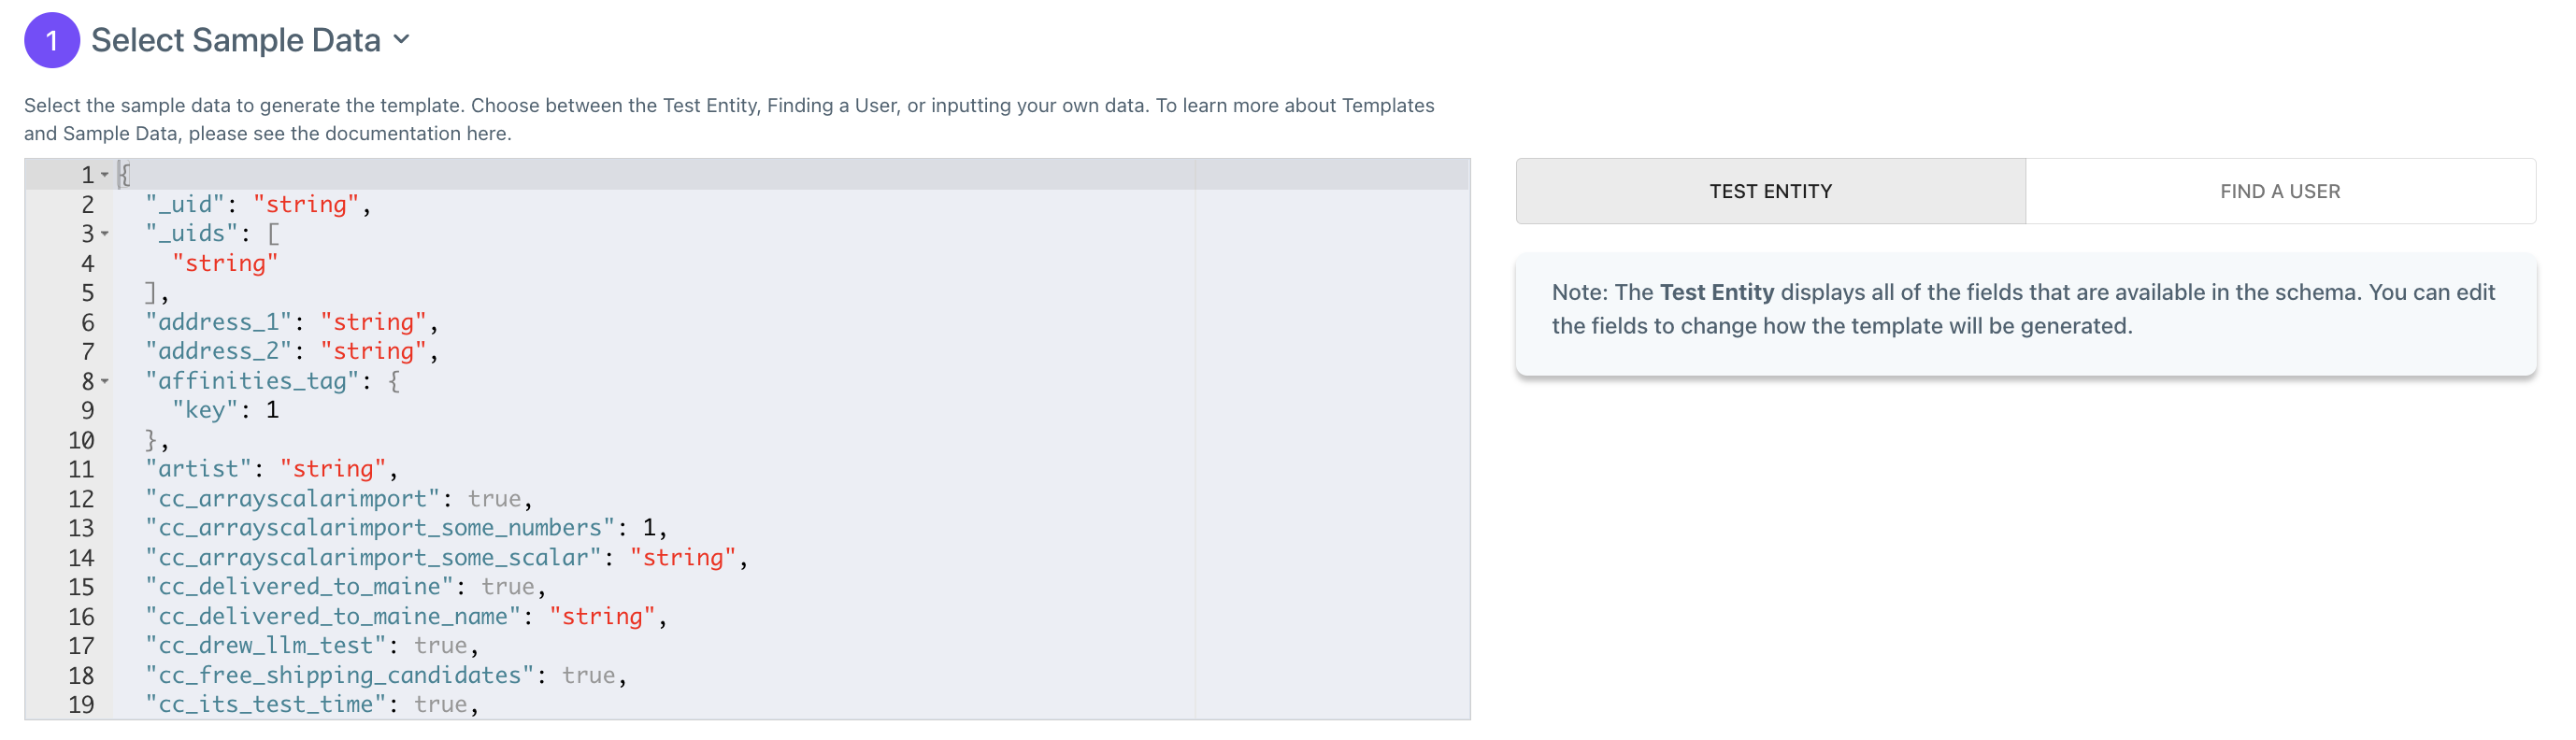
After clicking Next, you will be guided to the Template configuration page where you must first select the type of Sample Data used by the Template. If the User data-type was selected, you will see a dummy user comprised of all of the fields in the user schema, or the option to search for a user.
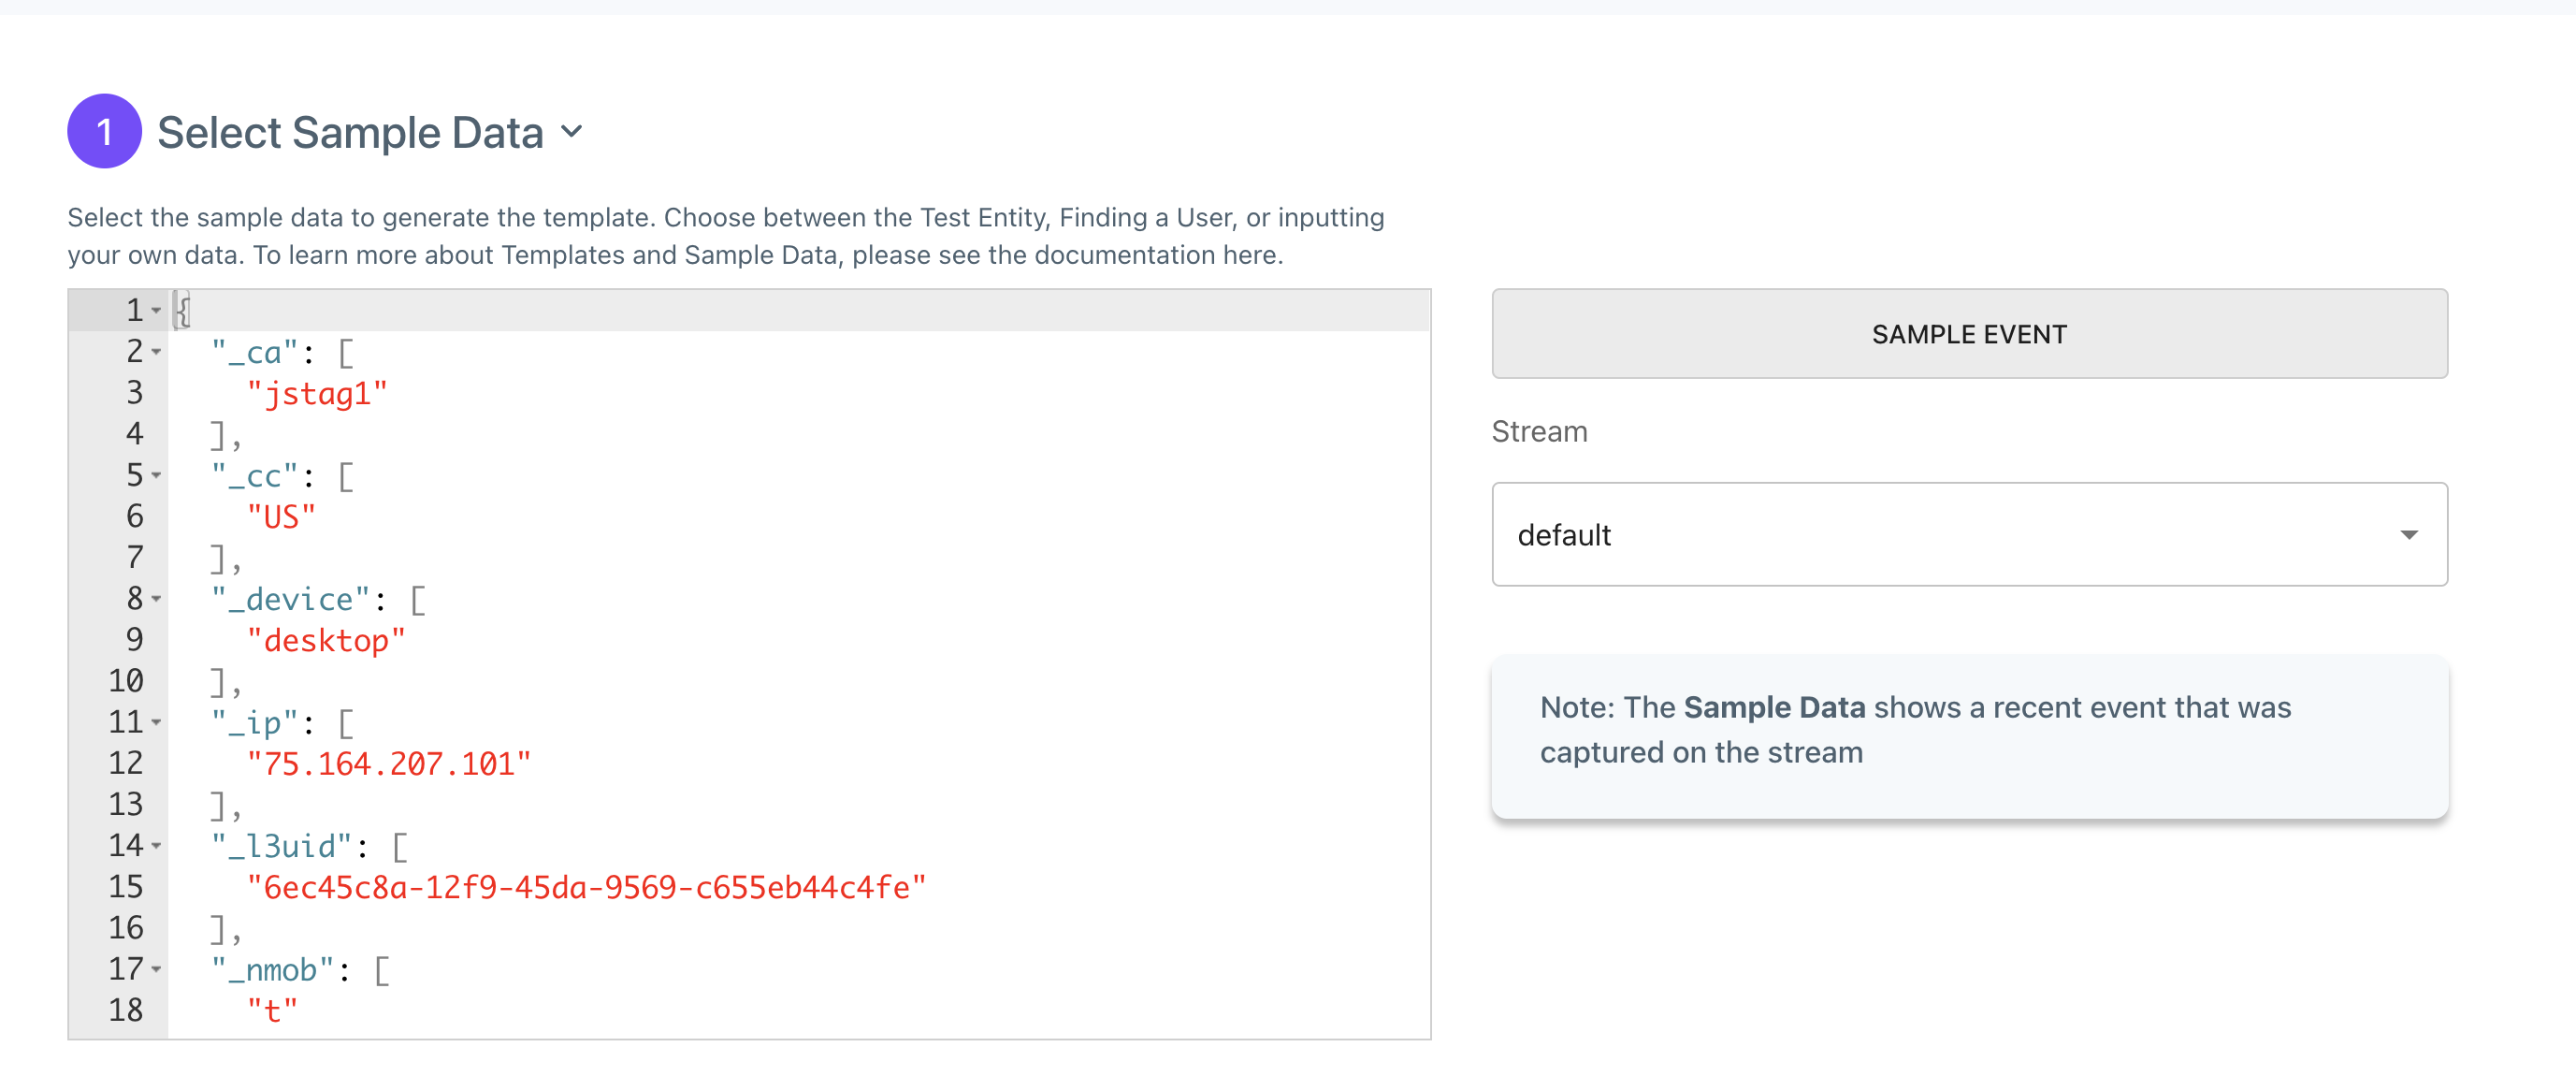
If the Event data-type was selected in the previous step, the Sample Data will be populated by a recent event from the selected stream.
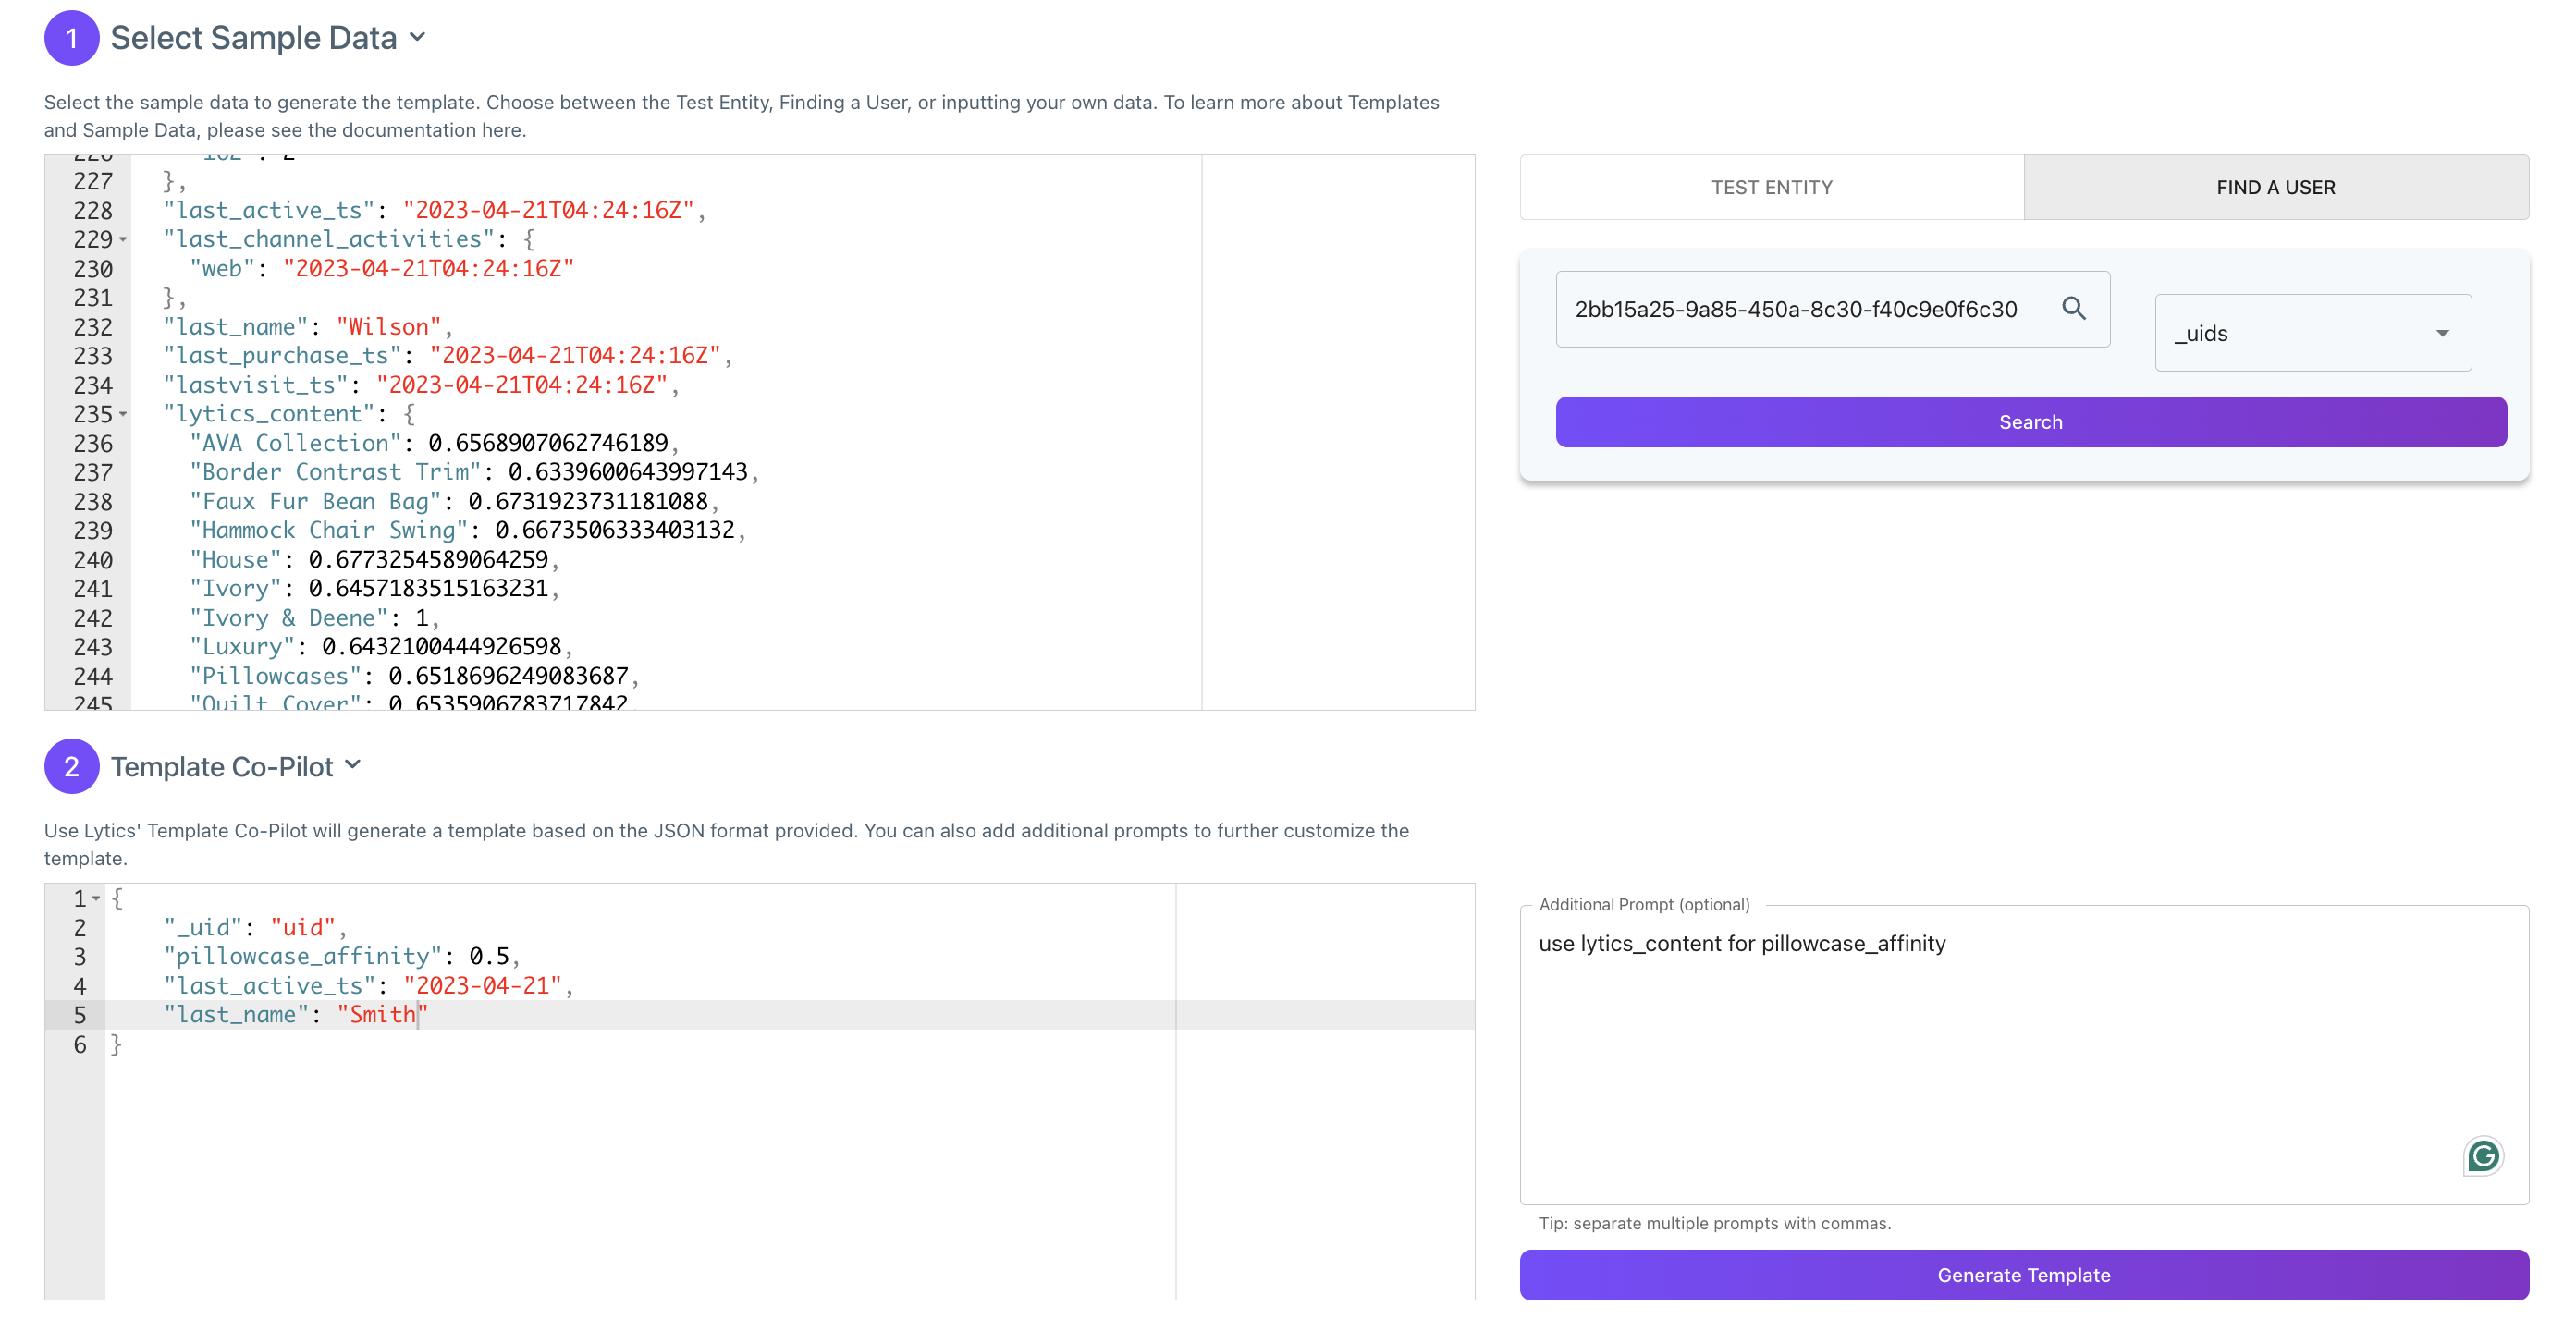
Once the Sample Data has been selected, Step 2 involves specifying your desired JSON structure for your destination in the Template Co-Pilot text box. Consider the example below where we specify the structure of our JSON payload, with fields such as _uid, last_active_ts, last_name, and pillowcase_affinity(derived from the lytics_content field). We are also using the Find a User feature to populate the Sample Data. Note: this example is using the Additional Prompt text box to assist the Co-Pilot in generating the template. Here we are instructing the Co-Pilot to use the lytics_content field to derive the pillowcase_affinity template field.
Once Generate Template has been clicked, the text box in (3) will populate with the template. With the previous example, the following template has been generated:
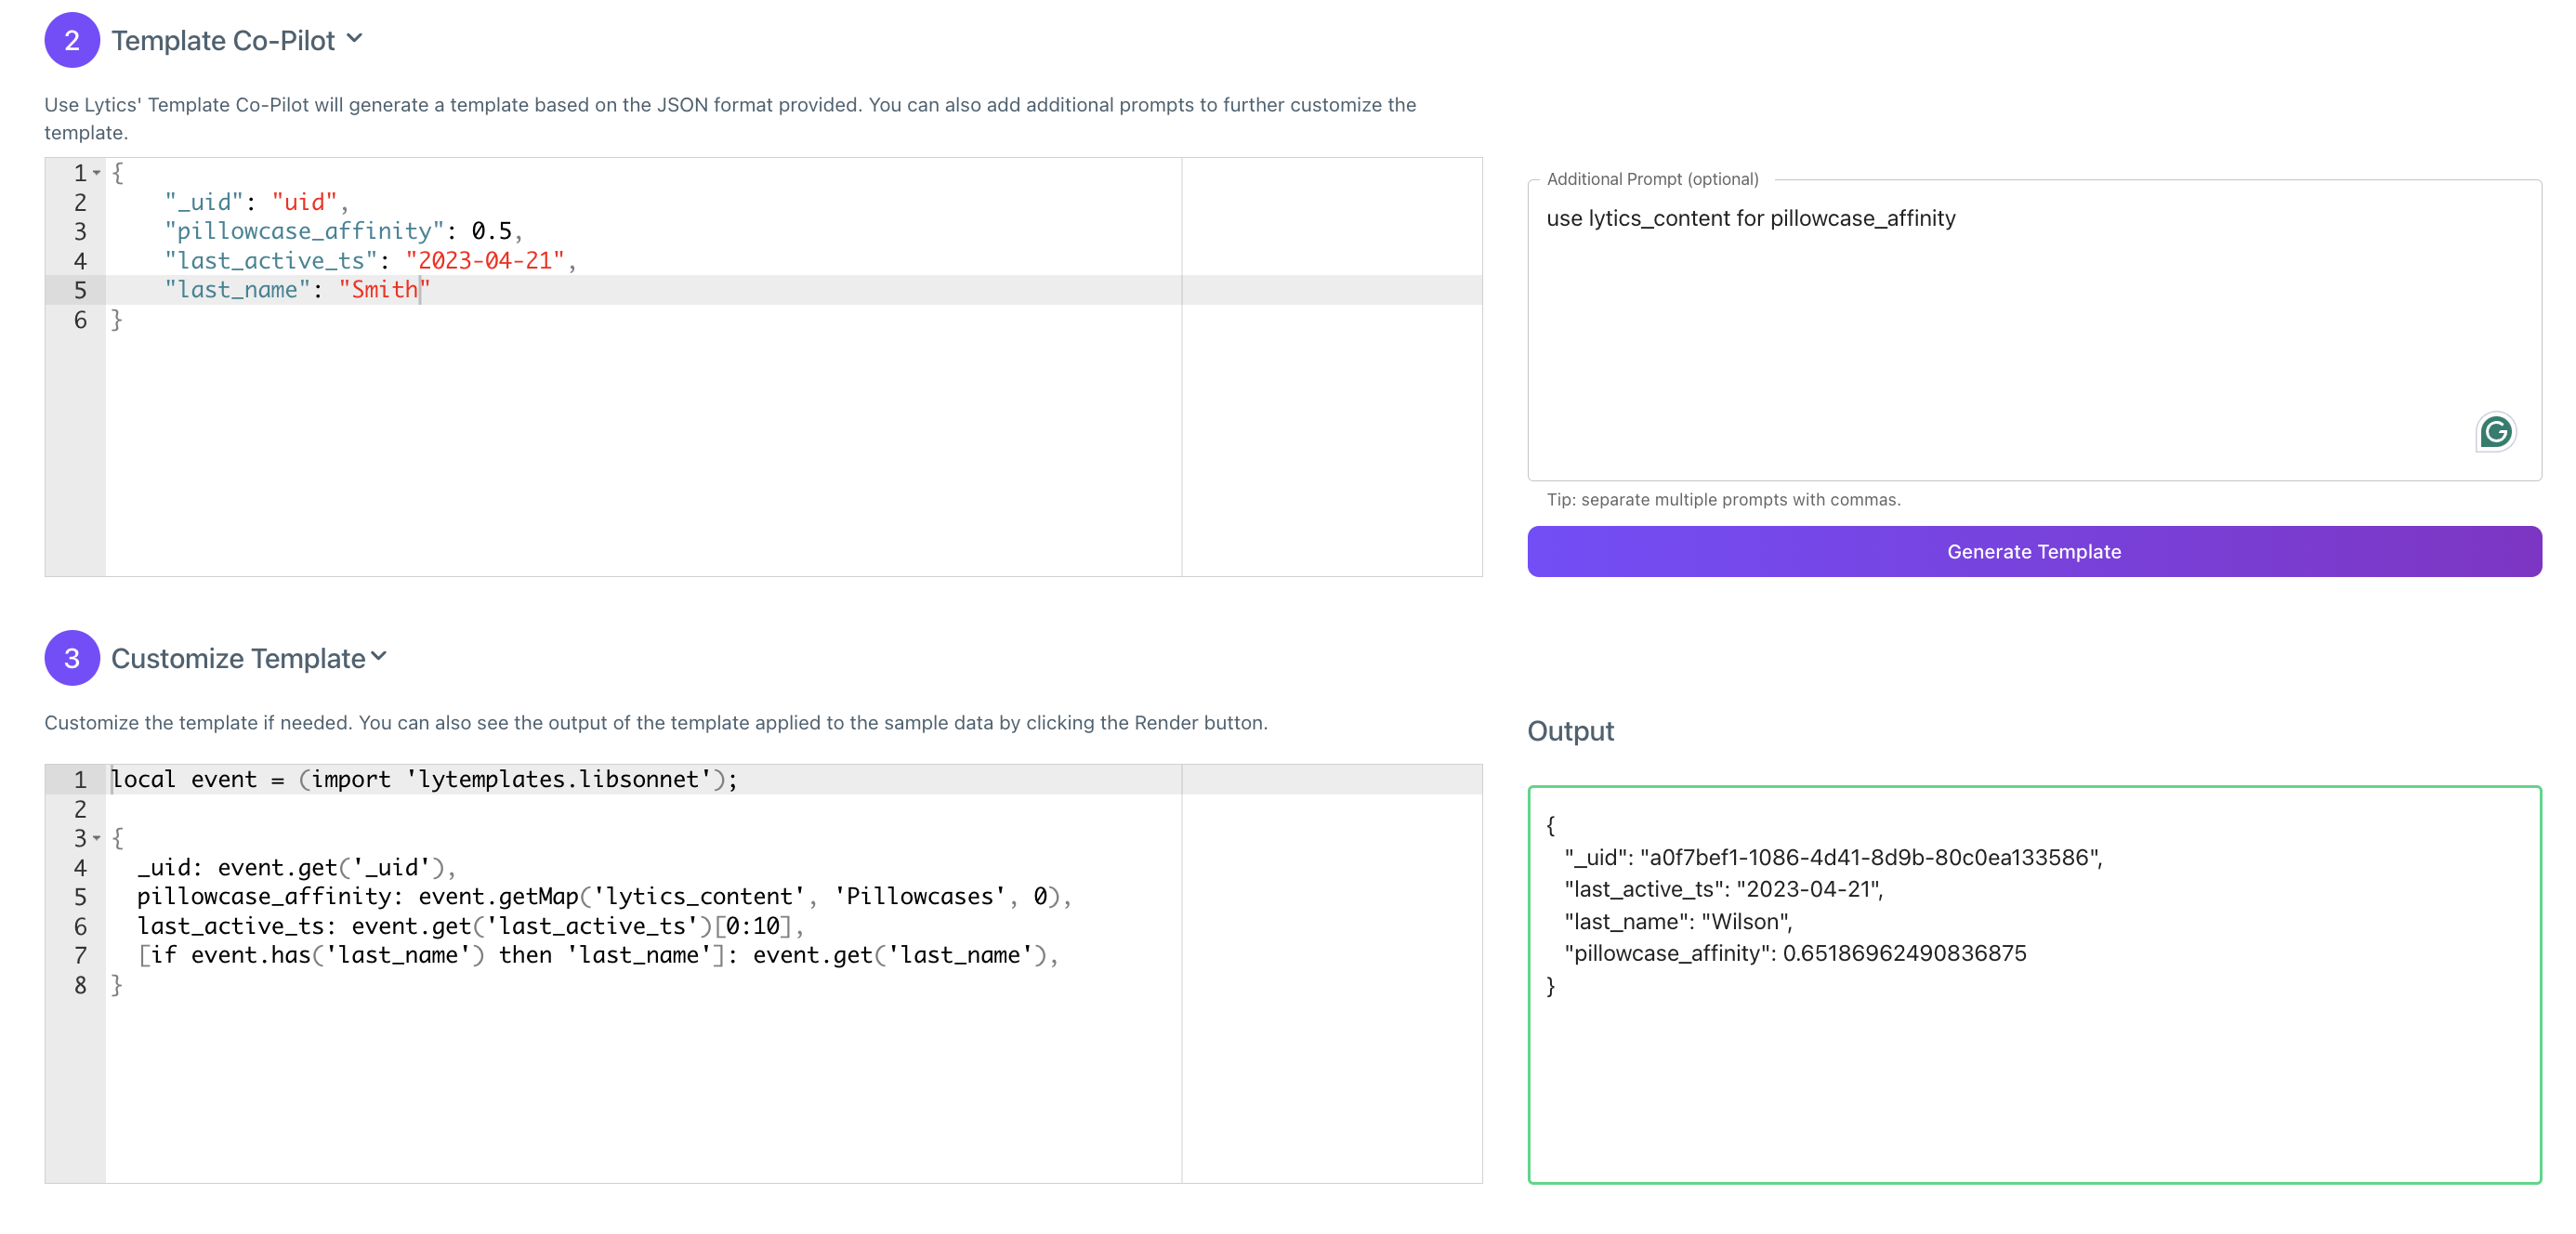
The Template contains all of the data specified in Step 2, and the Output to the right shows the Template applied to the Sample Data. We can see that the pillowcase_affinity was derived from the lytics_content field, as well as the other fields specified in the Template.
Duplicating an Existing Template
To create a new Template based on one you already have, open the Template's detail page, click the ... menu, and select Duplicate. This opens the creation wizard pre-populated with the source Template's name (suffixed with "Duplicate"), description, data-type, target, and script definition. Adjust anything you like and save — Lytics creates a brand-new Template and leaves the original unchanged.
NoteThe Duplicate action is only available to users with permission to create Templates.
Updated about 1 month ago