

Criteo
Overview
Criteo is the global commerce media company that enables marketers and media owners to drive better commerce outcomes. Its industry leading Commerce Media Platform connects 22,000 marketers and thousands of media owners to deliver richer consumer experiences from product discovery to purchase. By powering trusted and impactful advertising, Criteo supports an open internet that encourages discovery, innovation, and choice.
Integrating Criteo with Lytics enables you to export audiences that use behavioral user data and content affinities powered by machine learning on Lytics to improve your personalized ads display.
Authorization
If you haven't already done so, you will need to setup a Criteo account before you begin the process described below. If you are new to creating authorizations in Lytics, see the Authorizations documentation for more information.
There are two ways you can connect Lytics with Criteo:
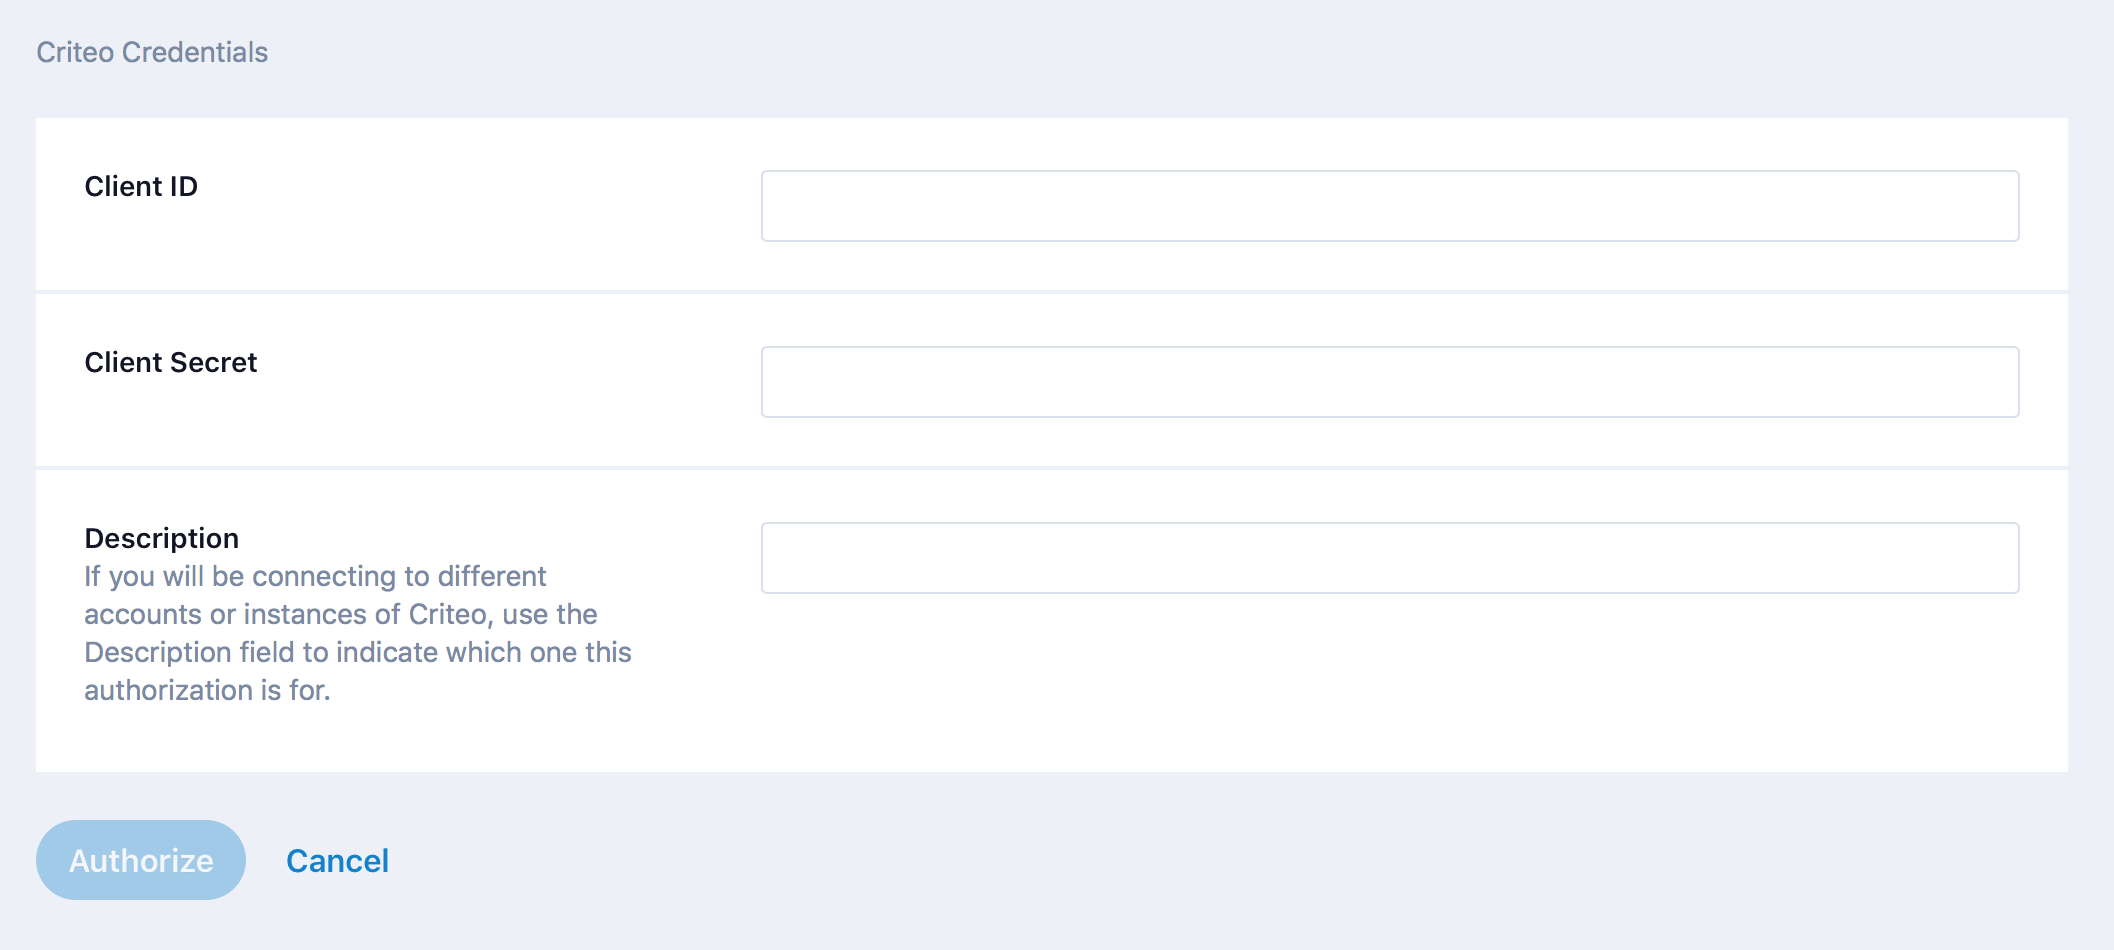
Criteo Real Time
You would need Client ID and Client Secret in order to use this authorization. For this, you will need to setup an App in Criteo's Developer Center. To set up an app, you must first create a Developer’s Account and an Organization in Criteo’s Developer Portal. Upon creating an app, you will be asked whether you would like to use a developer key or a client ID & secret. Select client ID and secret and store your credentials in a secure place. Please refer to this Criteo documentation for more information on how to create client id and client secret.
Follow the steps below to add this authorization in Lytics:
-
Select Criteo from the list of providers.
-
Select the Criteo Real Time method for authorization.
-
In the Label text box, enter a name for the authorization
-
(optional) In the Description text box, enter a description for this authorization
-
In the Client ID text box, enter your Client ID credential.
-
In the Client Secret password box, enter your Client Secret credential.
-
Click Save Authorization.

Criteo OAuth
When you select this authorization type, a Criteo LogIn pop up window will be visible. Once you log in, you will be redirected to the Advertiser Consent Dashboard. You can select which portfolio would you like give Lytics access to in order to export audience. Once provided access, Lytics will be able to send users to the advertiser.
Please refer to Criteo OAuth documentation for more information on how OAuth works with Criteo.
Follow the steps below to add this authorization in Lytics:
- Select Criteo from the list of providers.
- Select the Criteo OAuth method for authorization.
- Enter your Criteo login credentials in the login popup and confirm the authorization.
- In the Label text box, enter a name for the authorization
- (optional) In the Description text box, enter a description for this authorization
- Click Save Authorization.
Export Audiences
Export your Lytics audiences to Criteo to target a refined set of users with your advertisements. Target based off of interests, and cross-channel behaviors, and the unique data science insights provided by Lytics to get the most out of your ad spend.
Integration Details
- Implementation Type: Server-side Integration.
- Implementation Technique: REST API Integration - Audience Trigger Integration.
- Frequency: Real-time Integration audience membership updates, with an optional one-time Backfill.
- Resulting data: Users are added and removed from Criteo audiences via configurable user identifier.
According to Criteo documentation, it takes 12-24 hours for an audience update to process all data received, even with frequent uploads from Lytics.
This integration utilizes the Criteo Marketing API to update audience memberships. Once an export is started, the job will export in near real-time updates when a user enters or exits the audience selected. On the first run of the job it will:
- Create a Criteo audience if one is not selected when the export runs for the first time. By default, it will be named
Lytics {audience slug} {current timestamp}.
For each user to export, regardless if the user is being added as part of a backfill or they're entering/exiting the audience in real-time, it will:
- Check if the incoming user has a configured identifier. Users without identifier will be dropped by the job.
- If the user has an identifier, add the user to a queue to be sent as a batch of users to Criteo.
- After a minute or if the queue reaches 30,000 users (whichever happens first), users in the queue will be added or removed from the Criteo audience appropriately as a batch.
- Repeats step 1 to 3 as users enter/exit the audience.
Fields
Lytics exports on of the following fields to Criteo. Note that you can customize the Lytics source fields as part of the job configuration:
| Lytics User Field | Description | Criteo Field | Type |
|---|---|---|---|
| Email Address | string | ||
| criteo_id | Criteo GUM ID | gum | string |
| LiveRamp Idenliveramp_idtity Link | identityLink | string | |
| Mobile Ad Identifier | madid | string | |
| Customer ID (Only for Retail Media Customer Lists) | customerid | string |
In order to populate Criteo GUM ID into your Lytics account so it's available to export, you must first activate the Lytics JS Tag cookie sync with Criteo in your account settings.
Configuration
Follow these steps to set up and configure an export job for Criteo in the Lytics platform. If you are new to creating jobs in Lytics, see the Jobs Dashboard documentation for more information.
-
Select Criteo from the list of providers.
-
Select the Export Audience from the list.
-
Select the Authorization you would like to use or create a new one.
-
Enter a Label to identify this job you are creating in Lytics.
-
(Optional) Enter a Description for further context on your job.
-
Select the Lytics Audience to export.
-
From the Advertiser input, select a Criteo advertiser to select an audience from.
-
From the Criteo Audience input, select an audience to populate. If left empty, a new audience with name format
Lytics {segment_slug} {ts in format YYYYMMDD_HHmmss}will be created in Criteo. -
From the Identifier Type input, select the identifier type for the user that will be sent to Criteo.
-
From the Identifier Field input, select name of identifier field in the Lytics profiles.
-
(Optional) Select the Existing Users checkbox to add users who already exist in the selected Lytics audience.
-
Click Start Export.


Updated 12 days ago