

Create the Data Activation Layer
To get started with Data & Insights you must first activate your Data & Insights configuration. You'll only need to perform this action once as an organization Admin and depending on the age of your account may have been performed automatically for you.
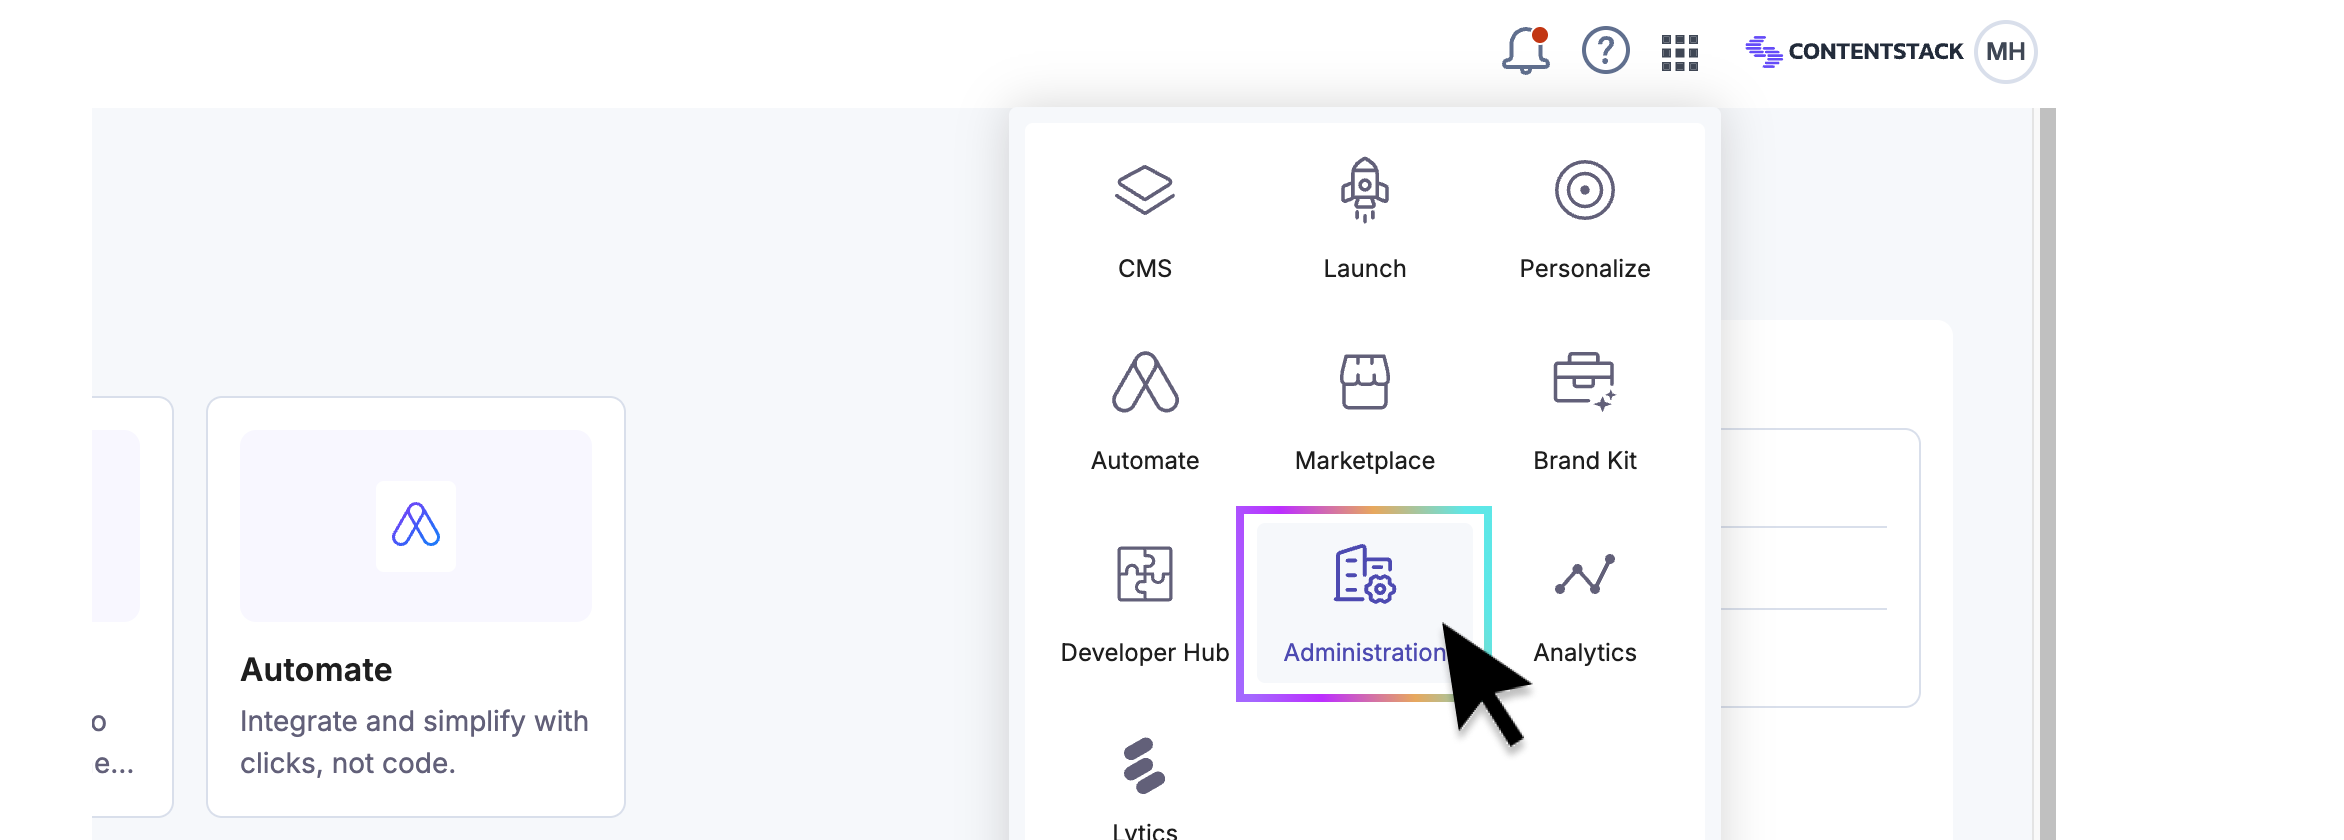
1. Access Organization Administration
From the app switcher at the upper right or lower left for older accounts click on Administration to access Org Admin.
2. Access Data & Insights Configuration
From there, select Data Activation Layer to access your organization level DAL management area.

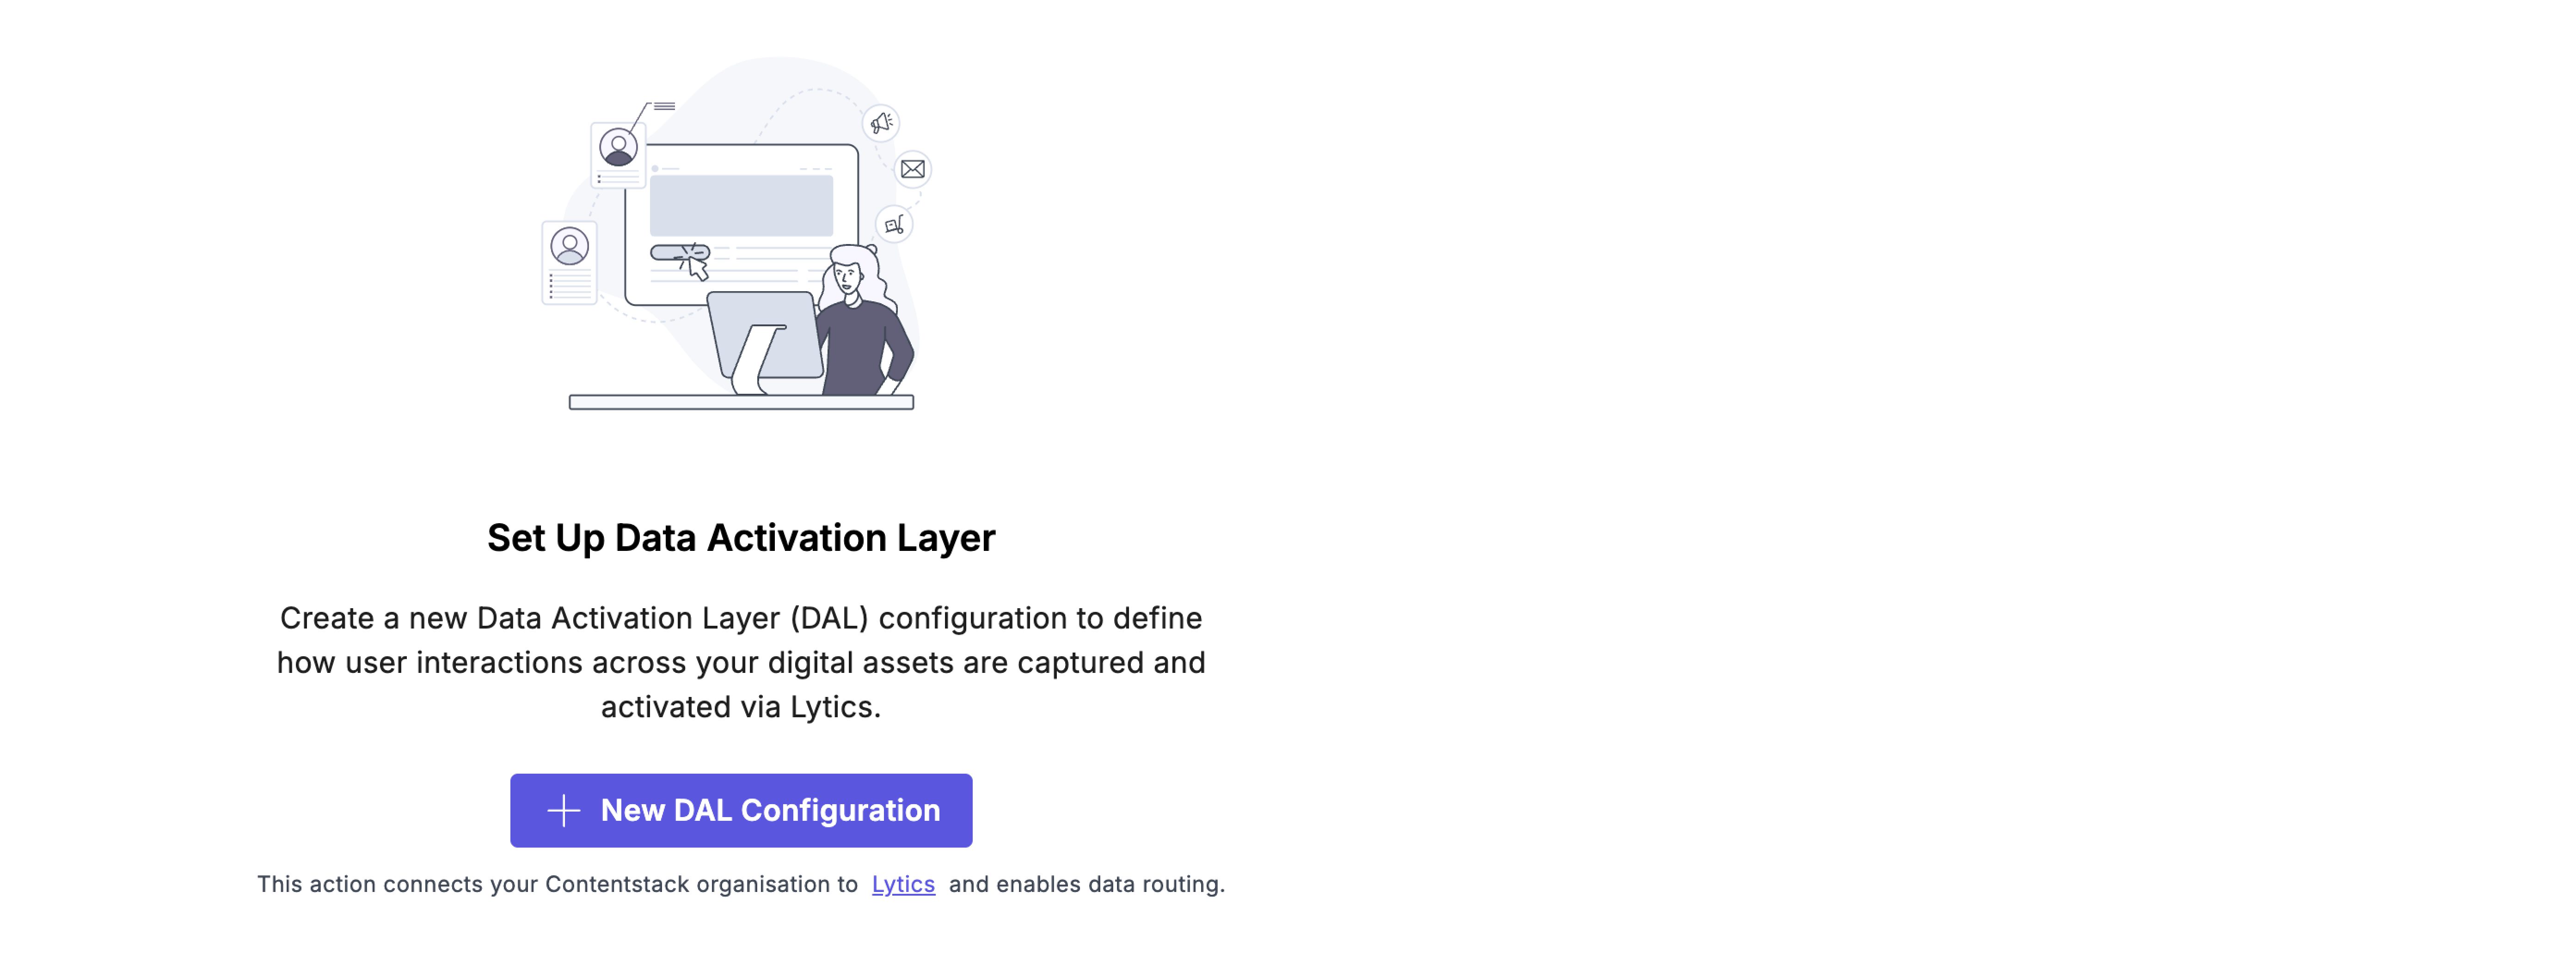
3. Set up Data & Insights
If this is your first time, you'll be presented with a Set Up Data & Insights screen. This connects your Contentstack org to your new Data & Insights org. Simply press New Data & Insights Configuration and follow the prompts.
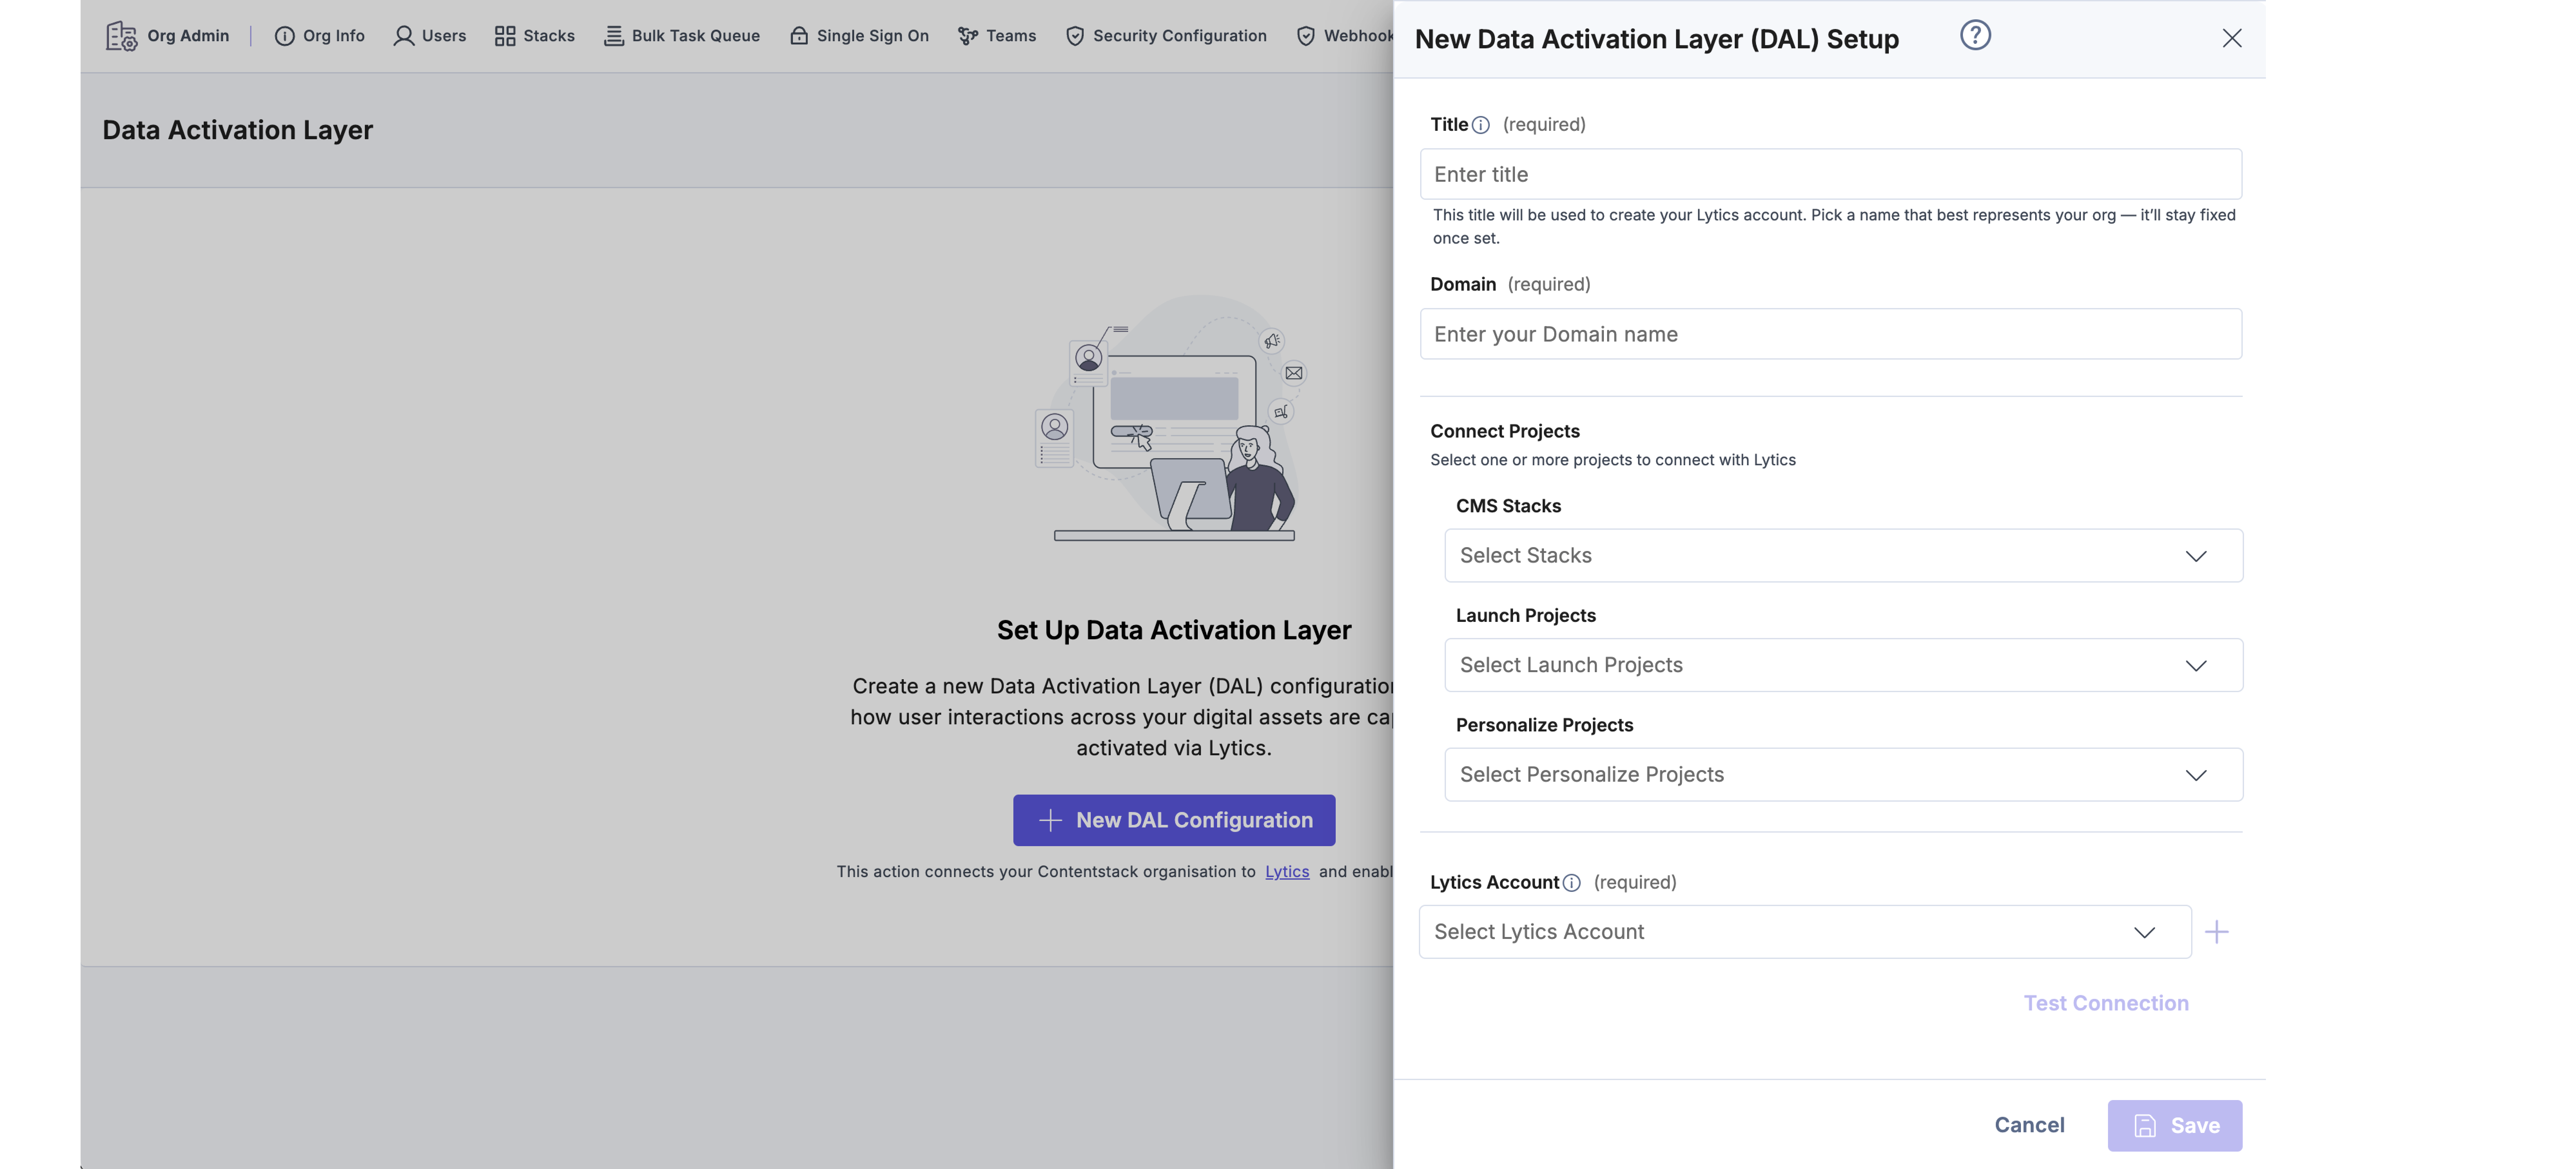
4. Configure your Data & Insights
You'll be presented with a series of inputs from the slide out at the right.
| Input | Description | ||||||
|---|---|---|---|---|---|---|---|
| Title | This title will be used to create your Data & Insights instance. Pick a name that best represents your org — it’ll stay fixed once set. | ||||||
| Domain | Enter the domain (e.g. mysite.com) of the site on which you plan to install the Data & Insights tag. This can be changed later but it is best to be accurate as it will simplify the initial setup. | ||||||
| Connect Projects | Data & Insights provides insights and additional functionality across a range of your existing Contentstack products. Here you'll choose which of those instances you'd like tied to your new DAL. As a best practice we recommend linking instances for "development", "staging" and "production". | ||||||
| |||||||
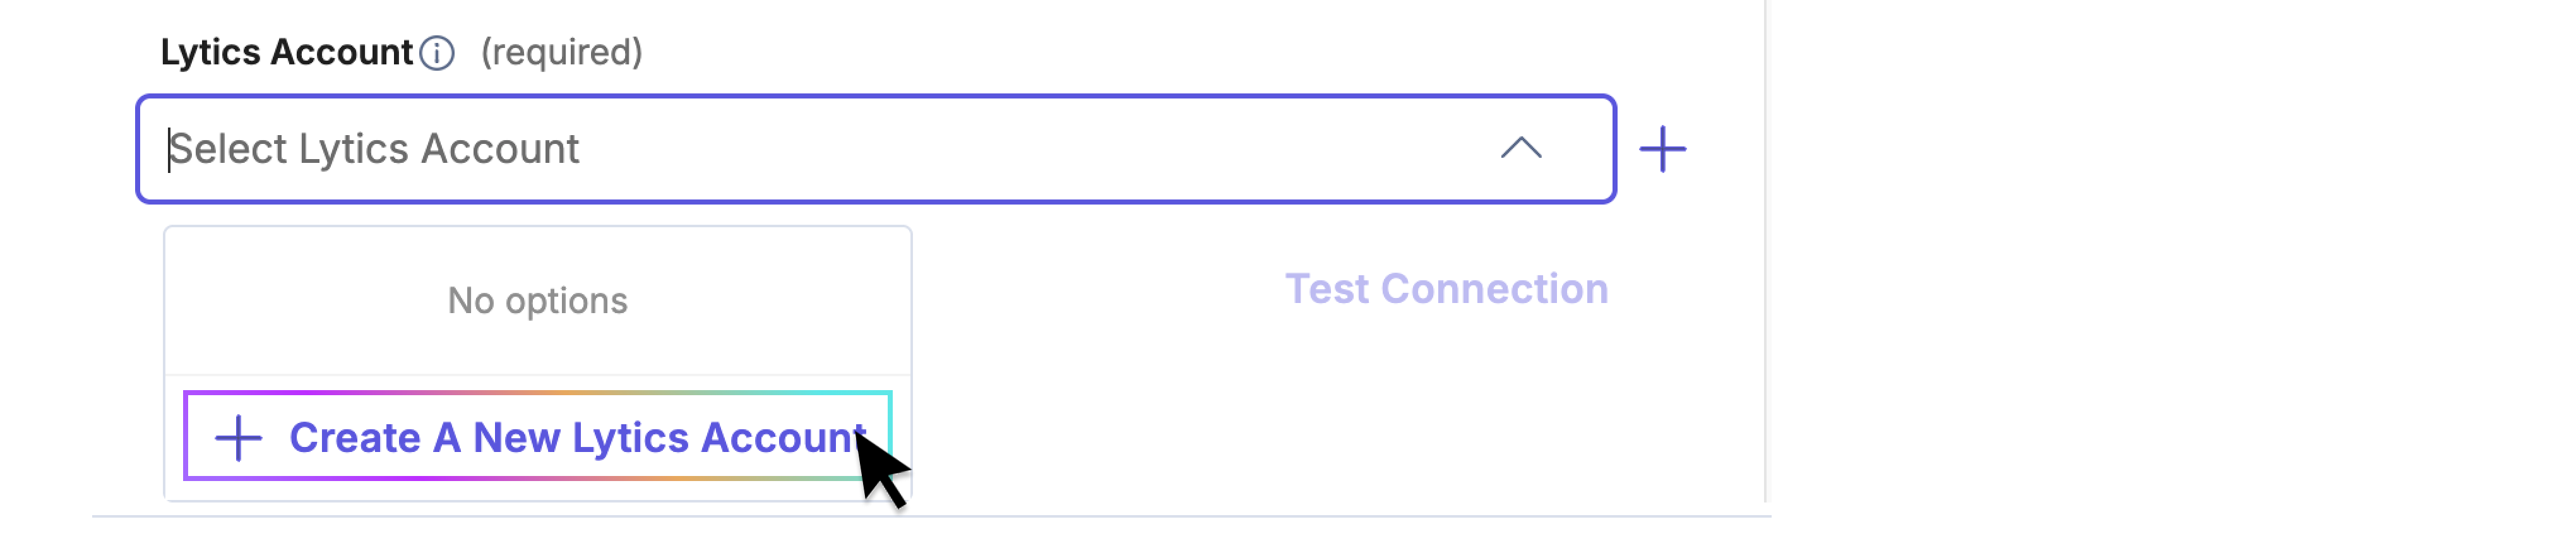
5. Create Lytics Account
Your DAL is powered by Lytics. In most cases you'll get started by selecting the "Create a New Lytics Account" option. In some cases, you may already have a Lytics account, in which case you can simply select it and "Save".
🎉 That's it. You've configured your organization to access Data & Insights. Go on to the next section where we'll configure your Data & Insights to get the most out of every customer interaction.
Updated 10 months ago