

Tealium
How to Integrate Tealium with Lytics
-
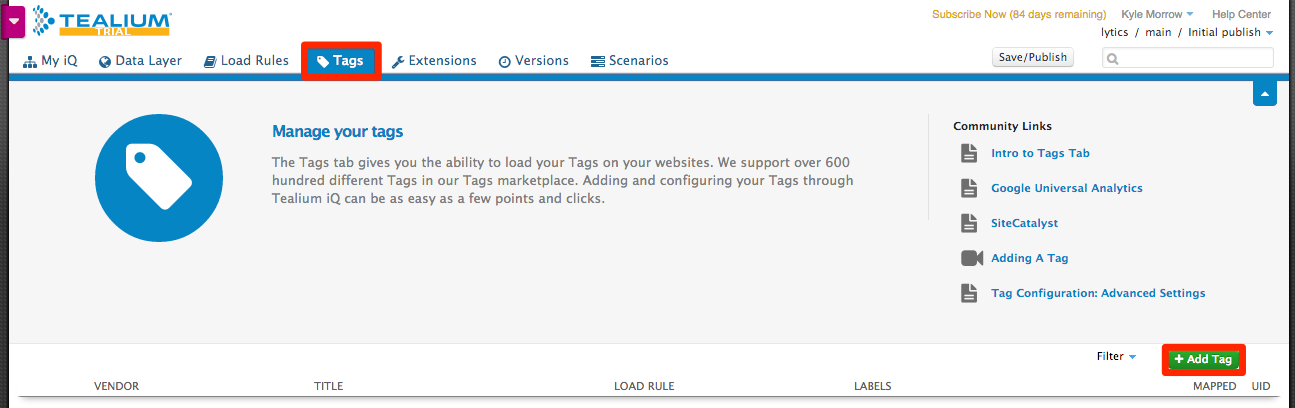
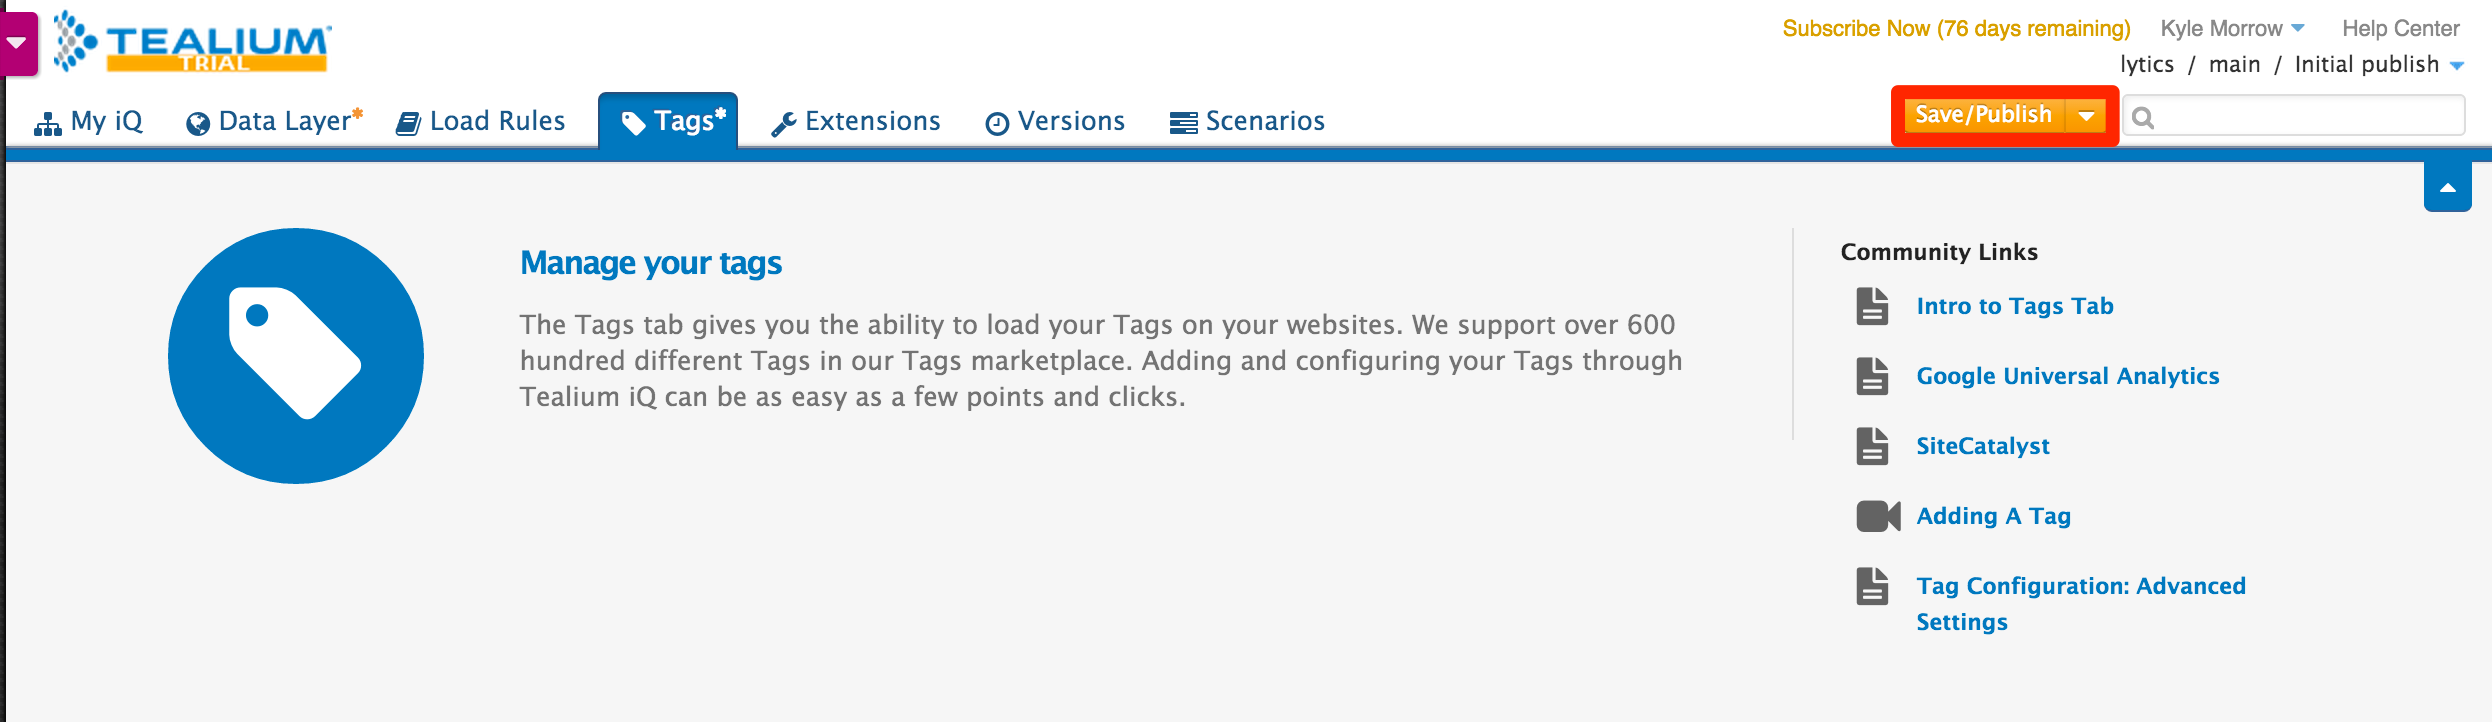
After logging into your Tealium account, navigate to the Tags tab and select + Add Tag.
-
Search for Lytics and select + Add.

-
Tag Configuration:
-
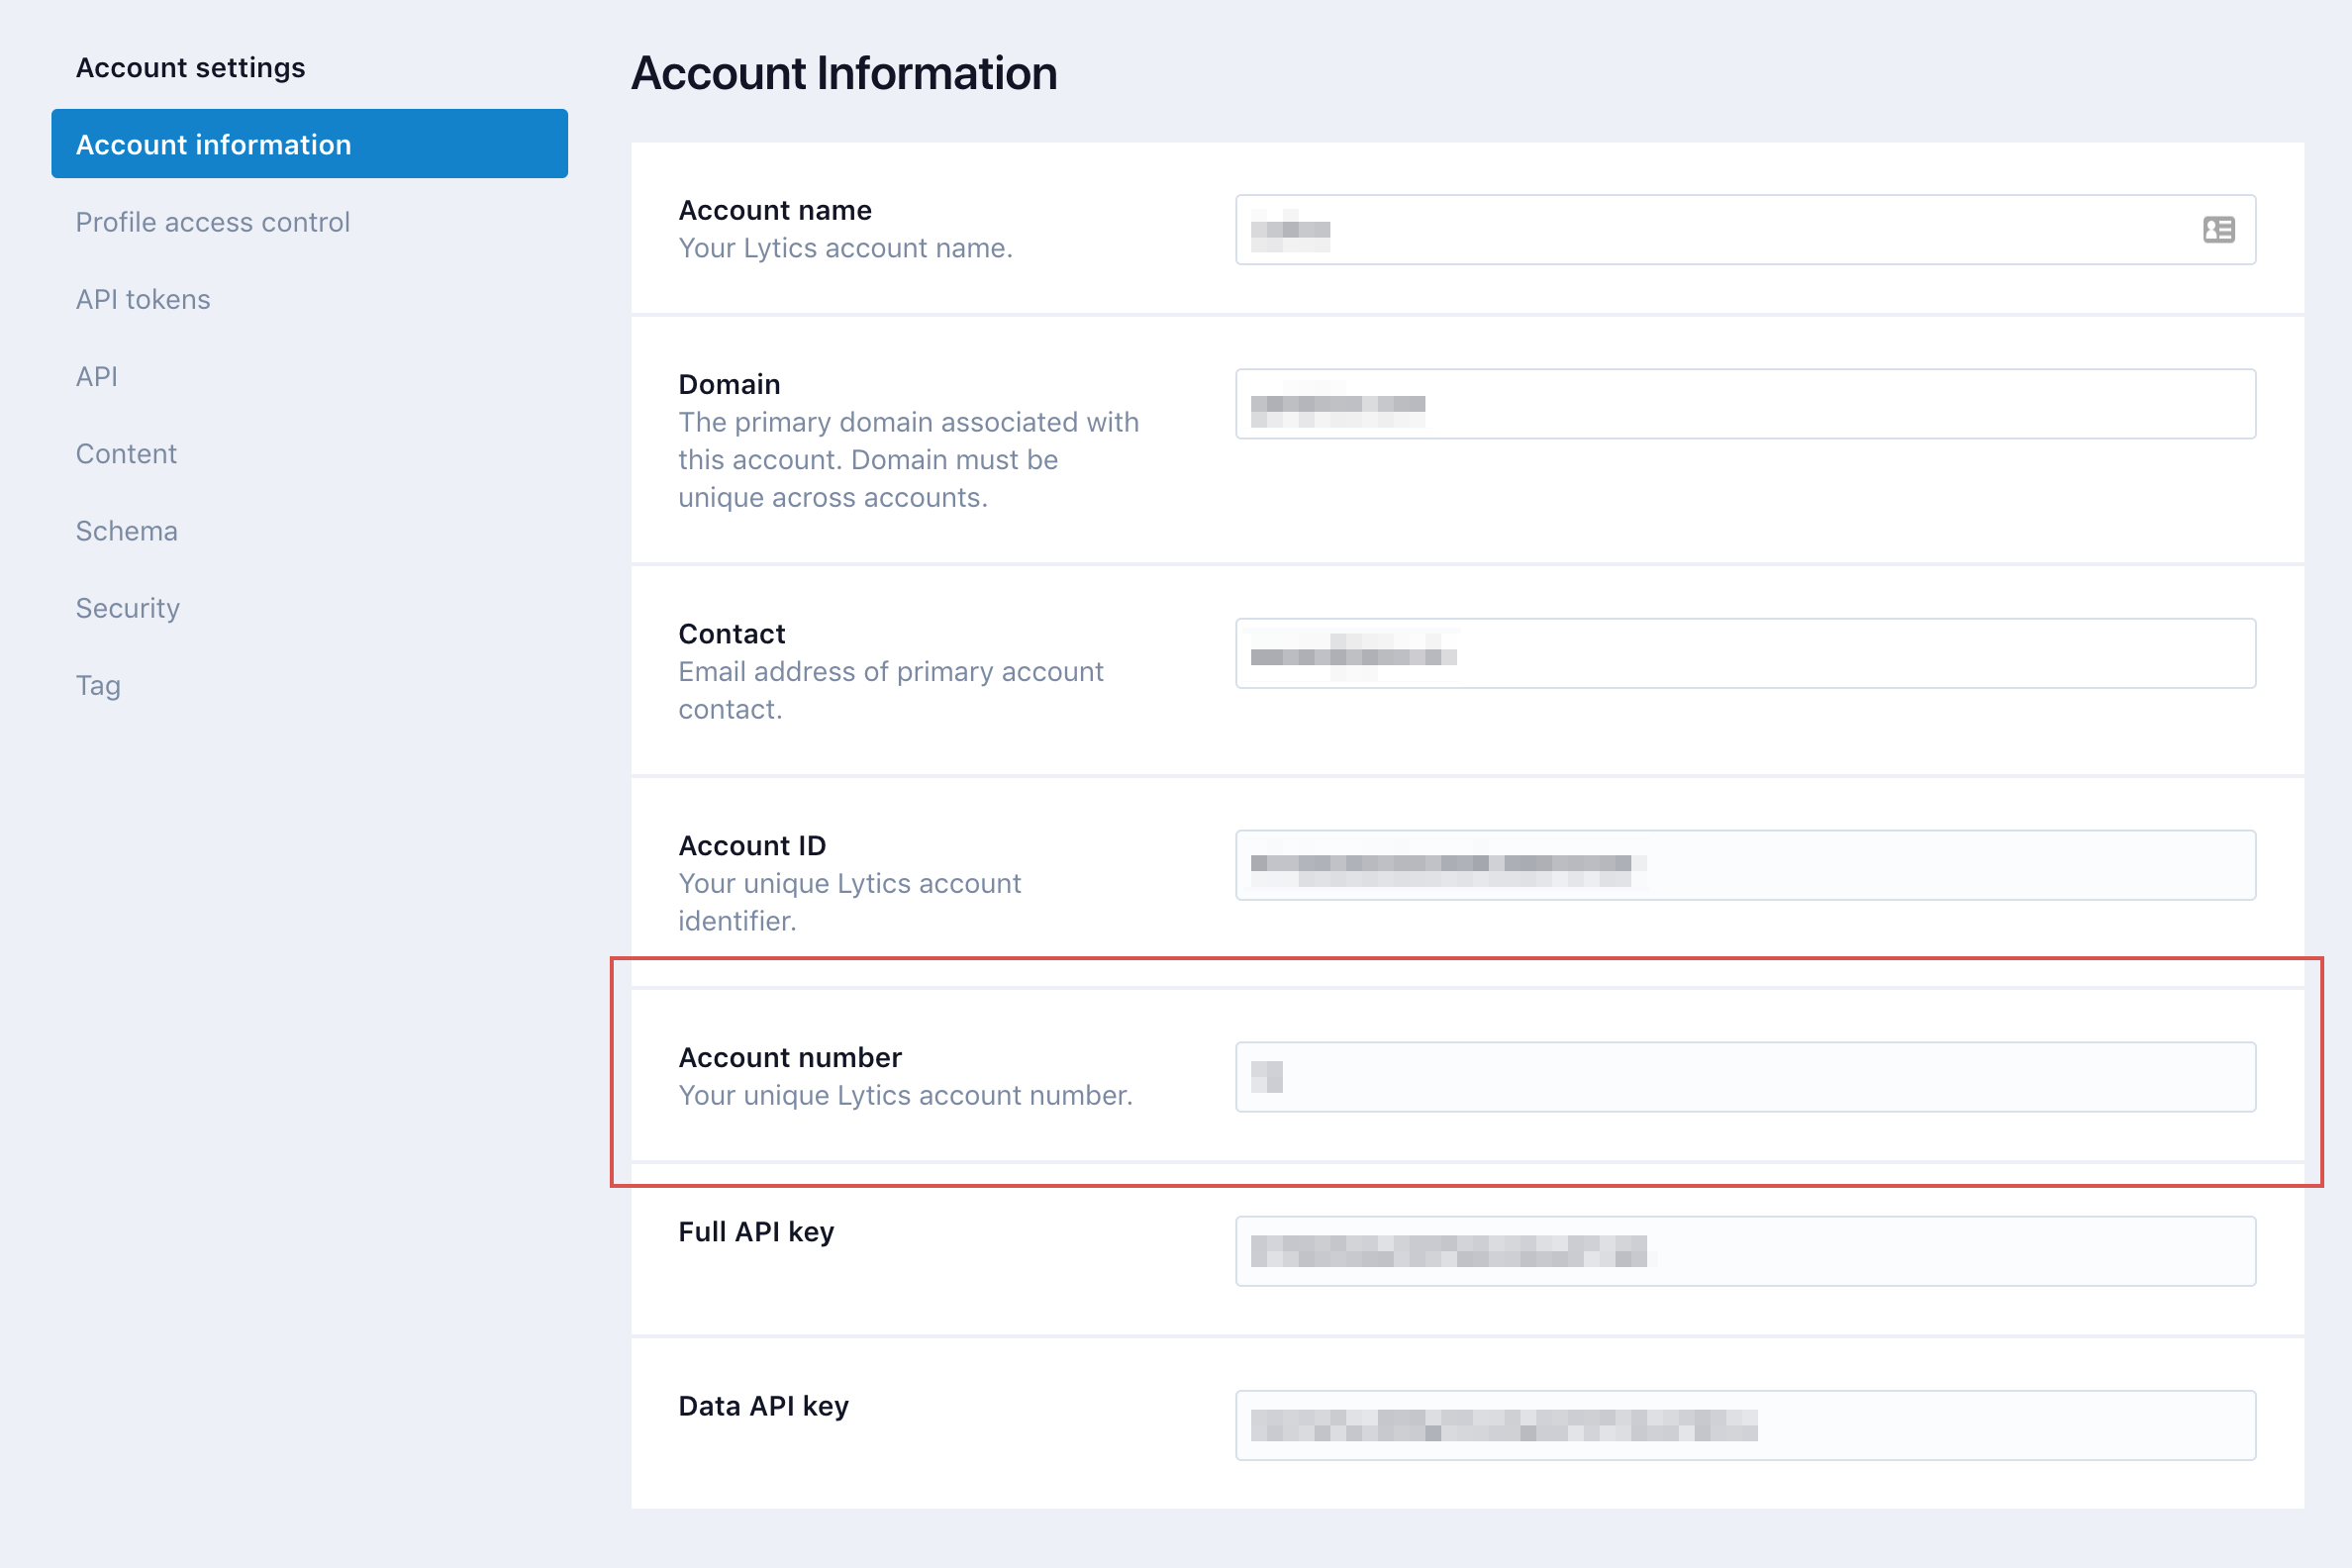
Enter your Customer ID number, which can be found in the admin section of your Lytics account: Account -> Manage Accounts.
-
Cookie Name: Optional
-
Advanced Settings:
- Send Flag: Yes
- Wait Flag: Yes
- Synchronous Load: No
- Custom Script Source: Optional
- Publish to Dev: Yes
- Publish to QA: Yes
- Publish to Prod: Yes
-
-
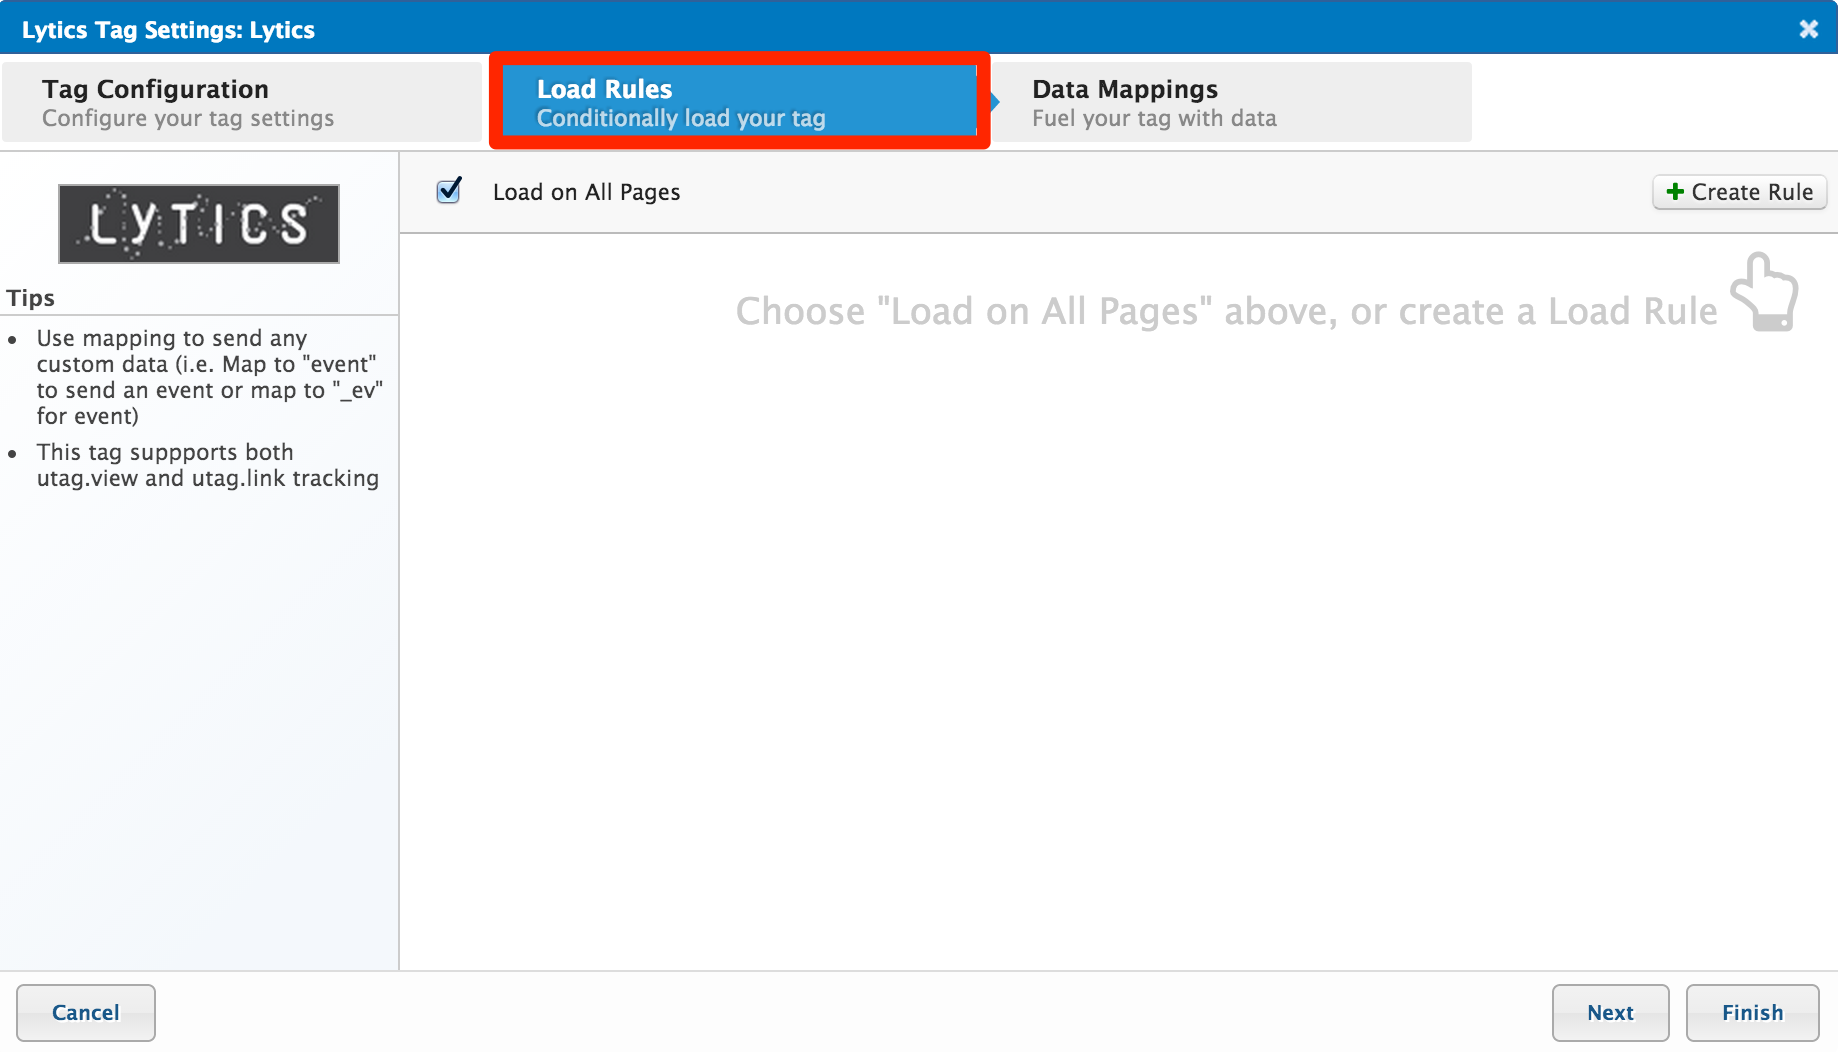
Load Rules: Load the tag on all pages.
-
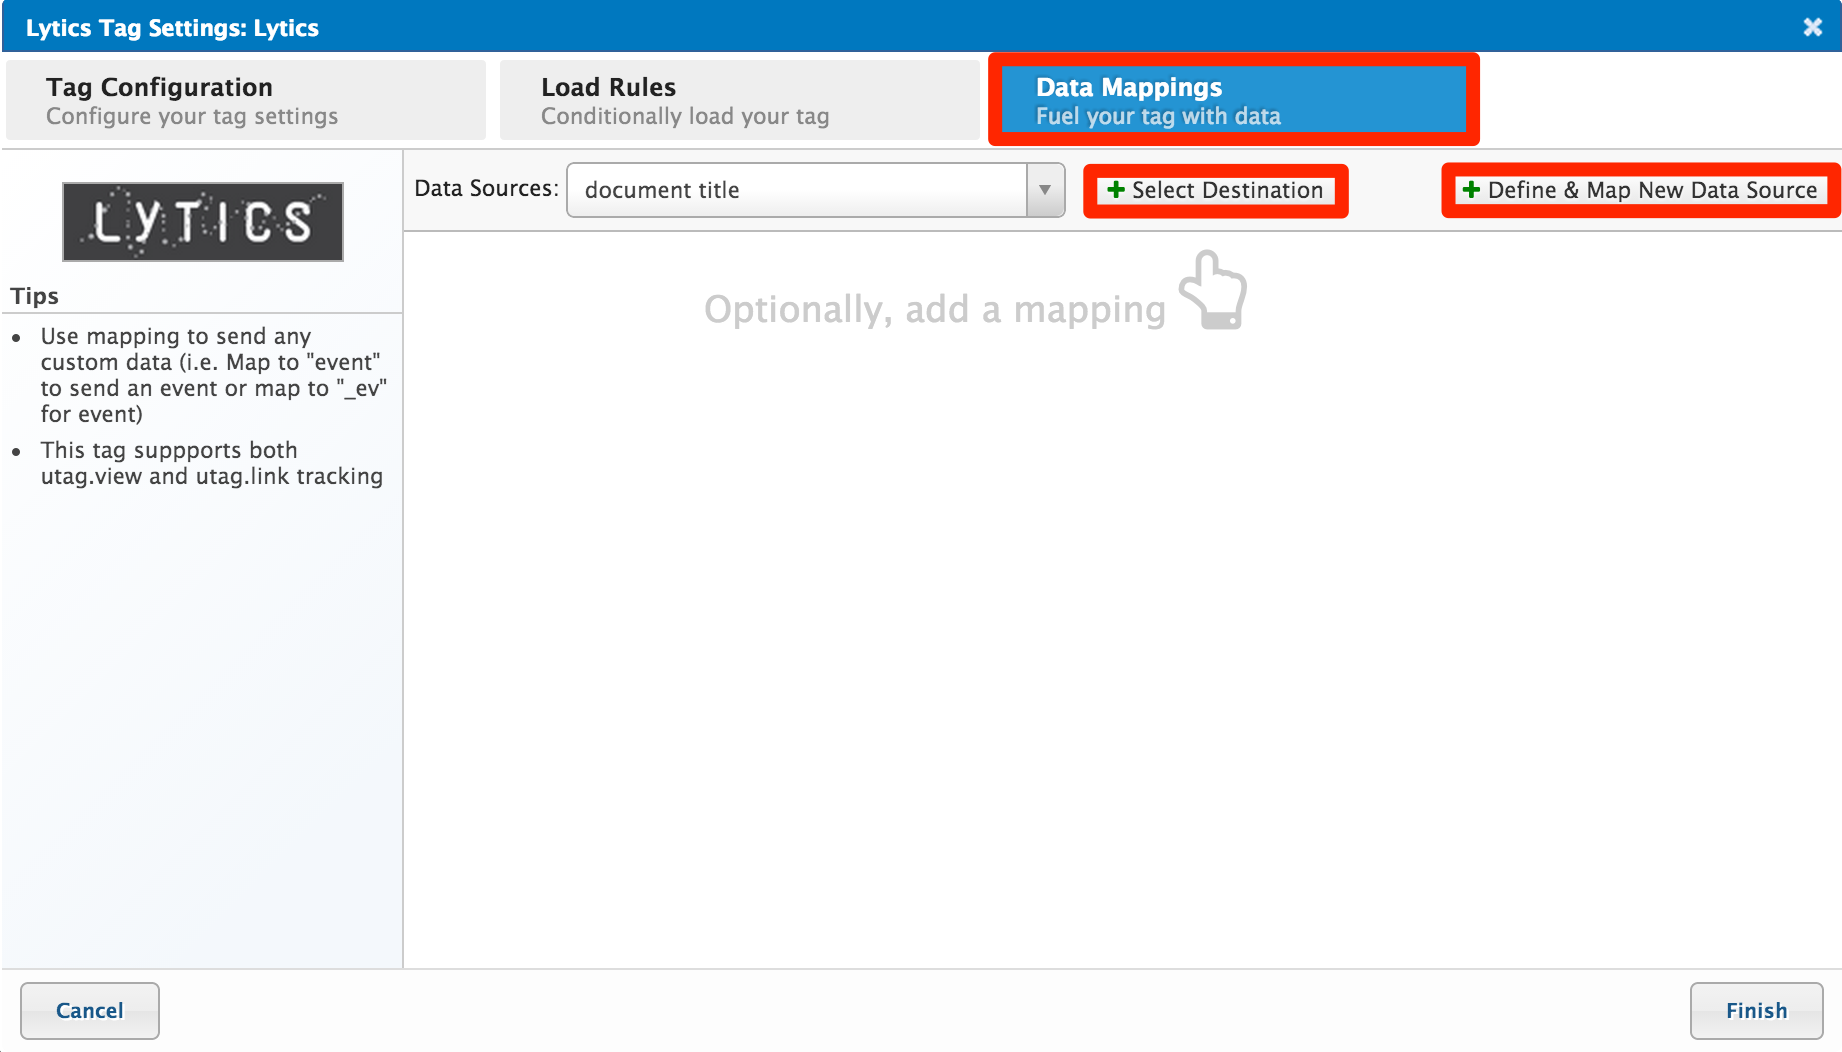
Data Mappings: Select Define and Map New Data Source to add any custom variable that you would like to pass to Lytics. You can also see our suggested variables under Select Destination. Click Apply when you are done adding variables.
Note: Failing to specify a set of fields to pass to Lytics will result in all of them being sent. This can be a very large number of fields which might impair performance.
Suggested Variables:
- User ID (user_id)
- First Name (first_name)
- Last Name (last_name)
- Username (username)
- Email (email)
- Campaign ID (campaign_id)
- Product ID (prod_id)
- Transaction ID (transaction_id)
- Facebook ID (fbid)
- Twitter Handle (twitter_handle)
- Order Total (order_total)
-
Click Save and Publish" to finish.

Data will now be flowing into Lytics in real-time. Monitor incoming data on the Data Streams page.
Updated 10 months ago