

1. Install the Lytics Tag
Installing the Tag
In the Web SDK, Lytics provides a tag that can be placed on your site to collect behavioral data and surface the materialized profile back to your browser in real time. Manual installation instructions are available from within the app at Data Pipeline > SDK > Web SDK.
If your site is a Drupal or Wordpress site, or you use Google Tag Manager we recommend using one of these turnkey methods to install the Lytics Tag:
Drupal
For Drupal users, getting up and running is as simple as installing the official Lytics Drupal module. Once you have the module added to your site using composer or another preferred method, you will want to complete the following configuration steps:
-
Visit the Configuration page either from the module details in the Extend section of Drupal or directly from the Configuration section (
/en/admin/config/system/lytics).
-
Add a valid API Token for your Lytics account. Be sure to give that token admin privileges, as that will unlock account verification and direct access to all Lytics systems responsible for surfacing and managing profiles and personalization. This token should also have no expiration, as it will need continued access to your Lytics account. For more information visit our Access Token documentation.

-
With your token entered. Ensure the Enable Tab setting is selected. This will automatically place the Lytics JavaScript SDK onto all public pages of your site.

-
Upon saving configuration, your account details will be surfaced. Be sure to verify that your token is for the Lytics account you are currently configuring.
-
That's it!
WordPress
A formal WordPress plugin is currently under development and coming soon.
Google Tag Manager
* From the left-hand navigation to select Data Pipeline > SDK > Web SDK.
- Setup and install Google Tag Manager.
- Create a new Custom HTML tag and place the Lytics JavaScript snippet into the text box.
- Ensure the tag is triggered on the pages you desire. We recommend using the All Pages default trigger to start.

- Submit and publish your Google Tag Manager version.
Testing the Lytics Tag Installation
Once the tag has been installed, validate a successful installation via one of the three following methods:
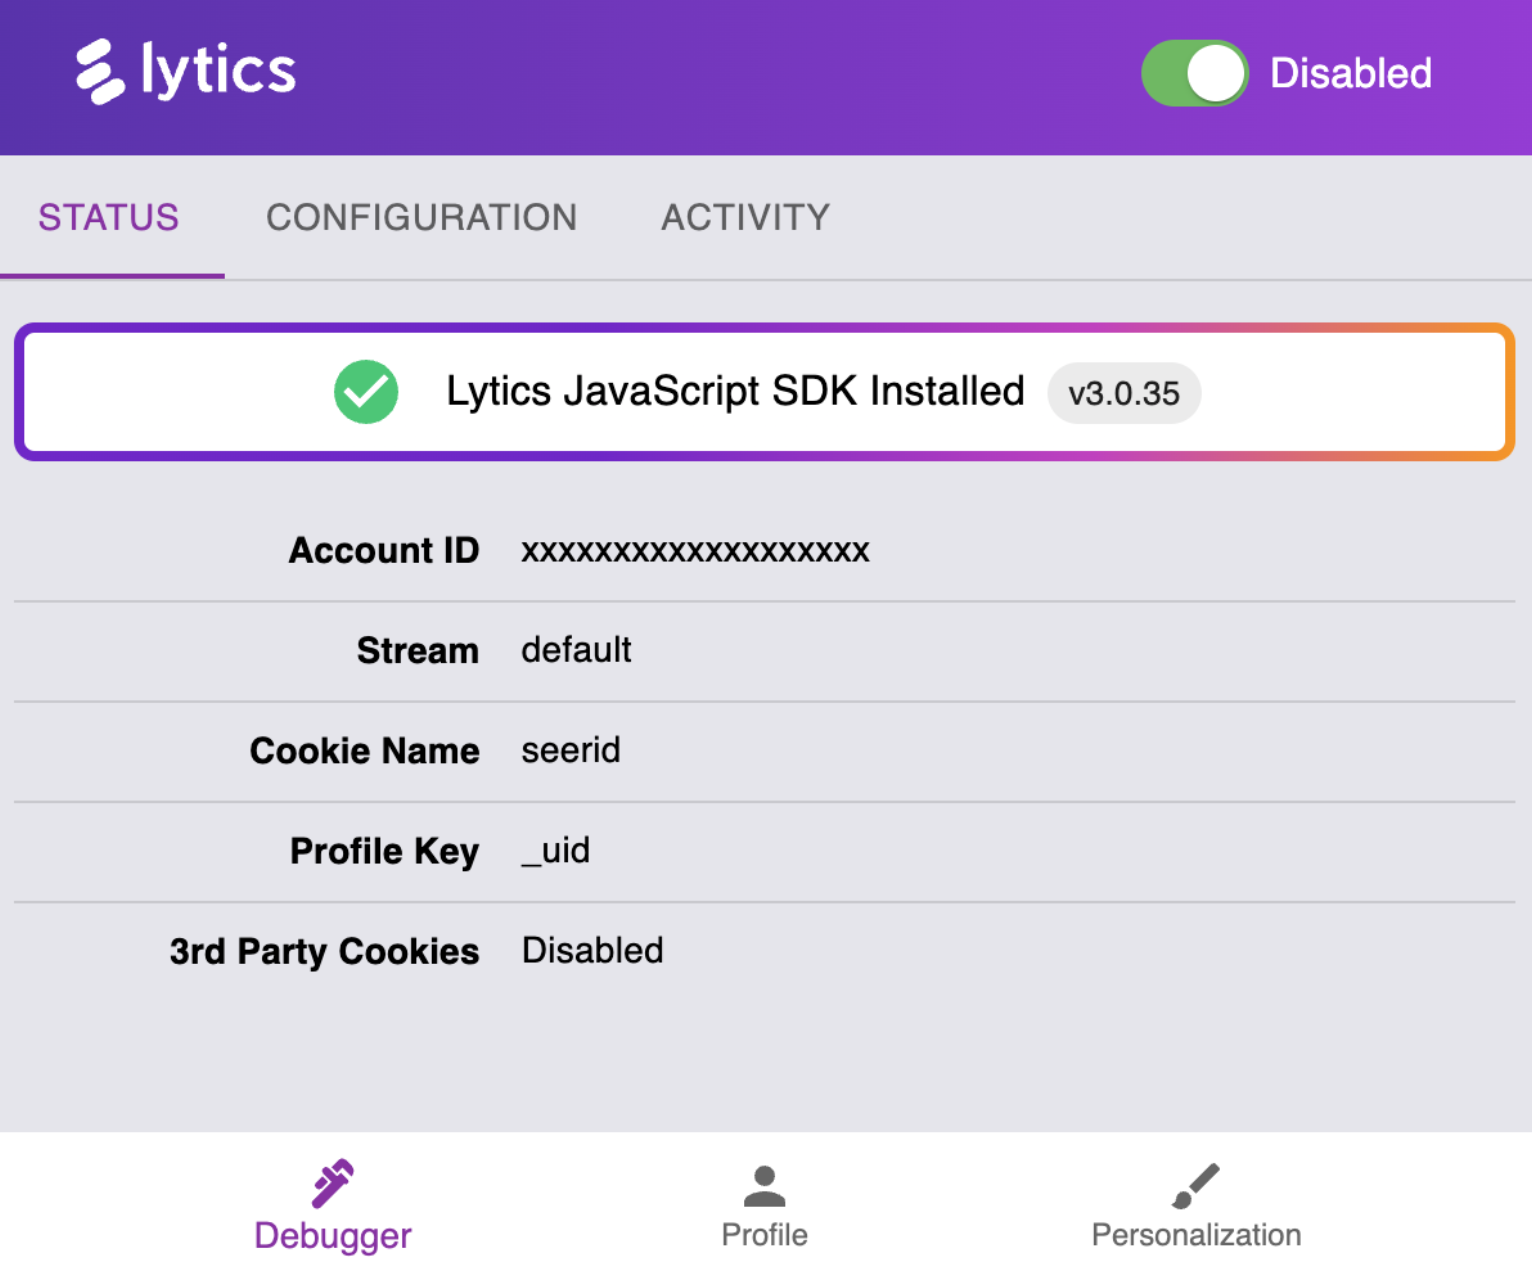
Lytics Dev Tools Chrome Extension (Recommended)
The Lytics Dev Tools Chrome Extension makes validation and exploration simple. Once you've installed the extension as outlined above:
-
Open the extension and ensure it has been activated.

-
The interface will display a message to confirm the correct installation of the Lytics tag and relevant configuration details.
In-app Verification Assistant
We've built a simple tool to validate that data flows into your Lytics account. Please note that the collected events may take a few minutes to reflect in the UI.
- Select Account from the main navigation.
- Use the left-hand navigation to select Setup > JavaScript Tag
- At the bottom of the page
- Setup click the refresh button to validate installation if it does not already state Successfully installed.

Manually
If you prefer to verify the installation manually, you can do so by opening the Chrome developer console and ensuring jstag is accessible. In addition, by viewing the network tab, you can monitor data collection requests being sent tolytics.io/c and personalization requests being loaded from lytics.io/api/personalize
Testing the Current Visitor's Profile via JavaScript SDK
The final step to verify installation is ensuring you can access your visitor profile. This profile is built and delivered in real-time as you engage with content.
Lytics Dev Tools Chrome Extension (Recommended)
The Lytics Dev Tools Chrome Extension makes validation and exploration simple. Once you've installed the extension as outlined above:
-
Open the extension and ensure it has been activated.

-
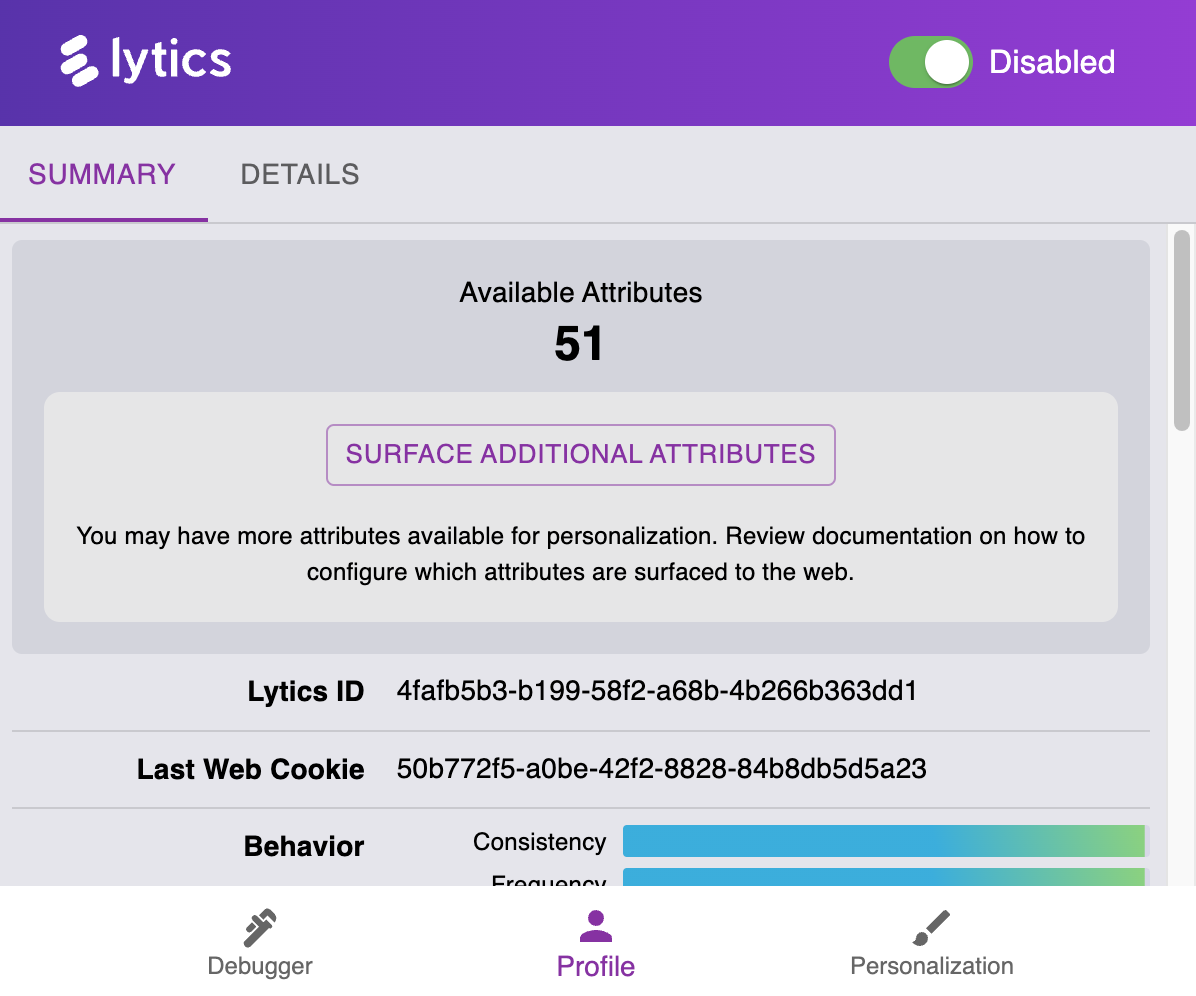
Access Profile from the bottom menu in the Chrome extension.
-
This section of the extension profiles two views into your profile.
-
The first is the Summary showcasing available attributes and affinities.
-
The second is the Details, which profiles a raw JSON dump of all available attributes and insights accessible via the Personalization Engine web SDK.

-
Manually
If you prefer to verify the installation manually, you can do so by opening the Chrome developer console and ensuring jstag is accessible. In addition, by viewing the network tab, you can monitor data collection requests being sent tolytics.io/c and personalization requests being loaded from lytics.io/api/personalize
Updated 2 months ago