

Zapier
Overview
Zapier is an automation tool that lets you move data between multiple systems. It provides an easy-to-use UI that guides you through the process of connecting different systems and mapping data between them. Connecting your Lytics data to Zapier can be used to export data, or trigger alerts based on user activity to other systems.
Before You Begin
You will need to following information to set up this integration:
- Zapier account - Zapier offers a free tier of service that you can use if you are new to the product.
- API token for Lytics - An administrator for your Lytics account can generate an API token for you. This token generated should have administrator rights.
The Lytics app for Zapier
In addition, the Lytics has built an app that allows Zapier to interact with Lytics. For more information on triggers, actions, and workflows see the Zapier documentation. The Lytics app supports the following functionality:
- Trigger: Lytics user enters an audience
- Trigger: Lytics user exits an audience
- Action: Ability to load user data into Lytics
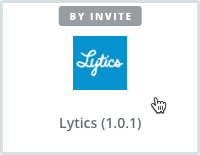
Zapier supports public and private apps. Currently, the Lytics app is a private app. In order to get access to it, you must be invited. Contact your Lytics representative to get an invitation.
Getting access to the Lytics app
This section describes how to log into Zapier and get access to the Lytics app.
- Request an invitation from your Lytics representative to use the Lytics app. Your Lytics representative will need your email address.
- You will receive the invitation by email. Click the link in the email to accept the invitation.
- A browser window will open with a prompt to log into Zapier. If you have a Google account you can log in with that. Otherwise, you will need to create a new Zapier account by clicking the Sign Up link.

- Click Accept Invite & Build a Zap.

Connecting Zapier to Lytics
In order for Zapier to interact with Lytics, a connected account must be configured in Zapier.
- In Lytics UI, create a new API token with administrator rights. Information on how to generate an API token is available here.
- In Zapier, navigate to Connected Accounts.

- In the dropdown select the Lytics app.

- Enter your Lytics API token and click Yes, Continue.

- The connection will appear in the section My Connections. You will see the Lytics account name and the Lytics AID value (4-digit number).

Using the Lytics triggers
The Lytics app provides triggers for when Lytics users enter and exit Lytics audiences. These triggers can be used in any zap you create.
The following instructions demonstrate how to create a new zap that starts with a Lytics user enters an audience, and sends you an email notification when that happens.
- In Zapier, navigate to Zaps.

- Click Make a New Zap.
- Click the Lytics app.

- Click User Entered Segment.

- Click Save + Continue.
- The Lytics connection you configured earlier will be selected by default. Click Save + Continue.

- Enter the following values and click Continue.
| Field | Value | Description |
|---|---|---|
| Subscription description | New users for Zapier | The Lytics app creates a new subscription in Lytics to monitor audience membership. This value is used to identify the subscription in Lytics. |
| Segments | Lytics New | You can select 1 or more audiences to monitor. Any time a user enters one of the selected audiences, this trigger will |
| Fields | User Agent Timezome | When a user enters one of the selected audiences, Lytics sends data to Zapier. The user fields selected here will be included in that data. This makes it possible to use the user profile data in subsequent steps of the zap. Since the audience you are monitoring is the audience for new users, you may not have a lot of information about the user. |

- Click Continue.

- Zapier will tell you that your zap is missing an action step. Click + Add a Step.

- Click Action/Search.

- Click Email.

- Click Save + Continue.

- In the field To, enter your email address.
- In the field Subject, enter: "New Lytics User Created!"
- In the field Body, enter: "New visitor browser: "
- Click the button Insert a Field.

- Select User Agent.

- Scroll down and click Continue.
- You can see the information that will be used to send an email. The email body includes values from Lytics. Click Skip Test.

- Click Finish.
- In the field for the name, enter: "Send Email Notification for New Lytics Users"

- If you want to enable the zap, click the toggle OFF.
Using the Lytics "add user data" action
The Lytics app provides an action that lets you add user data to Lytics. This action can be used in any zap you create.
The following instructions demonstrate how to create a new zap that writes some hard-coded data to Lytics. This is not a very useful example, but it allows you to configure the action without having to set up connections to any other systems. Just imagine that the hard-coded data is coming from one of your own systems.
- In Zapier, make a new zap.
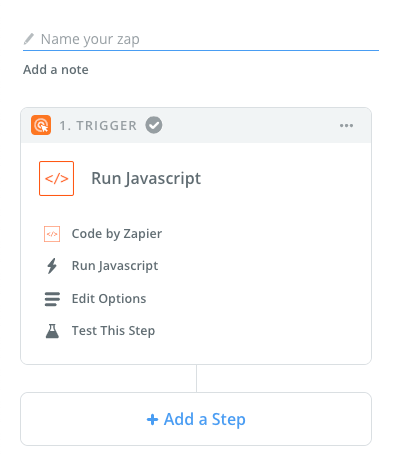
- For the trigger select the app Code.

- Select Run Javascript and click Save + Continue.

- In the field Code, enter the following. This code represents the data that would be provided from
//
// This code represents the data that will be made
// available to the step that will upload data to
// Lytics.
//
// In a real-world example, this data would come
// from the trigger of another Zapier app. For
// example, there is a Zapier app for Salesforce
// that includes a trigger for when a new contact
// is created. The data from that trigger
output = [{
email_address: "[email protected]",
given_name: "Erin",
surname: "Wilson",
employer: "Corpcom",
city: "Portland"
}]; ```
5. Click **Continue**.
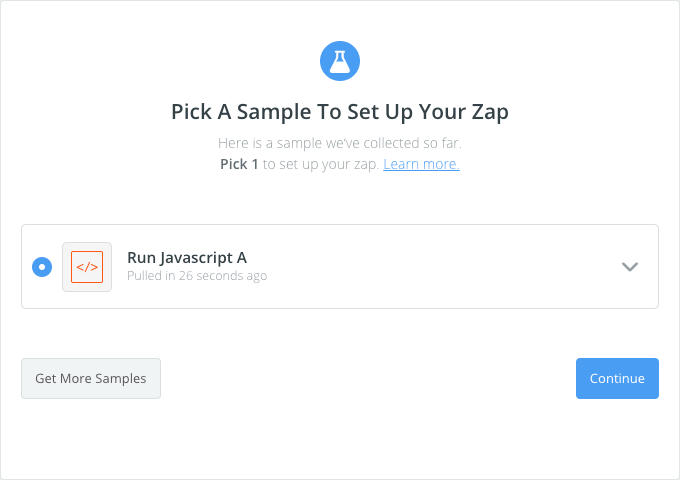
6. When prompted to pick a sample, click **Continue**.
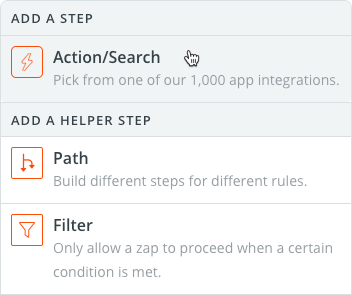
7. Click **+ Add a Step**.
8. Click **Action/Search**.
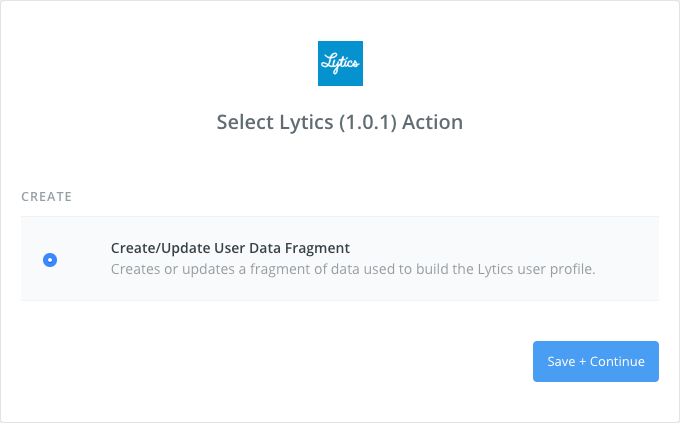
9. Click **Lytics**.
10. Click **Save + Continue**.
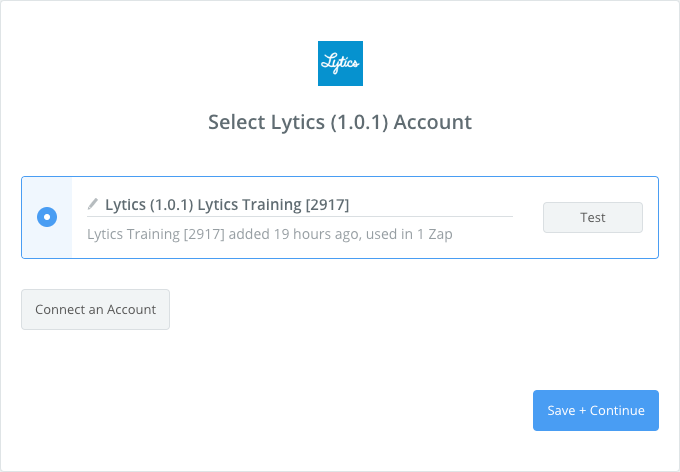
11. Click **Save + Continue**.
12. A list of fields is displayed. This list of fields comes from a Lytics query named `zapier_user`. If this query does not already exist in your Lytics account, the query will be created automatically.
The purpose of this form is to specify how to map data from earlier steps in the workflow to the Lytics user profile.
Any time data is sent to Lytics, at least one identifier value must be specified. If one is not specified, Lytics will report an error.
Multiple identifiers may be defined in Lytics. You do not have to provide values for every identifier. You can, but only one is required.
But Zapier does not provide a way to specify that at least one of a set of fields must have a value. Zapier lets you specify whether a field is required or not. Therefore another approach must be used in order to ensure the person configuring the action maps at least one identifier.
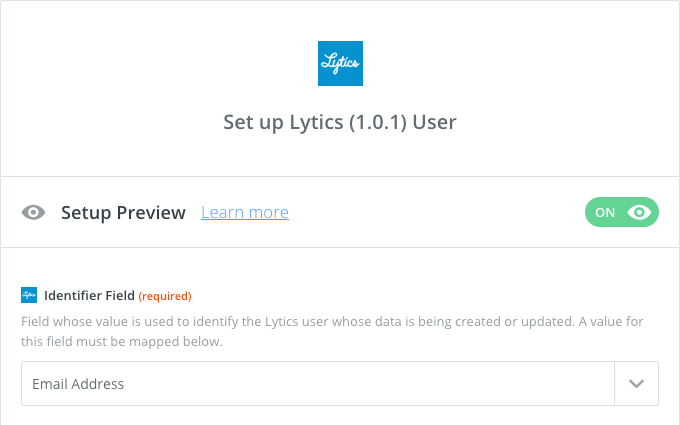
The purpose of the field *Identifier Field*. It is used to specify which of the identifier fields listed before will satisfy the Lytics requirement that at least one identifier value is provided. By selecting an identifier field from the dropdown list, you are telling Lytics that the field you selected will be mapped in the form.
Note that Zapier provides no way to ensure that you have actually mapped the field you select from the dropdown. If you fail to map at least one identifier field, an error will occur when the action tries to upload data to Lytics.
For the field *Identifier Field*, select **Email Address**.
13. The rest of the fields in the form represent fields on the Lytics user profile that can be mapped. These fields are defined in the Lytics query `zapier_user`. You can add/remove fields from this query in order to configure other options.
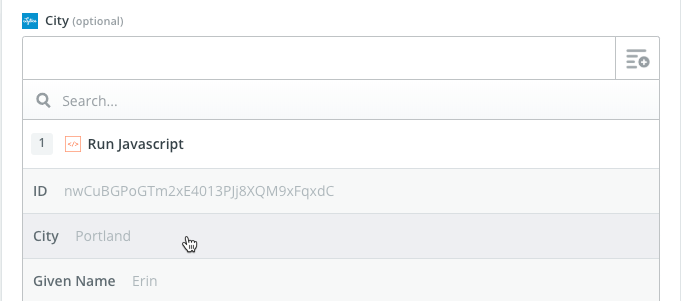
For the field *City*, click the button **Insert a Field**.

14. Click **City**.
15. For the field *Company* select **Employer**.
16. For the field *Email Address* select **Email Address**.
17. For the field *First Name* select **Given Name**.
18. For the field *Last Name* select **Surnames**.
19. Scroll to the bottom of the form and click **Continue**.
20. A summary of the mapped and unmapped fields is displayed. Click **Send Test To Lytics**.
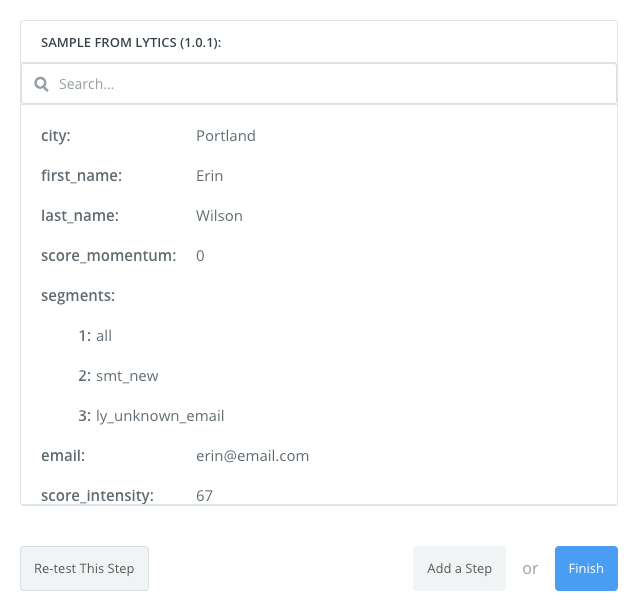
21. A message will tell you the test was successful. Zapier will display a sample of the kind of data Lytics will return after the action runs (i.e. user data is submitted to Lytics).
Click **Finish**.
22. In the field for the name, enter: `Add Data from Javascript Code`
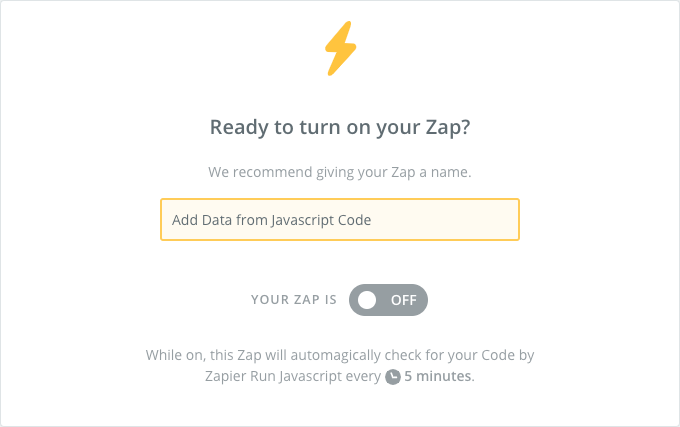
23. If you want to enable the zap, click the toggle button to turn it on.