Google Tag Manager
The following document is a guide for configuring Lytics Audiences as a GTM variable for delivery to any tag managed by GTM.
Before You Begin
This document assumes that you already have access to a Google Tag Manager(GTM) account and the container you will be using is installed on your web property(s). If not, please refer to the GTM documentation for getting the tag manager up and running before proceeding.
Steps
- Define a new GTM Variable
- Define a new GTM Trigger (optional)
- Send Lytics Audiences to GTM
Define GTM Variable
From the GTM dashboard perform the following:
-
Click on
Variablesin the left hand menu -
Click on
Newat the top right of the "User-Defined Variables" container -
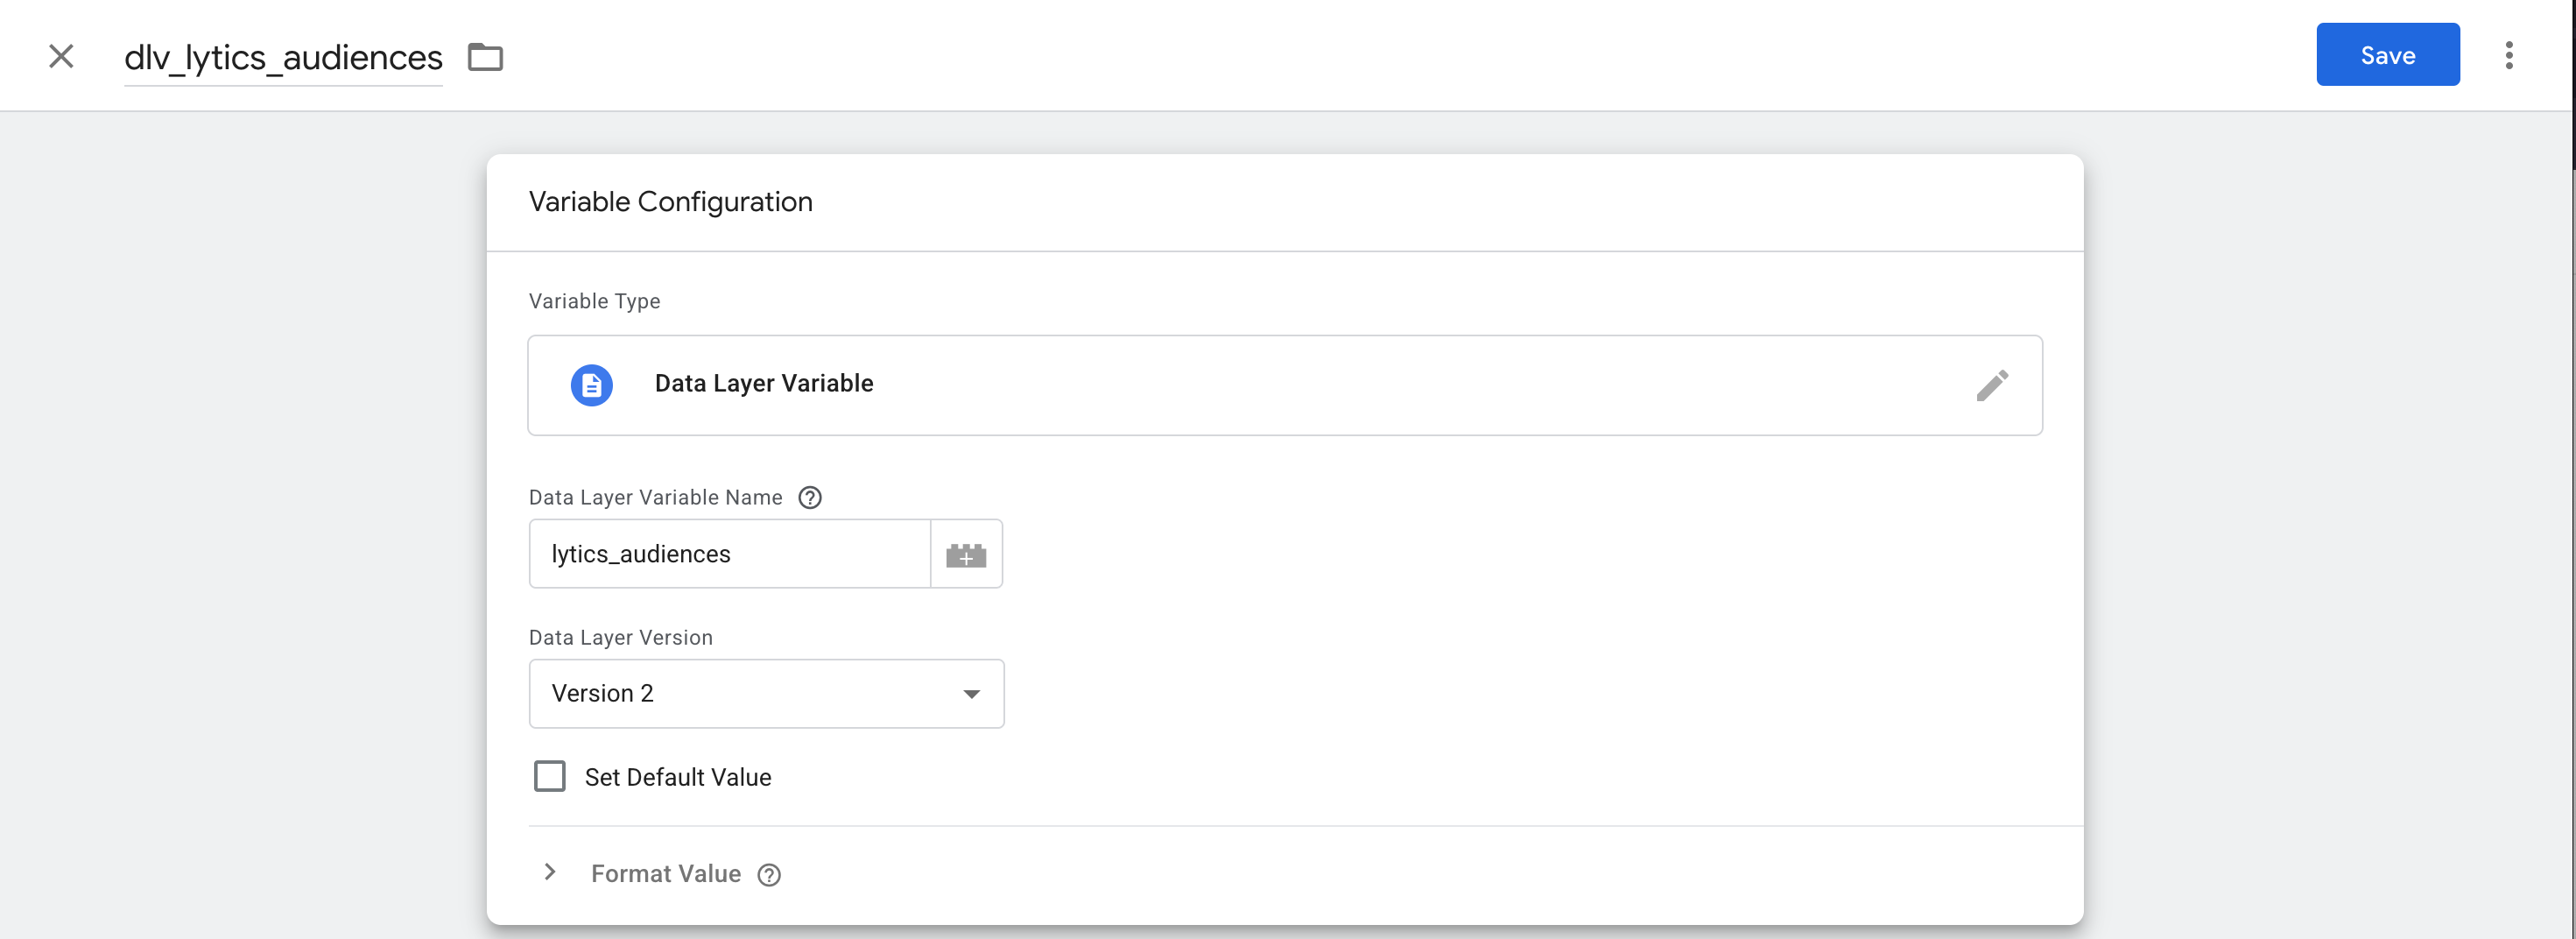
Name your variable at the top left
dlv_lytics_audiences -
Click on the "Variable Configuration" box
-
Select
Data Layer Variable
-
Under "Data Layer Variable Name" enter
lytics_audiences -
Leave "Data Layer Version" on
Version 2 -
If you'd like to set a default value, due so following the on-screen guide
-
Save the Variable at the top right of the screen
Define GTM Trigger (optional)
In many cases you will already have triggers defined. Complete this optional step if you only want to trigger downstream event, such as a GA4 event, each time the Lytics specific event is received. This is recommended but may increase total event count in GA4 depending on your unique configuration.
From the GTM dashboard perform the following:
-
Click on
Triggersin the left hand menu -
Click on
Newat the top right of the "Triggers" container -
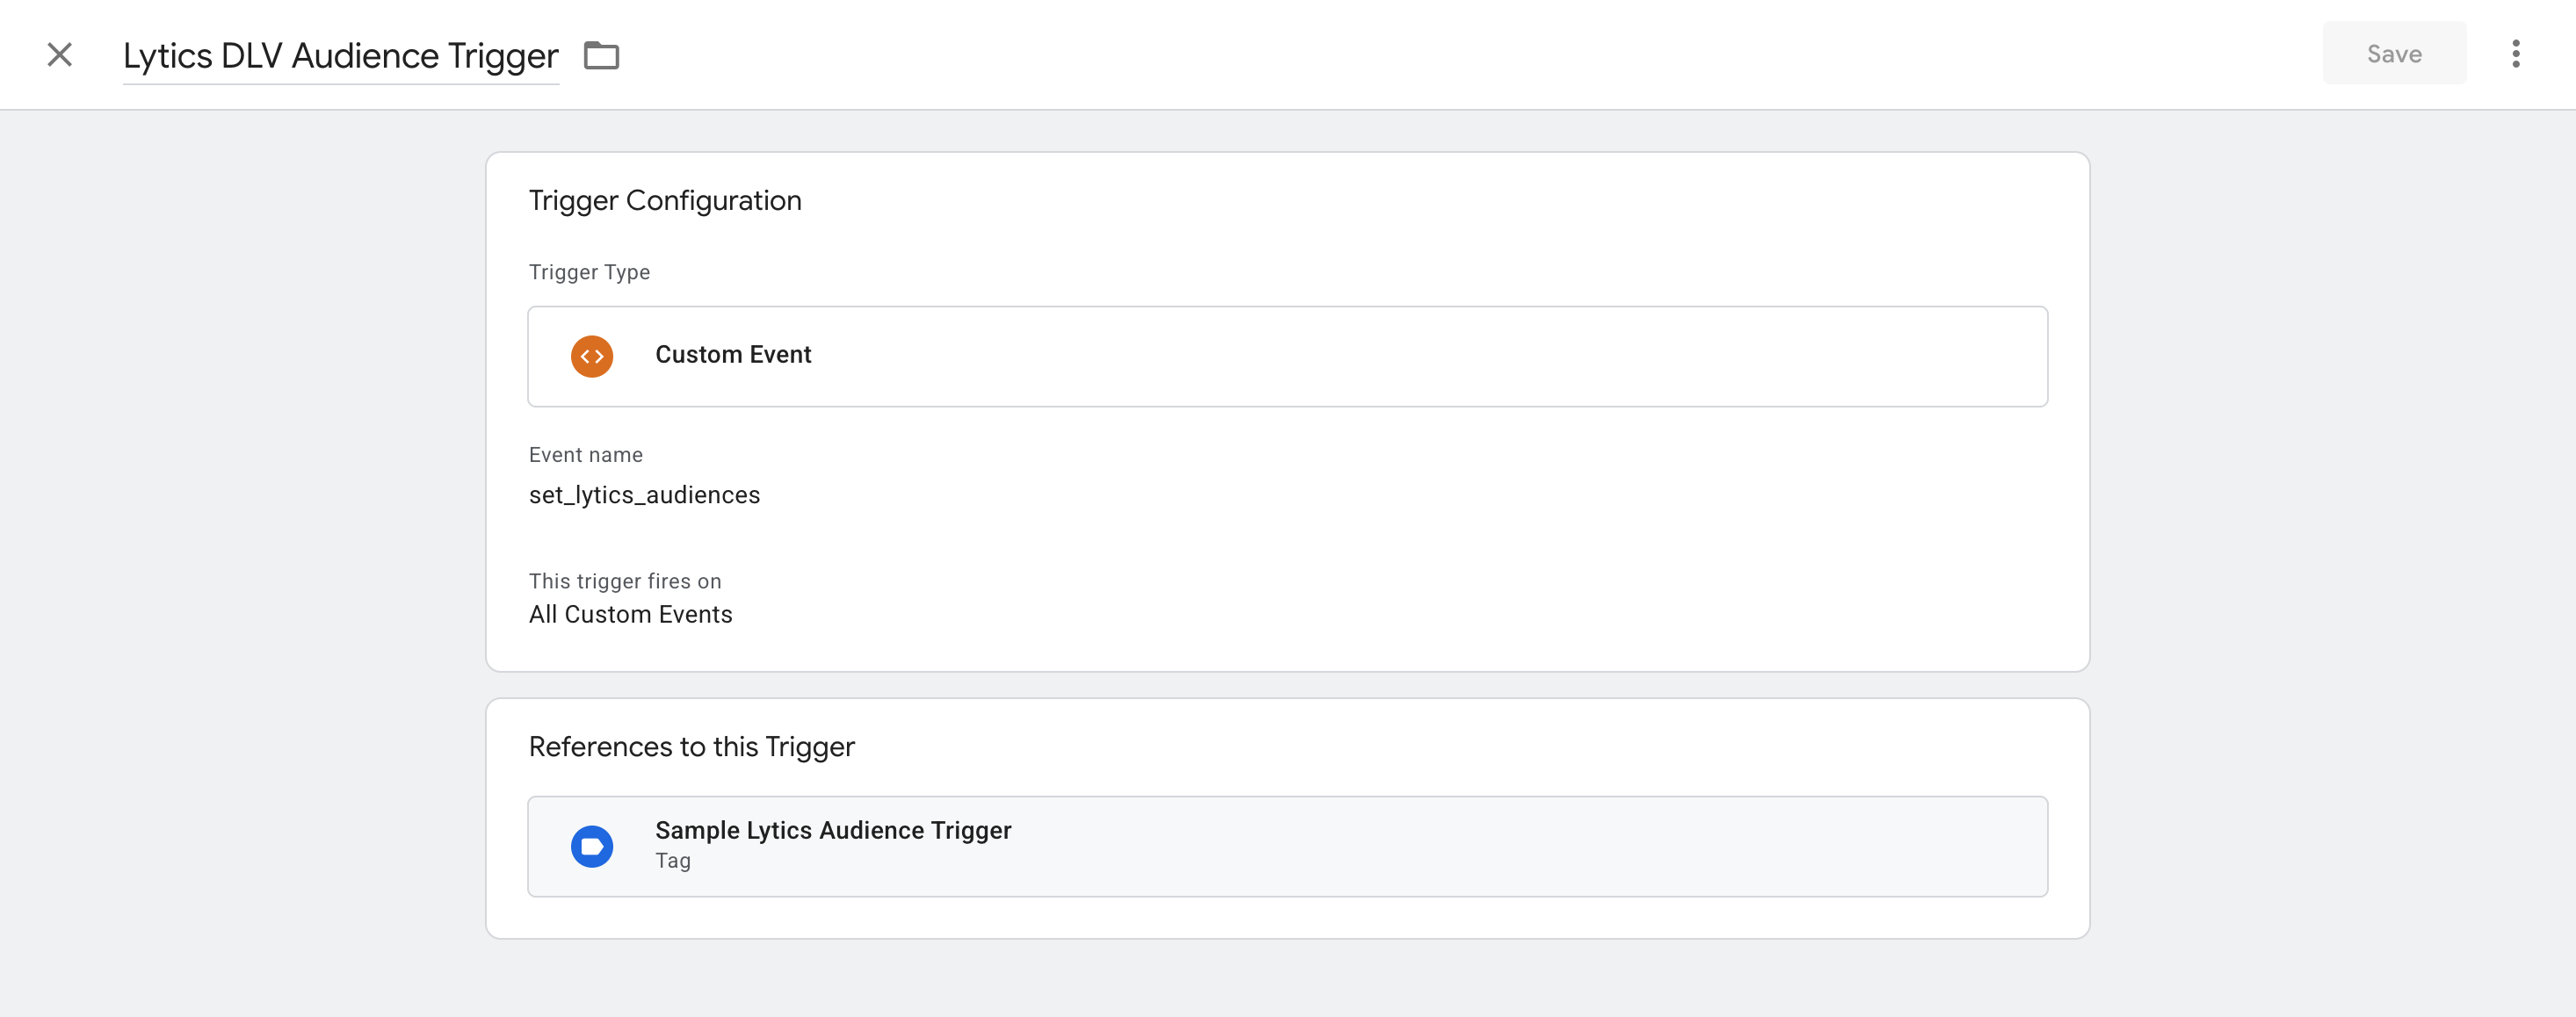
Name your trigger
Lytics DLV Audience Trigger -
Click the "Trigger Configuration" container
-
Select
Custom Event
-
Set the "Event Name" to
set_lytics_audiences -
Choose when you want the tag to fire, we recommend on "All Custom Events" but on-screen guide allows for more granular triggers based on specific values.
Send Lytics Audiences to GTM DataLayer
In order to send an event into GTM the following snippet must be placed in your GTM container and triggered on all page views. It is required to also ensure this tag loads after the main Lytics tag for things to work properly.
Be sure to change the "approvedKeys" variable to the set of audiences you'd like to potentially pass to GTM. In most cases we recommend leaving that array empty to pass all audiences:
const approvedKeys = [];
(function () {
  // define a list of approved audience slugs to push to GA4
  // leaving this array empty will push all audiences to GA4
  // e.g. const approvedKeys = [];
  const approvedKeys = ['anonymous_profiles', 'smt_power', 'not_a_match'];

  // Ensure both jstag and gtag are available before proceeding
  if (typeof jstag !== 'undefined' && typeof jstag.call === 'function' && typeof gtag === 'function') {
    jstag.call('entityReady', function (profile) {
      try {
        // get the audiences the current visitor is a member of
        const visitorSegments = profile?.data?.user?.segments || [];

        // find the approved keys that match one of the visitor segments and build a new matched array
        const matchedSegments = approvedKeys.filter((key) => visitorSegments.includes(key));

        // if the matched array is not empty, call the track event
        if (matchedSegments.length > 0) {
          window.dataLayer = window.dataLayer || [];
          window.dataLayer.push({
            event: 'set_lytics_audiences',
            audiences: matchedSegments.join(','),
          });
        } else if (approvedKeys.length === 0) {
          window.dataLayer = window.dataLayer || [];
          window.dataLayer.push({
            event: 'set_lytics_audiences',
            audiences: visitorSegments.join(','),
          });
        }
      } catch (error) {
        console.warn('audiences check failed:', error);
      }
    });
  } else {
    console.warn('jstag or gtag not available on this page.');
  }
})();
Testing
To test we'll both validate that the audiences are being sent to GTM's DataLayer as well as being set as a variable.
Confirm Audiences Exist in DataLayer
Once your tag has been published or you are within the GTM "Preview" tool. Open you Chrome console once your page has loaded.
Type dataLayer in your console and hit enter
You will be presented with all of the events sent to GTM. One of those events should be the set_lytics_audiences event and it should contain a comma separated string of your audiences.


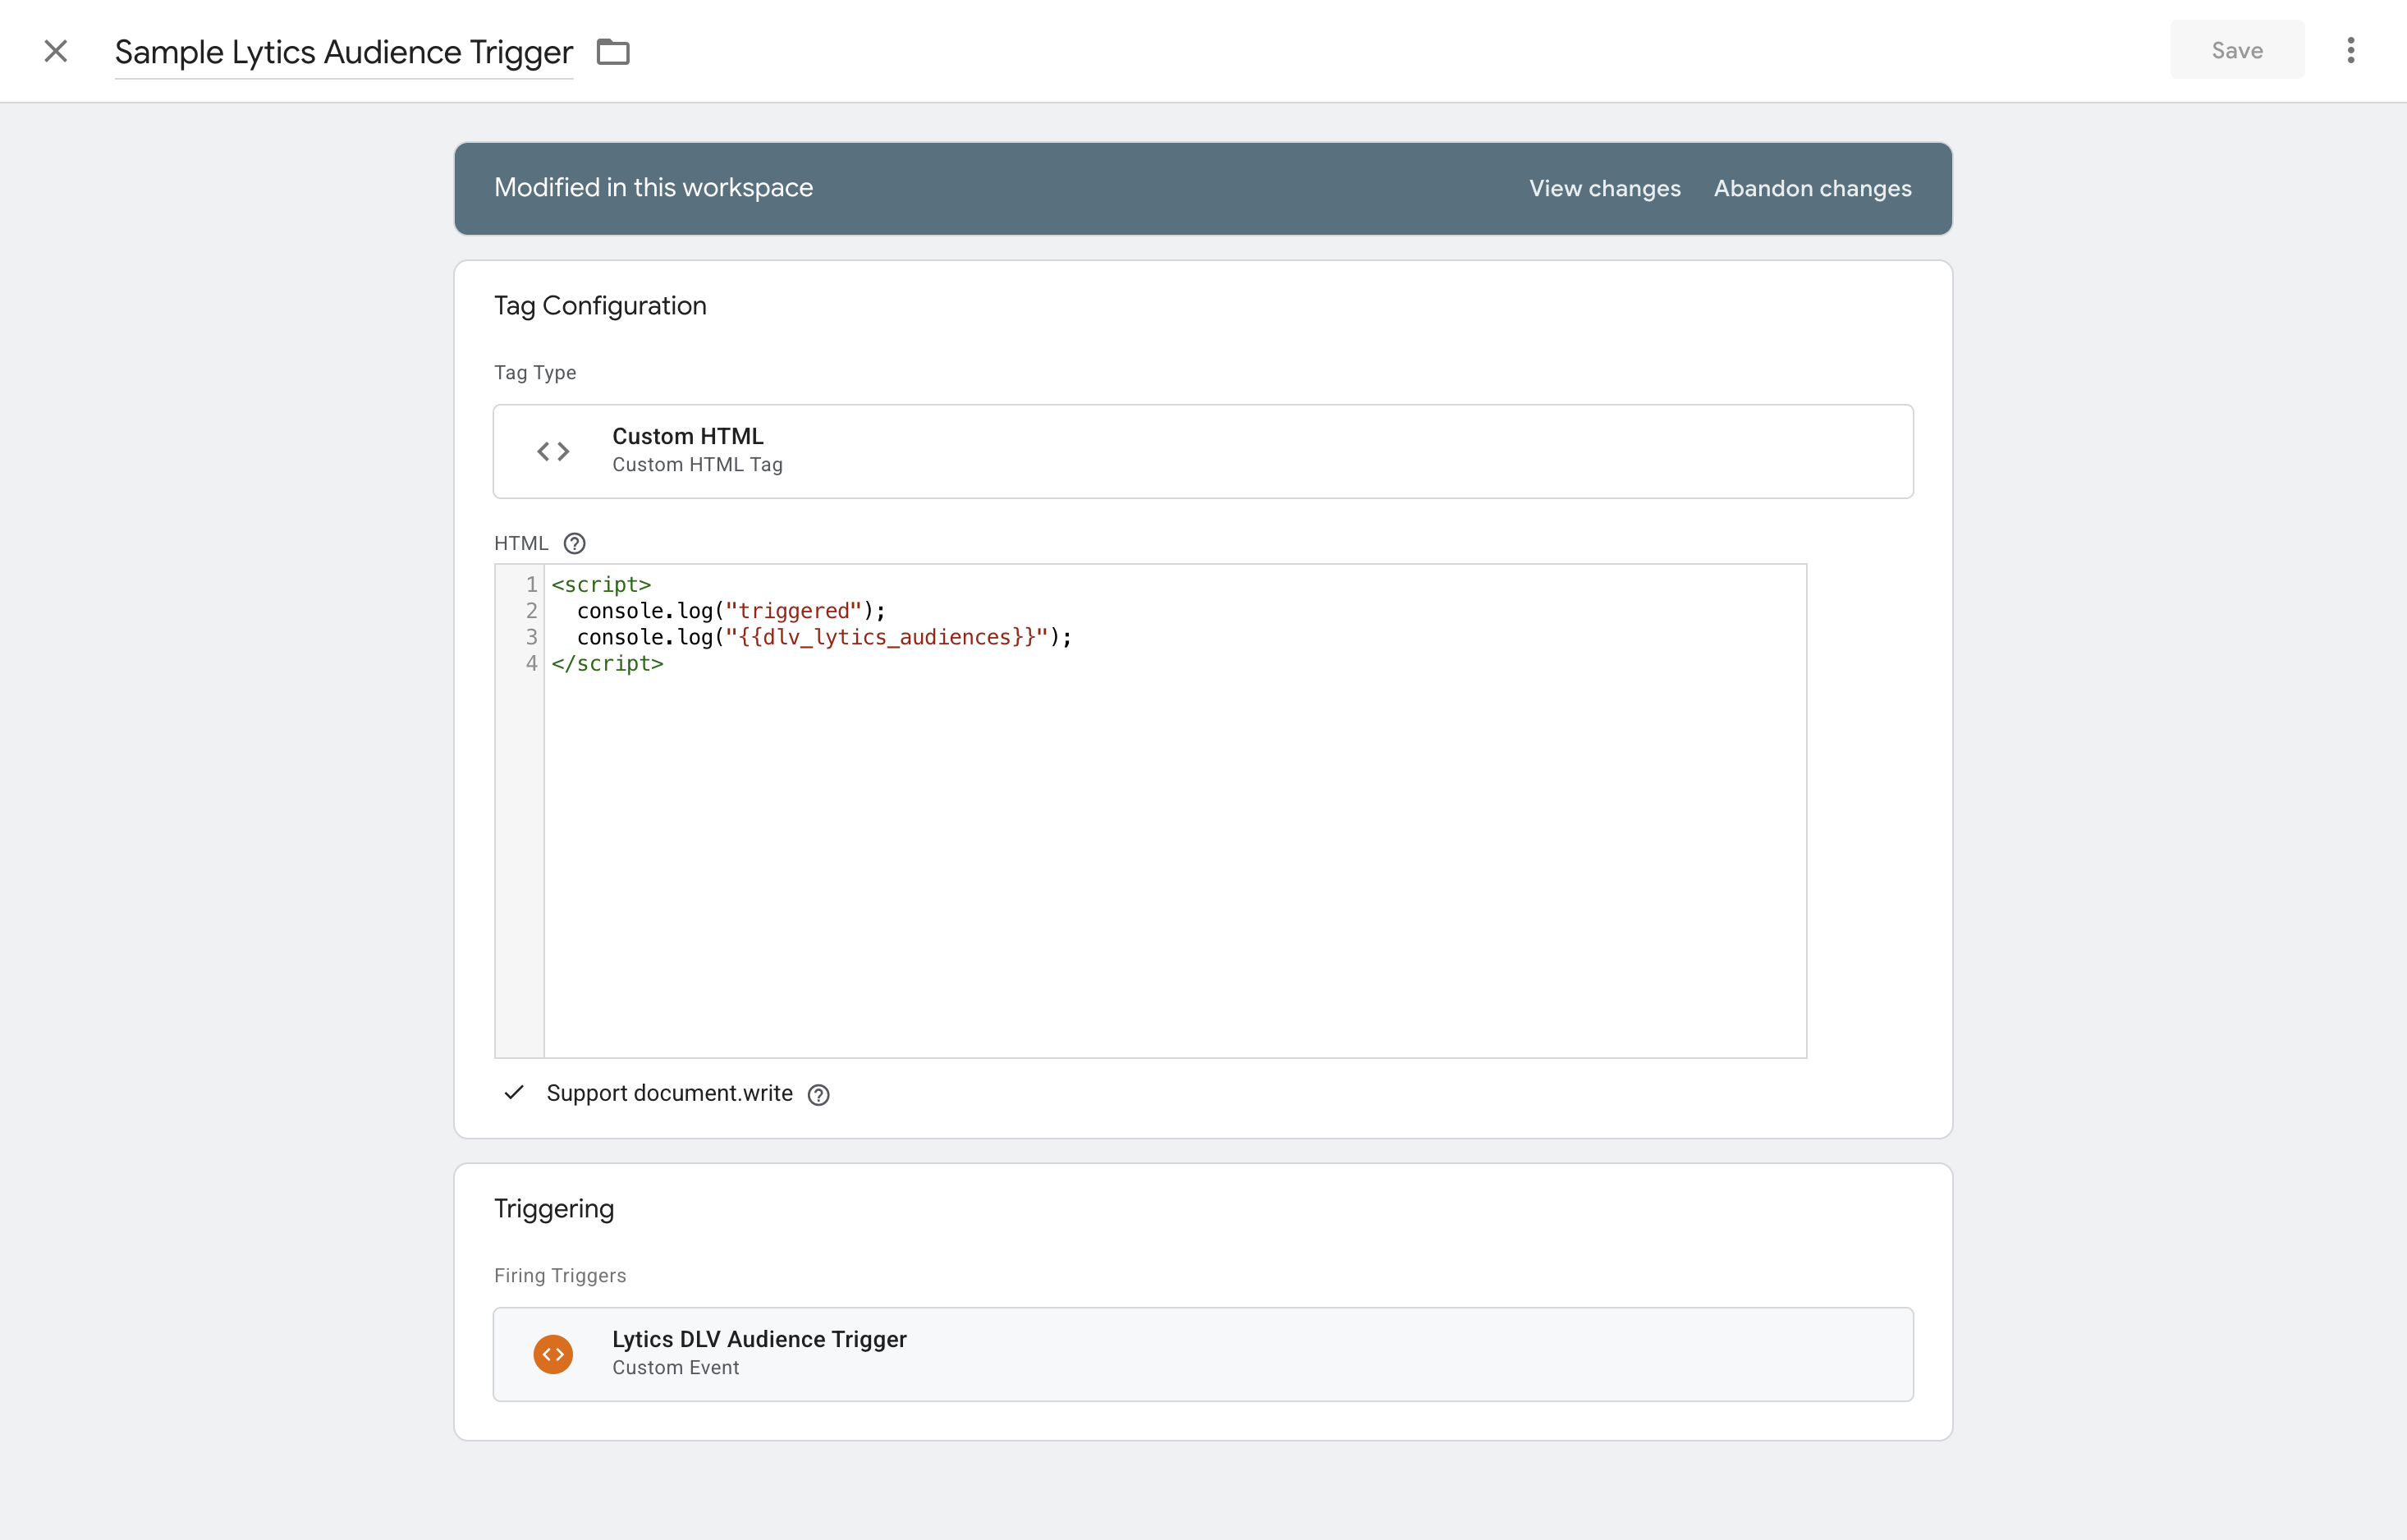
Trigger Console Log on Event
- In GTM select "Tags" from the left hand menu
- Create a new tag using the button at top right
- Name your tag
Lytics Test - Click "Tag Configuration" and choose
Custom HTML - In the body of your HTML input type:
- Click the box for "Triggering"
- Select
Lytics DLV Audience Trigger - Save your tag
- Now either in the "Preview" for GTM or once published. Verify that you see a console log of your audiences.